
Wow what a week!
Howdy buddies! How was your week? I bet many of you had kiddos that went back to school this week or next week. That sure is an exciting time for them. (and you, lol)
I was exceptionally busy this week making back to school chalkboards for the little ones first day of school.

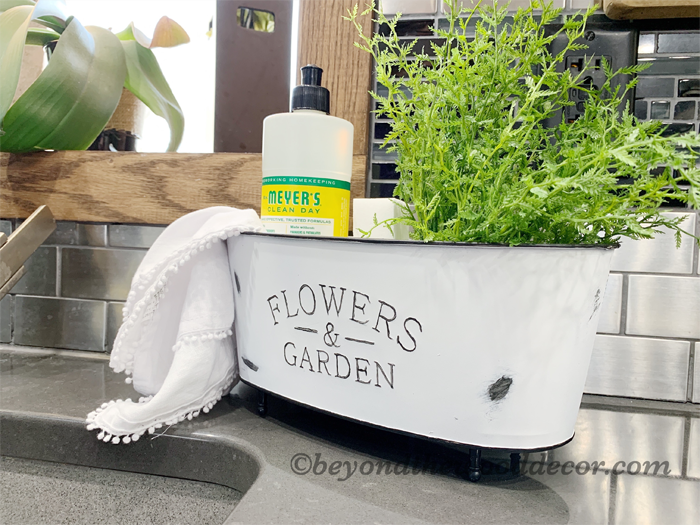
I had ever intent on making just a few because I thought it was getting late in the season and everyone would be all set. Well I was wrong. But oh how blessed I am to be wrong. Thank you thank you thank from the bottom of my heart for all the orders. These in the pic above were a small group of the last batch I made. These boards have surely improved over the years as I now added a white dry erase board to the back. So they can be used year round. Score!
(update) my daughter tested these chalk markers over night and they washed right off the board perfectly the next day. So I do recommend them:
It really means the world to me to have so much support from all of you. I had some great conversations with many of you and it always brings a smile to my face to meet new and regular clients. You all make my job so rewarding!
New page added to my site
Last weekend I was also able to get a bunch of your photos you sent in over the years uploaded to my new page. I LOVE LOVE LOVE getting photos of my pieces in your home. So please share as many as you would like and I would love to add them to this page.
Thank you so much to so many of you that have already submitted photos, they all look so great! Here is one special photo because it is of my granddaughter on her first day of 4K. Just so adorable and she was so excited to use her board and go to school! 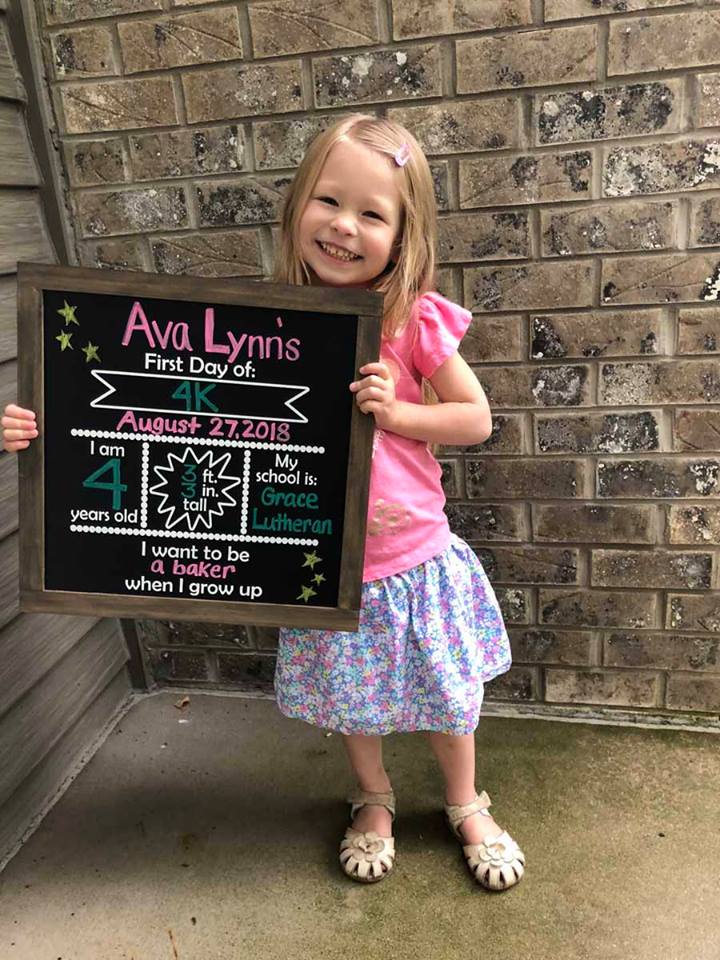
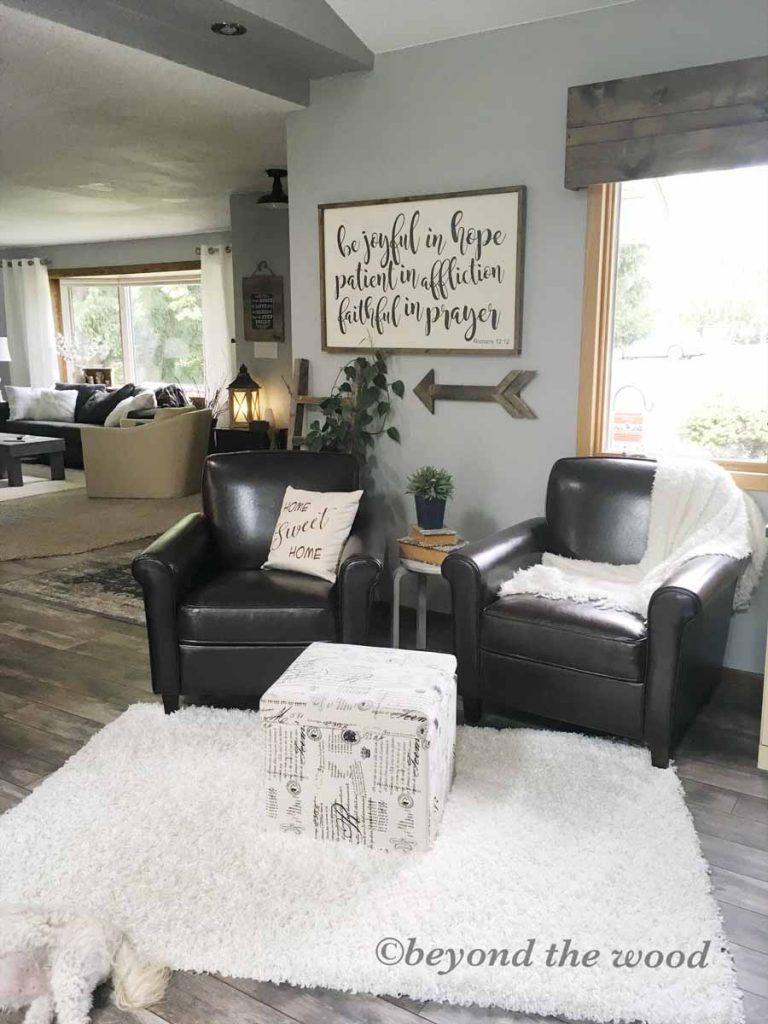
Changing up the room!
On Sunday Funday last weekend I did take some time to myself and do a little something in our home. On a normal week I try and not work at all on Sundays but it does not always happen that way. Its okay though I make it up during the week in the evenings.
In our office area which is off of our kitchen I made a little change. I have always loved photo gallery walls and since my family is growing each year I really wanted to display some “fun” photos of them.
This room has so much more projects in the making such as the window needs updated trim to match the rest of the room and the maple desk is my next “big” project to paint to match my kitchen. I would also like to update the chairs in there but for now these will work.
Before the little makeover!
Here is the before. Oh I know I love that big sign I made too but I am moving it to another room.
I spy a half of a puppy above, hahaha
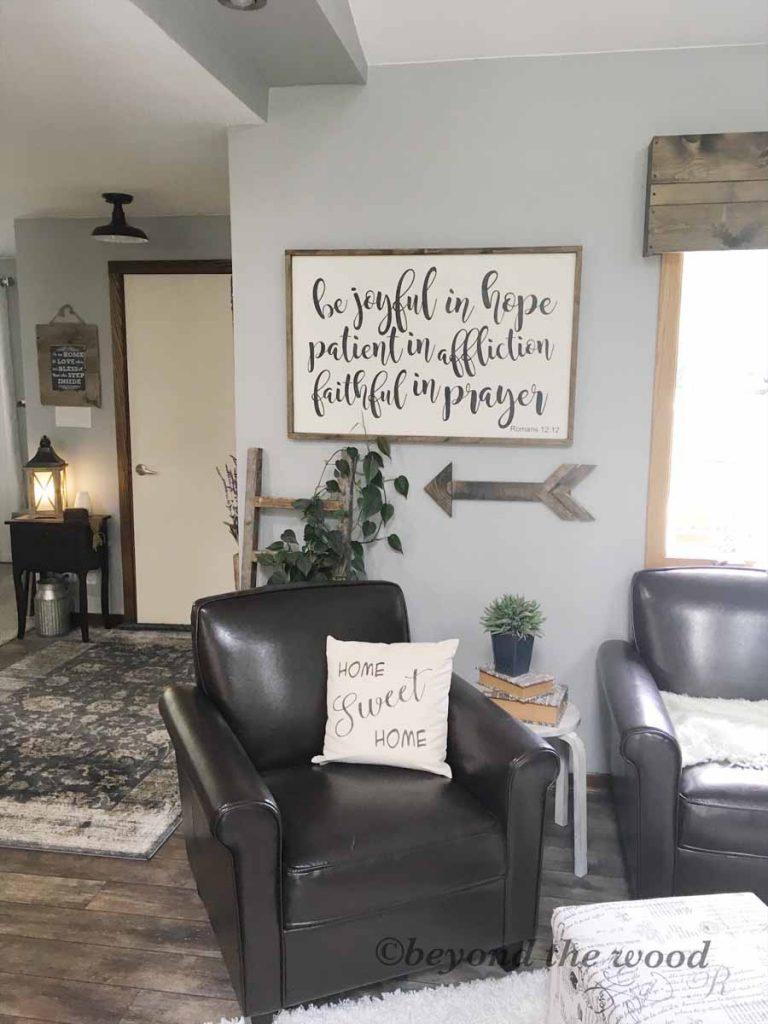
That table on the left with the lamp on it along with the ladder with the plant climbing up it got a switch-a-roo in the new design, keep reading to see the new space!
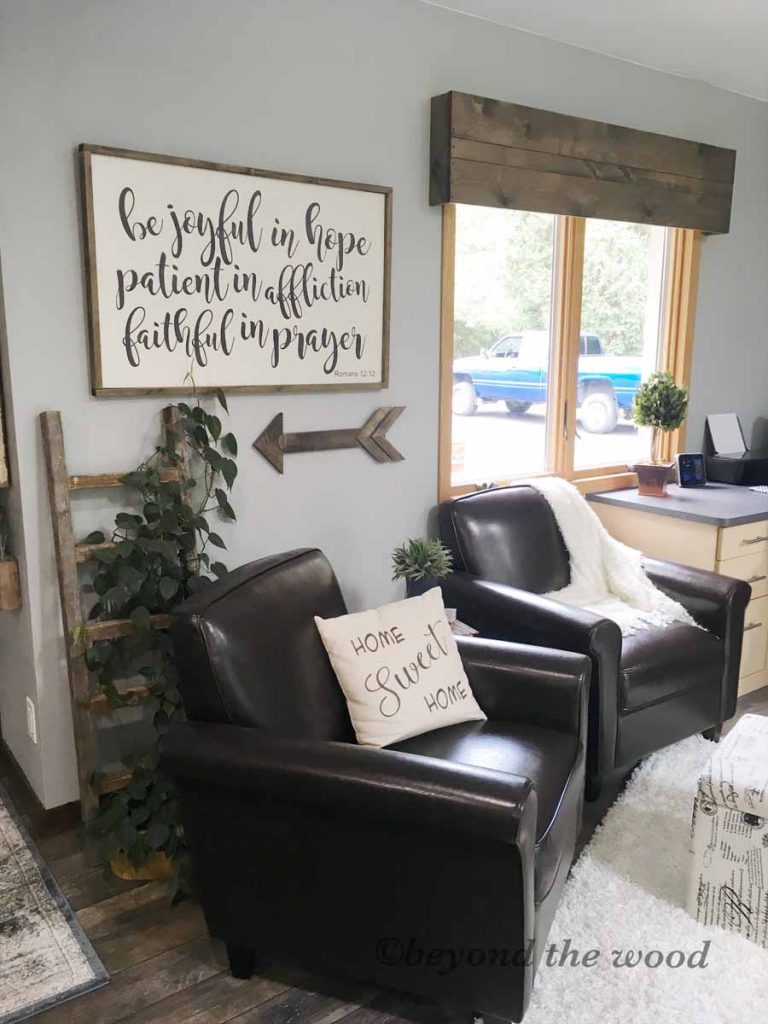
Those are the chairs above that I want to replace down the road with some cute ones like my daughters have. They all have the cutest offices in their homes with such cute chairs. Here is one side of my youngest daughters office, just look at them adorable chairs with the tufted back and clean lines. Some day someday, lol!
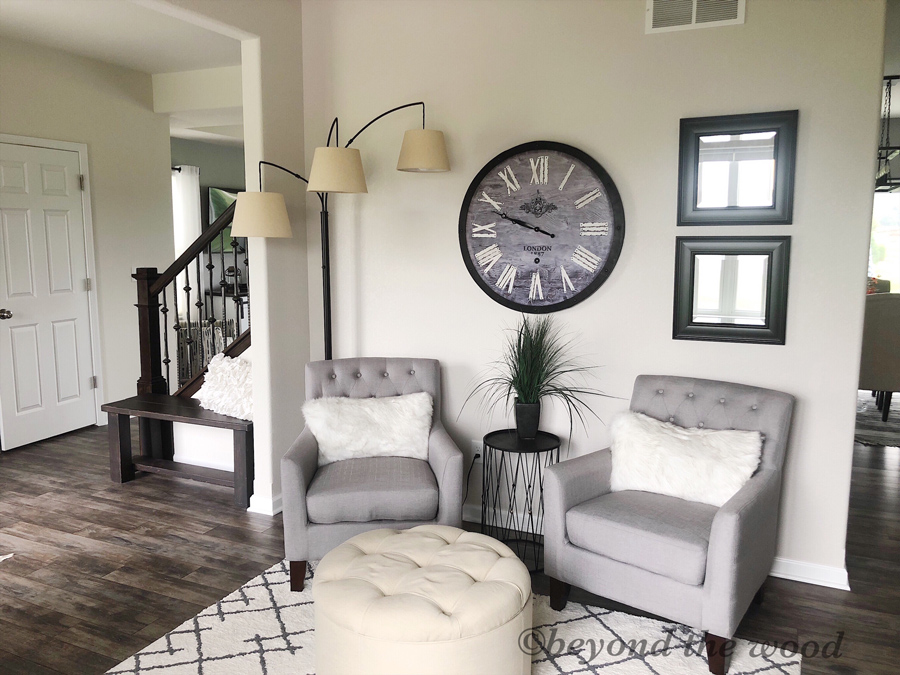
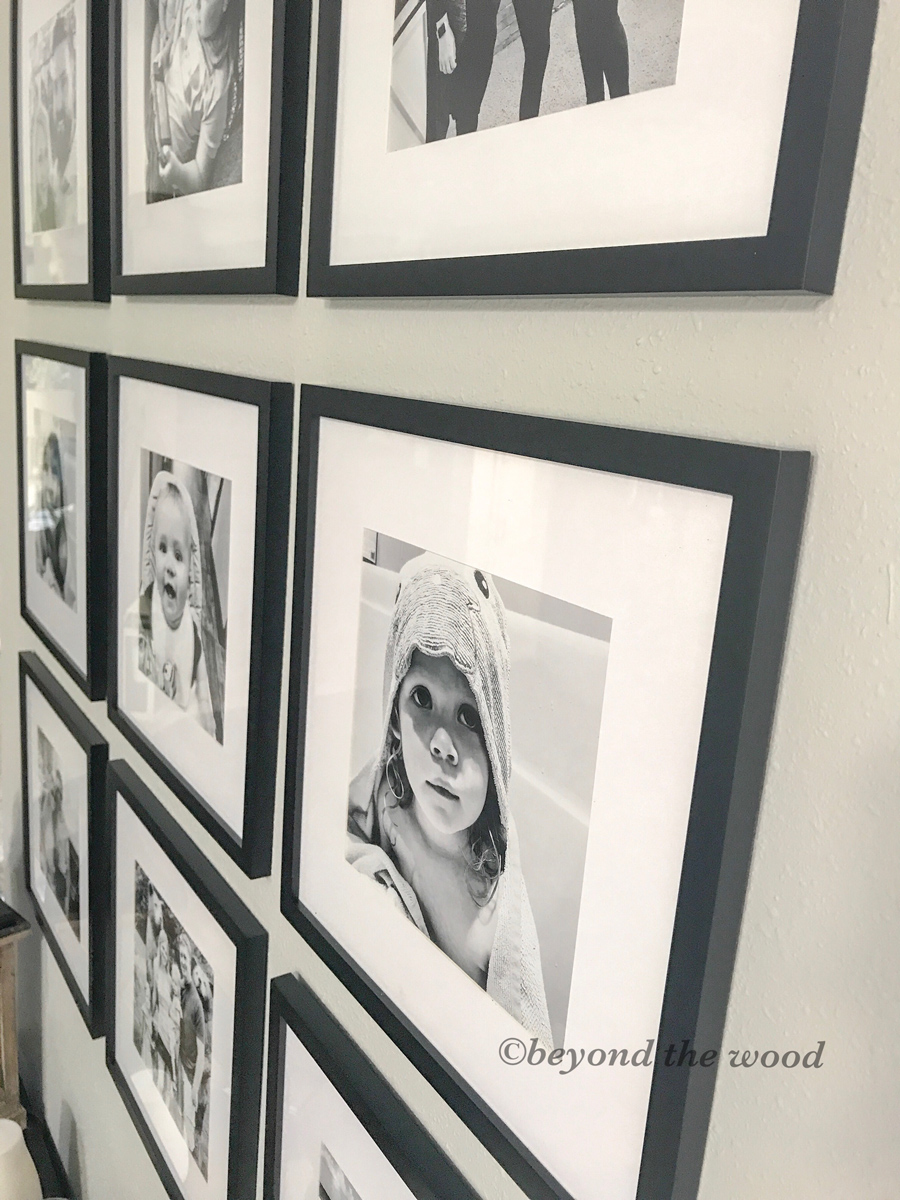
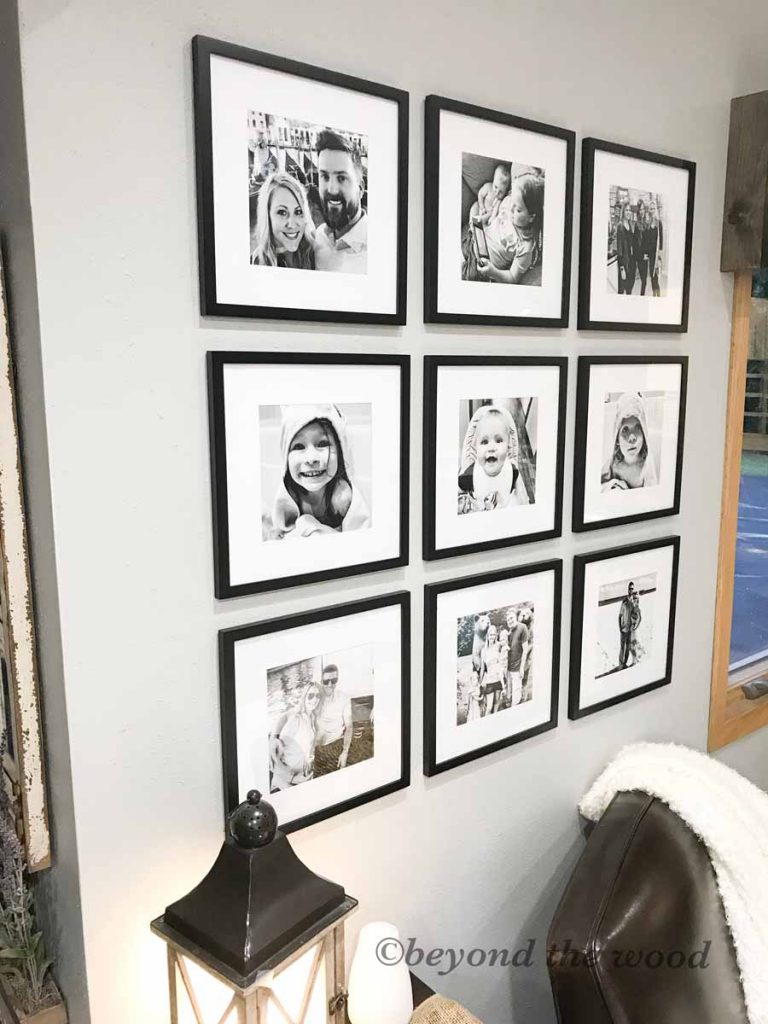
Photo gallery wall
Now onto hanging the picture frames. First off I purchased them from good old Amazon, lol. Here is the set I bought.
Let me tell you….this seriously took no more than 20 minutes to hang. It looks like it would be so complicated but guess what the kit comes with a template as shown here:
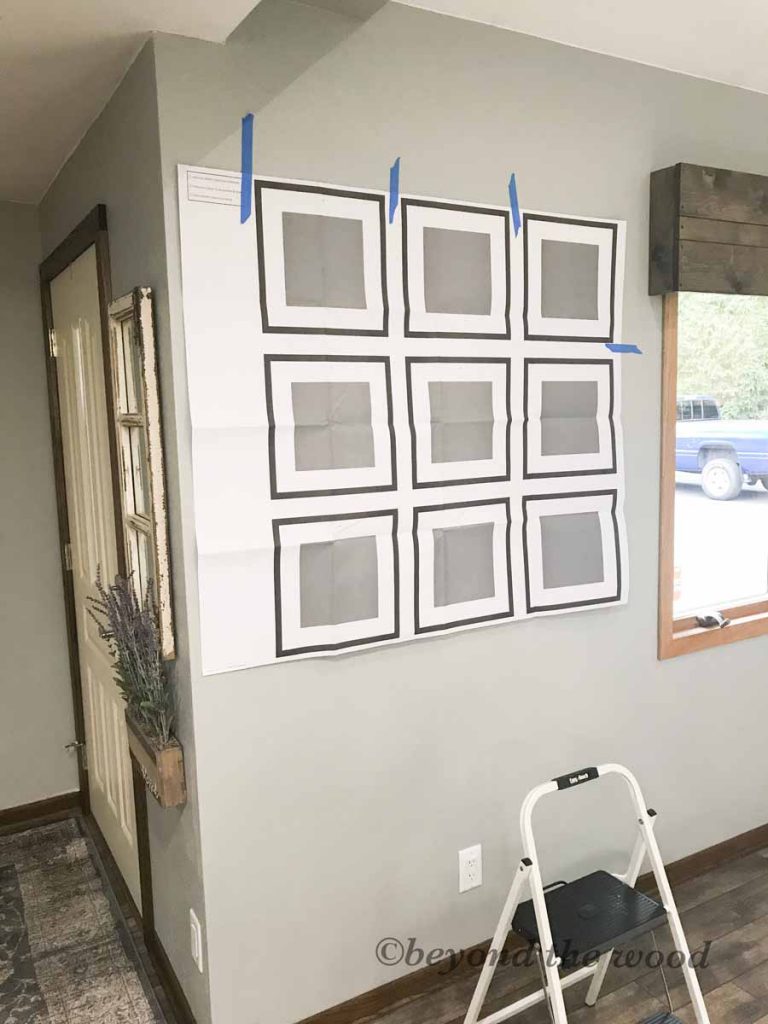
So all you do is hang that template on the wall where you will want all the picture frames to go and tape that baby down. Now I did open up the template a few days in advance and put it under the rug in the room to really flatten it out.
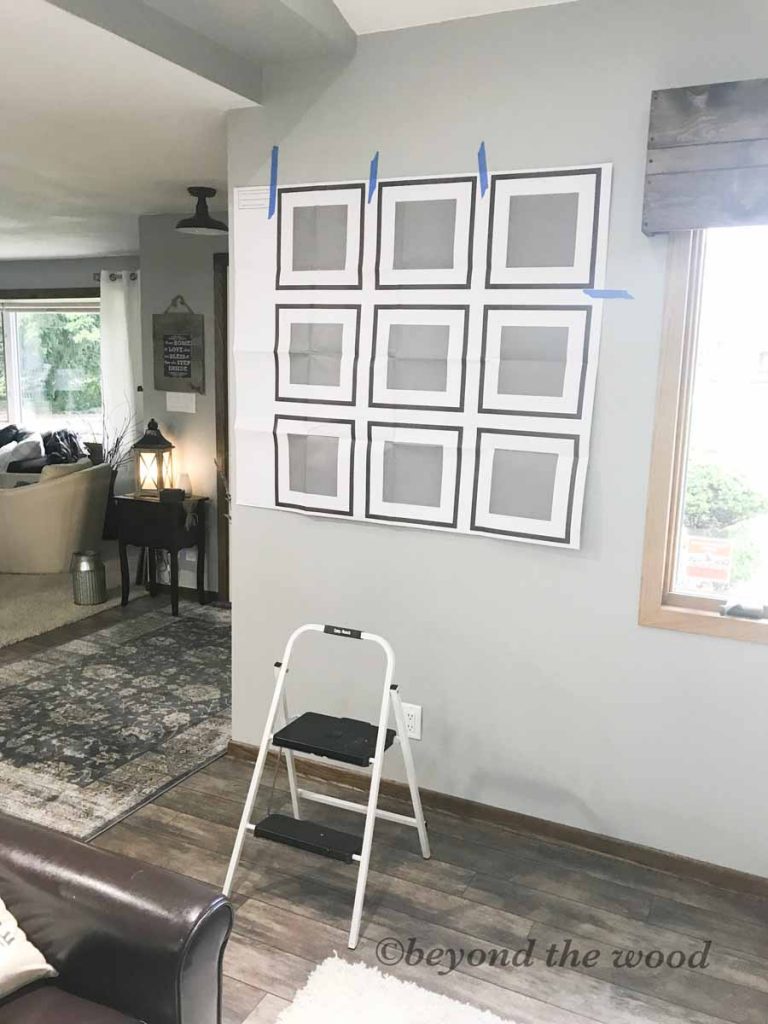
Next on the template are little marks where the screws will go. I wanted to preserve the template in case I ever move them again (you know me) lol. So I just took a nail and put it on the mark and pounded a hole into the wall. Then removed the nail and I did that for all 9 marks. I could then remove the template and folded it up for future use.
Then I took the screws that were included and screwed them into the holes I created with the small nail. If you are drilling into drywall and missing a stud you will want to use the anchors included. But if you are lucky enough to get a stud no anchor is needed. I actually got lucky on many of mine. But so nice all the hardware is included.
All done!
Seriously sooo easy peasy! Put your photos in the frames and hang them up. Look how adorable it turned out!
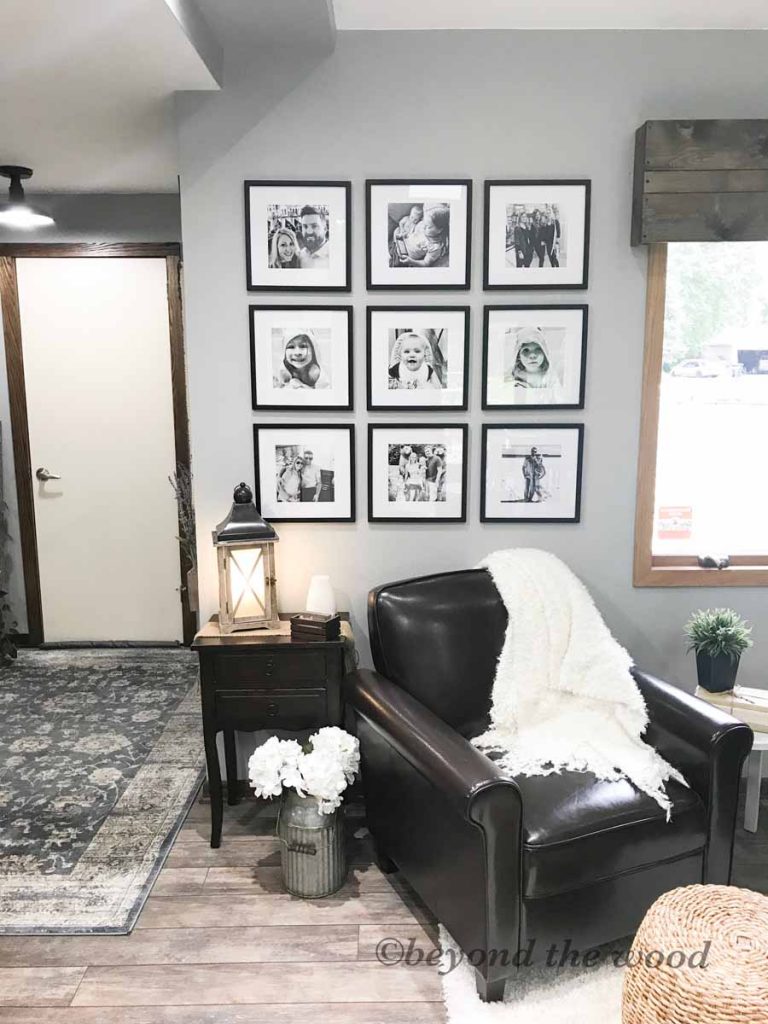
I did get my photos printed at snapfish here and it is the 8 x8 size. I did all black and white photos but you certainly can stick with color. Most places will print in the 8 x 8 so you should have no problem finding another place. But note the great deal I got on getting mine printed when you use honey! See that post here, it saves me soooo much money.
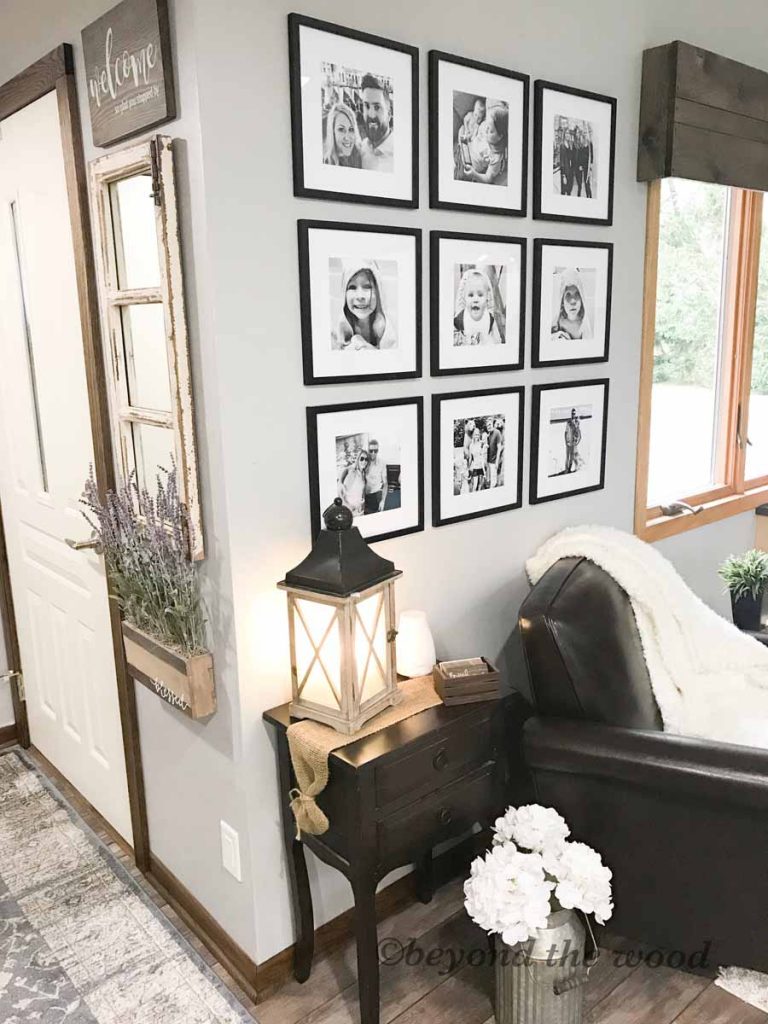
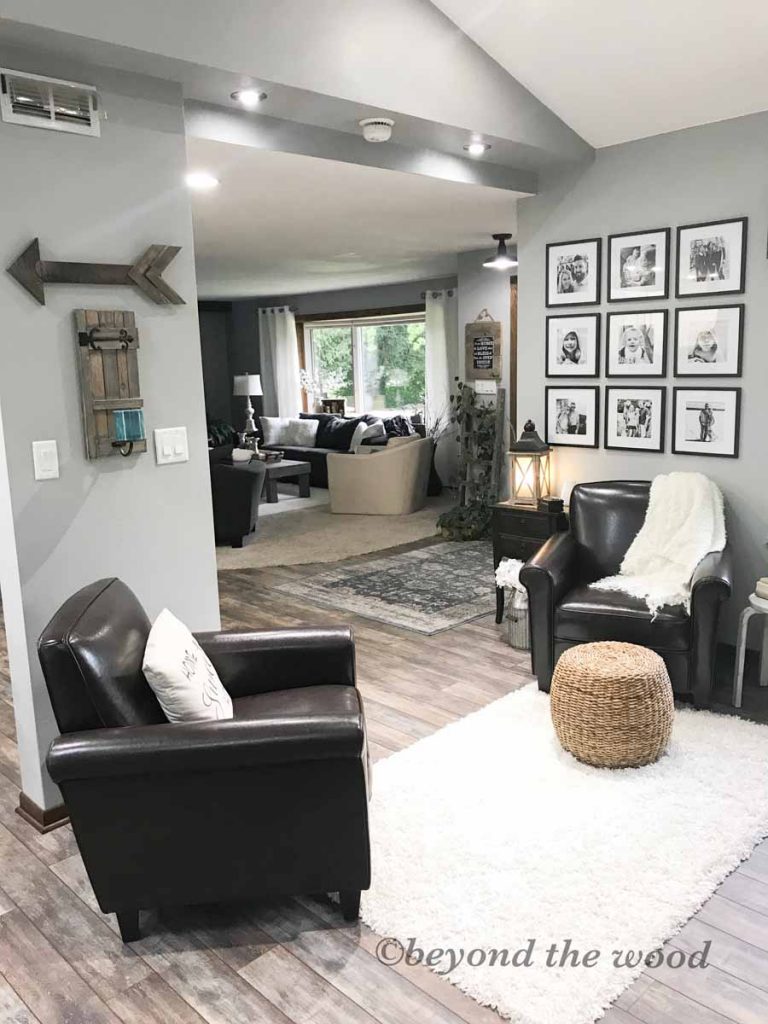
Being able to see them from the kitchen, office and even the living room is so fantastic. Coming in the patio doors or even the garage they are visible to the whole area.
Here is how I separated the chairs and did the switch-a-roo on the table and ladder. I am having a bit of a problem with taking these photos and the glare on the glass from the sky lights in the room, so ignore that!
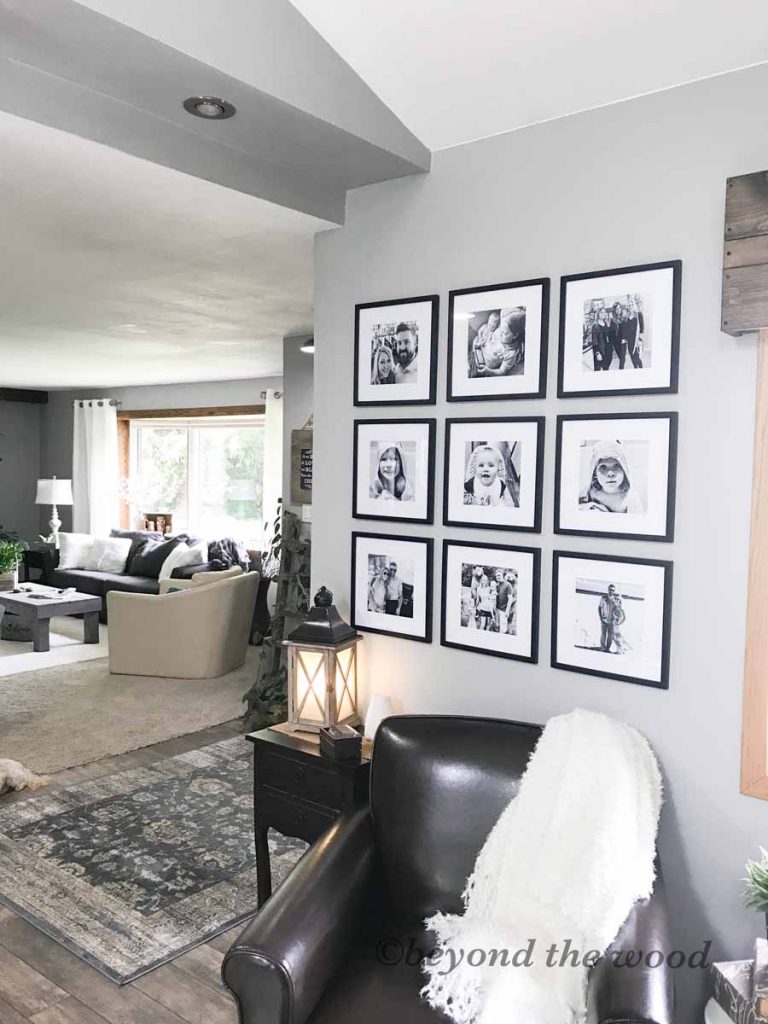
I love how it turned out and the contrast of the black and white is perfect. These wood frames are 12 x 12 and the photo size is 8 x 8.
Seeing my grandbabies and my daughters and their husbands just make me smile each day. If you ever wanted to have a photo gallery wall like this I highly recommend this one because it was so easy to hang.
Amazon has so many different ones to choose from so you really can find anything you would like. This set also comes in white which is so pretty too. Here is the link for the white one and its cheaper! But then they also have it in grey which I loved too but that was getting to be more than I wanted to spend. So I am extremely happy with the black that I got and making my photos all black and white.
That is all I have for you today my friends. Thank you once again for stopping by the blog with me today and checking out my new photo gallery wall. I would love to hear what you think in the comments and I hope it gave you some inspiration!


I just love your home! I would have never attempted hanging that many frames and getting them equal all around but this is a game changer having a template. Thank you for the idea and I may just copy you!
Oh Stephanie you are very welcome. I am so happy with mine and I am certain you would be as well if you decide to buy them.
The pics look really nice. Great update.
Thank you Janean….it was super hard picking them but I will change them out often since the kids grow so fast.
Hi Tammy – your photo gallery turned out great! I love the idea of the templates! Thank you so much for sharing your ideas and your home with us!
Oh thank you so much Sue. We are really enjoying it. I am so happy to share my love of decorating with you and so glad to hear you are enjoying it as well. Your comments are beyond appreciated and I cannot thank you enough! Enjoy your day!