Day 4 Bedroom Makeover Projects
Oh friends, I made such great progress this past week-end on the bedroom makeover. For those of you that missed the first 3 days here they are:
~Day 1 bedroom makeover here you will see all the BEFORE photos!
Antique Chair got a face lift!
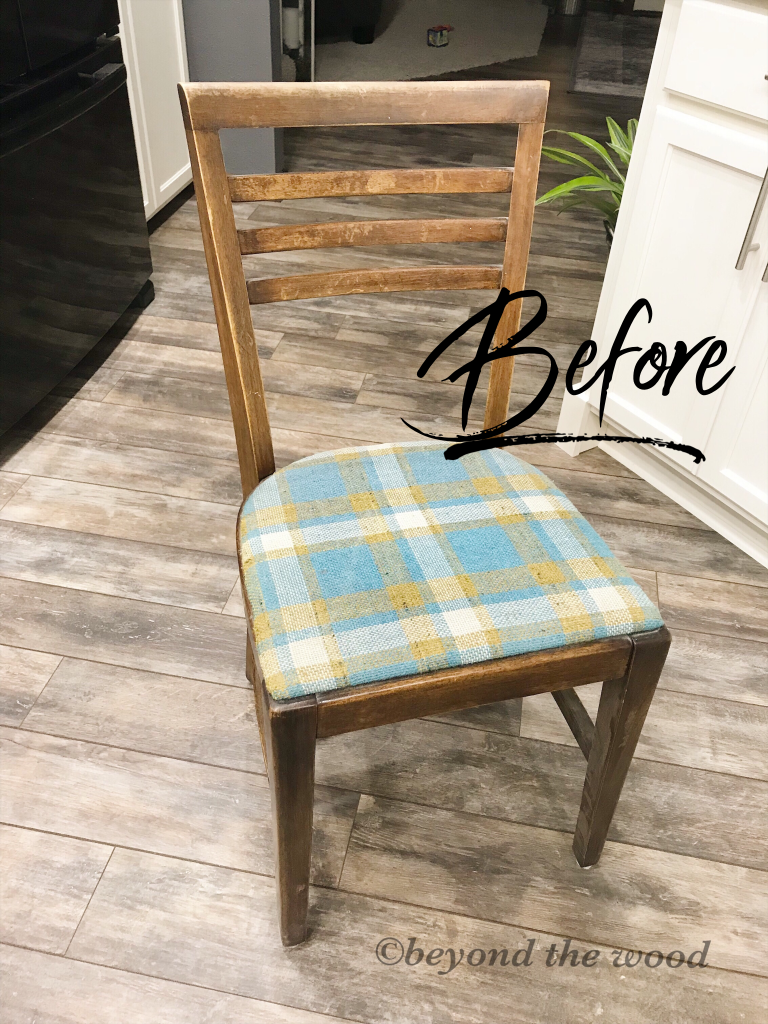
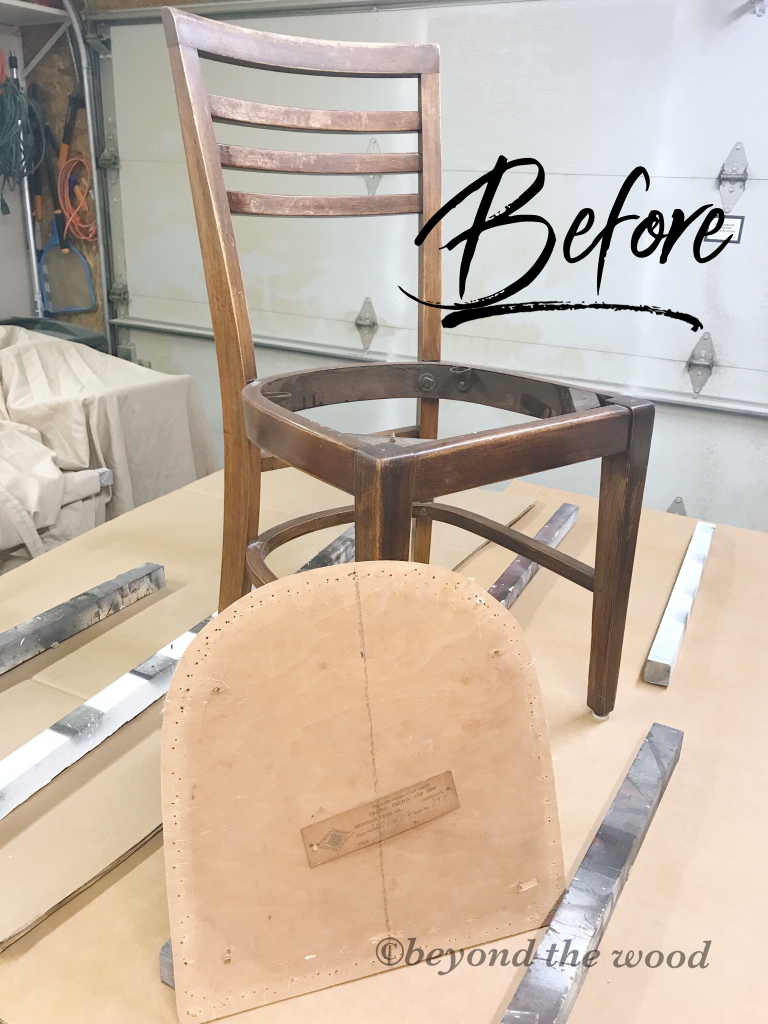
When I left you last week, I had taken apart an antique chair I had been storing in my she shed. It had such great bones but needed a face lift. Here it is before…..
I really wanted a nice simple farmhouse fabric so I headed off to Joann Fabrics. In search of a grain sack pattern because that screams farmhouse to me and I just had my heart set on it. But it was a NO GO. Seriously, they had none. Driving home I thought I would look online because obviously somebody has to have grain sack fabric, right?
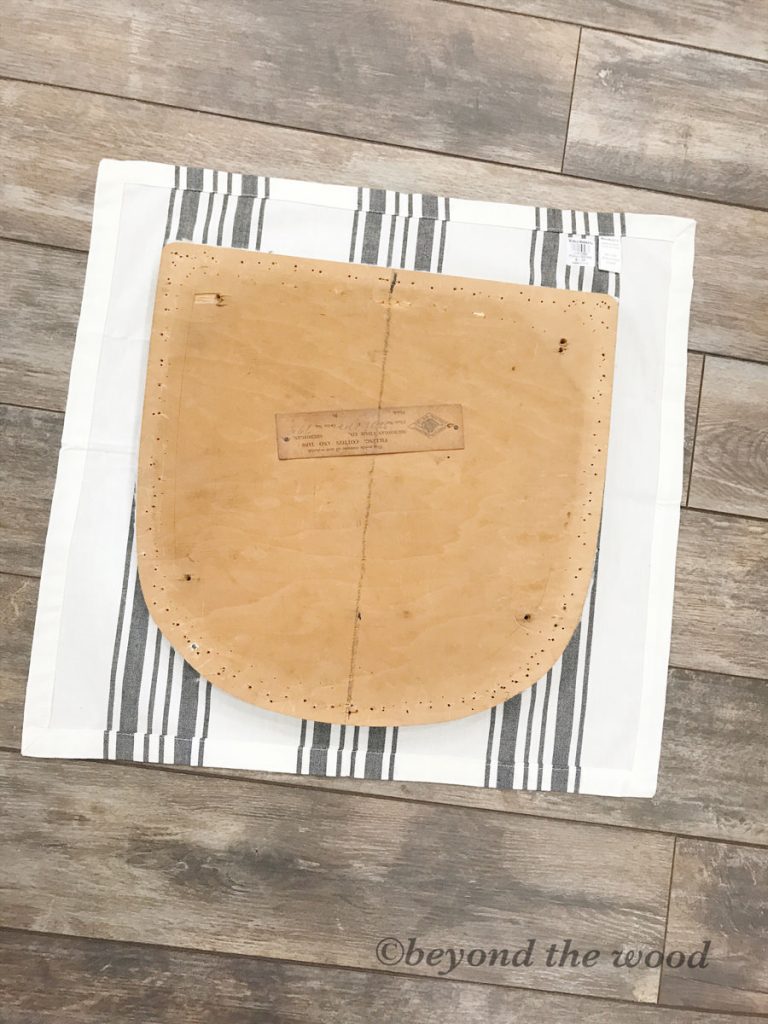
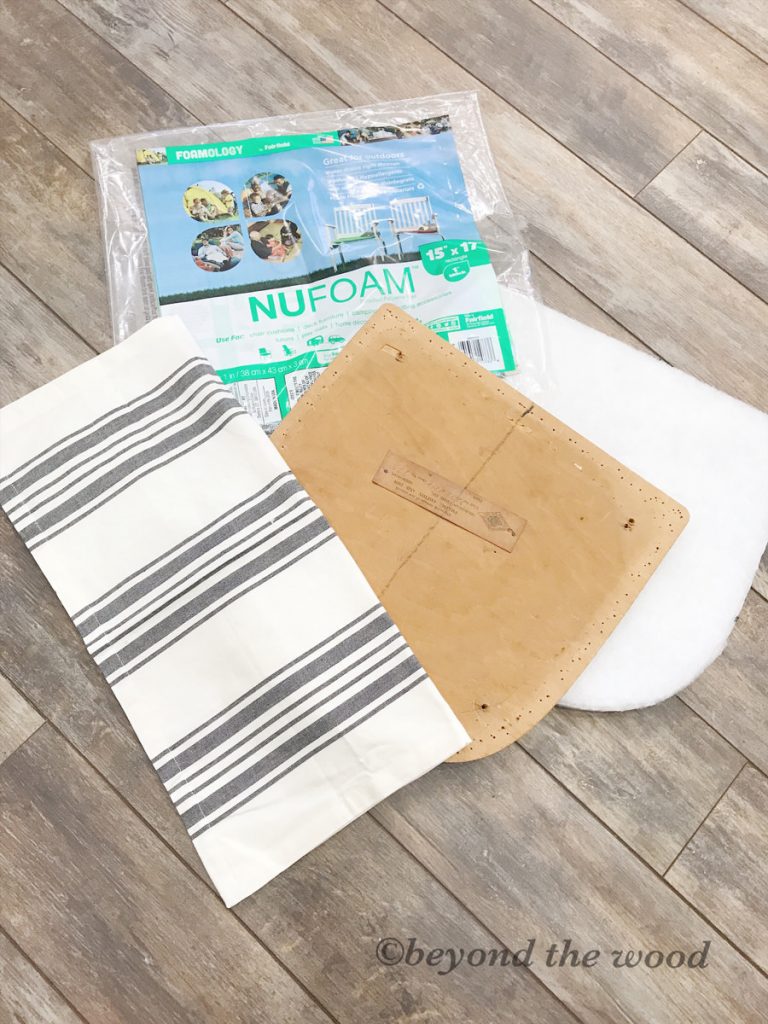
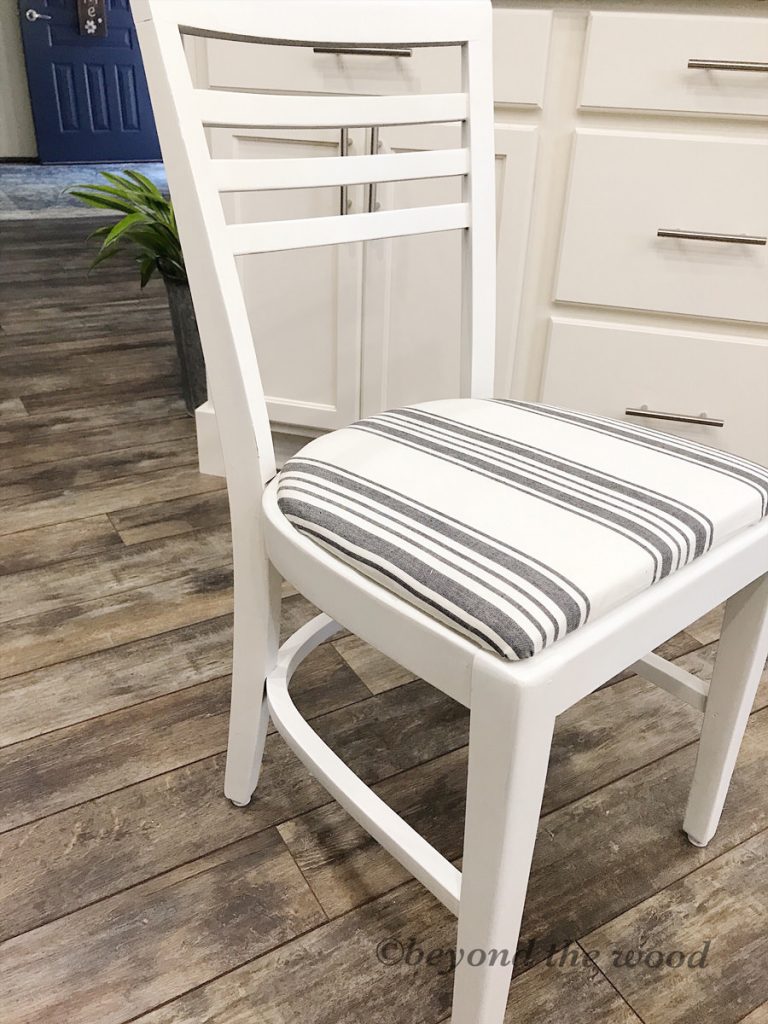
When I got home and I put my other packages on the counter it hit me. There was a grain sack napkin folded sitting under my candy dish. I snatched that baby up and opened it up in hopes it would be the right size. BAM it was perfect! I mean look at the seat of the chair how perfect it will fit.
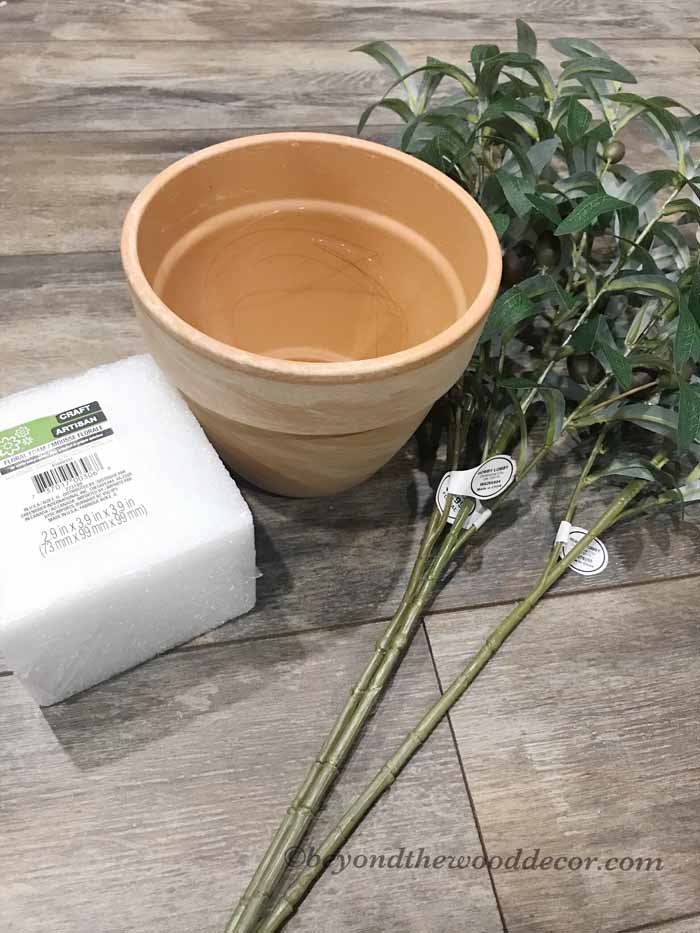
All I needed was to buy a new nufoam cushion for it which was 50% off and it costed me under $5. SCORE! Here are the supplies I used.
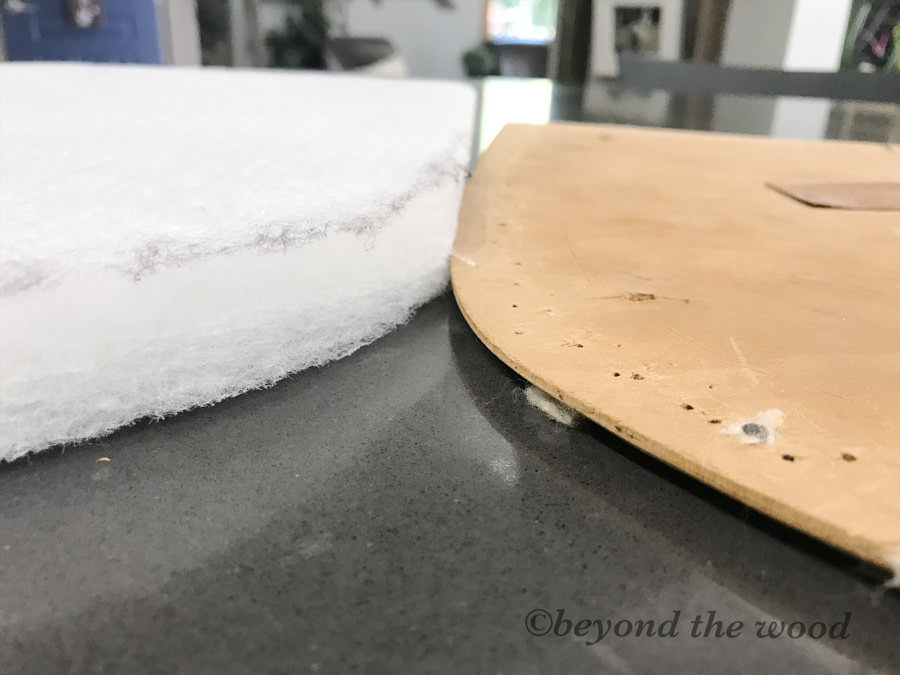
That NuFoam cushion did need to be cut so I just set the seat on top of it and traced around it with a black marker and cut it out. You can still see my marker trace on the foam, oops!
It made the seat so much softer and look how much thicker it is next to the wood seat.
This was such a simple project. To re cushion the seat I just laid the napkin down, then the foam, then the wood seat. Folded over the fabric to the back and I used my staple gun all the way around, stretching it as I went. It was done in no time and oh come on….look at this beauty! How cute is that!!!!
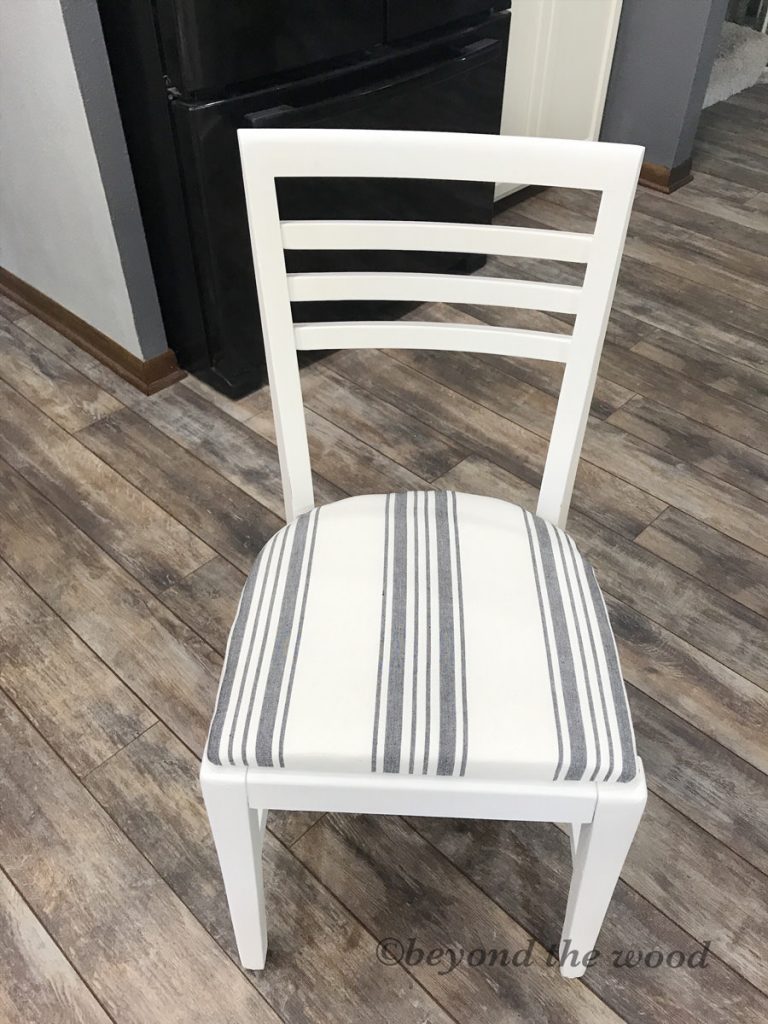
Grain sack fabric is just so timeless and simple. It has been around forever and I remember my grandma on the farm always wore grain sack aprons. I now have one of my own and wear it each day that I work. To now have it all over my house just makes my heart happy! 🙂
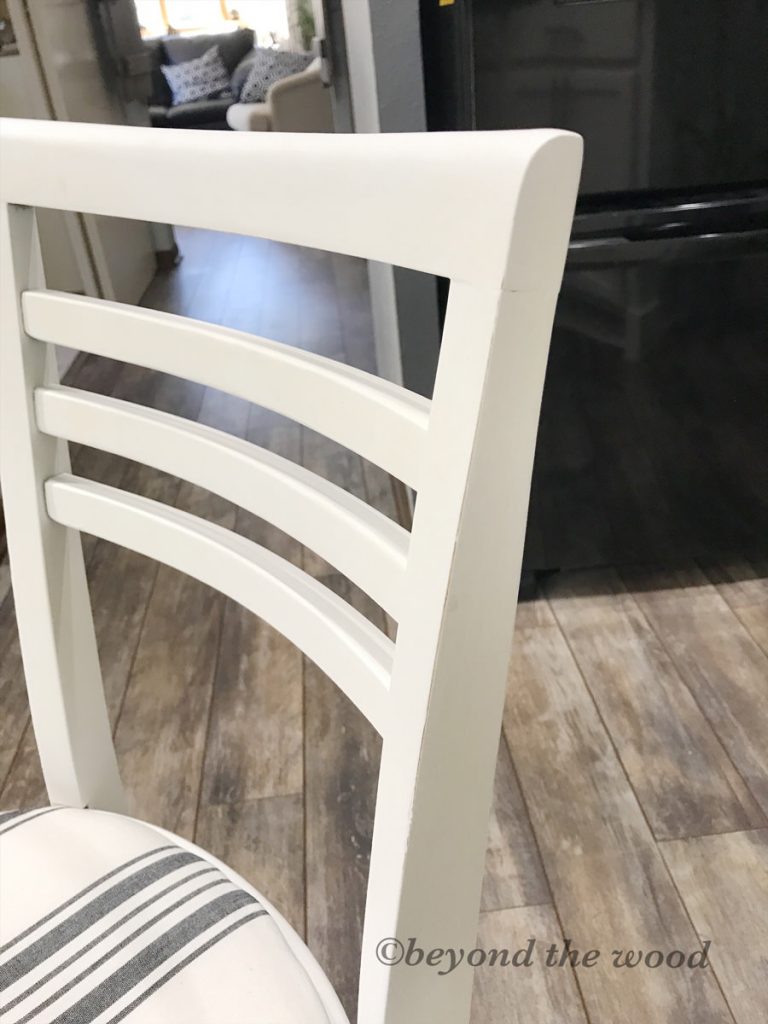
I did scuff up the edges slightly and will be doing more for that distressed look and I think it turned out fabulous!
Hanging Table Project
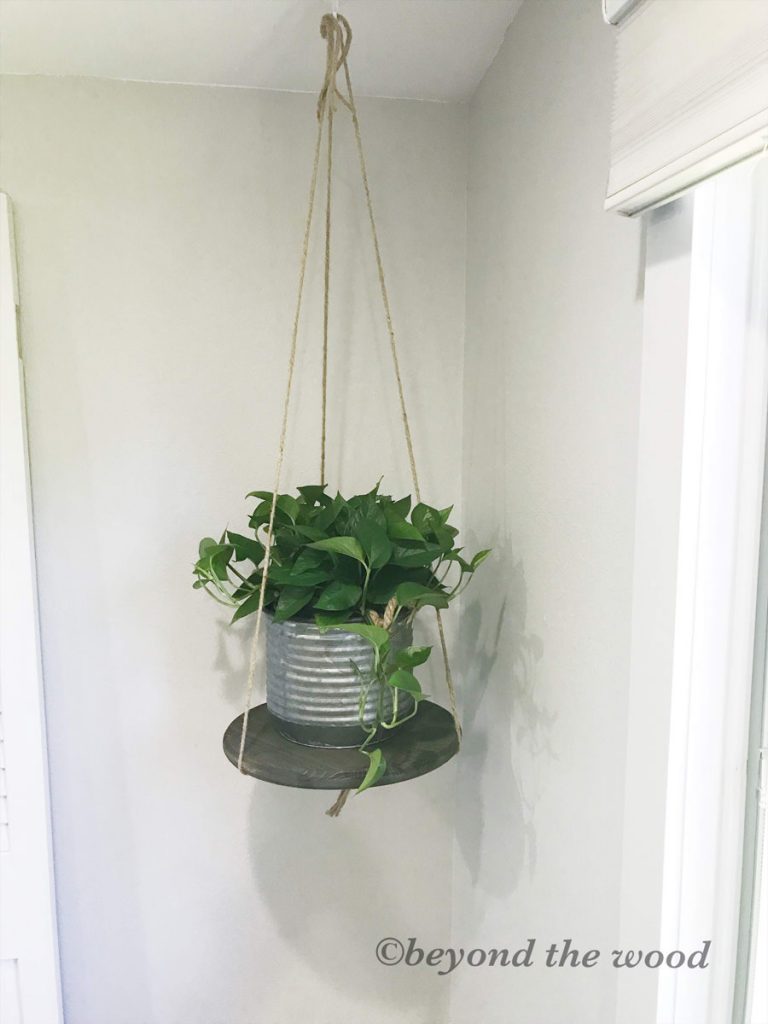
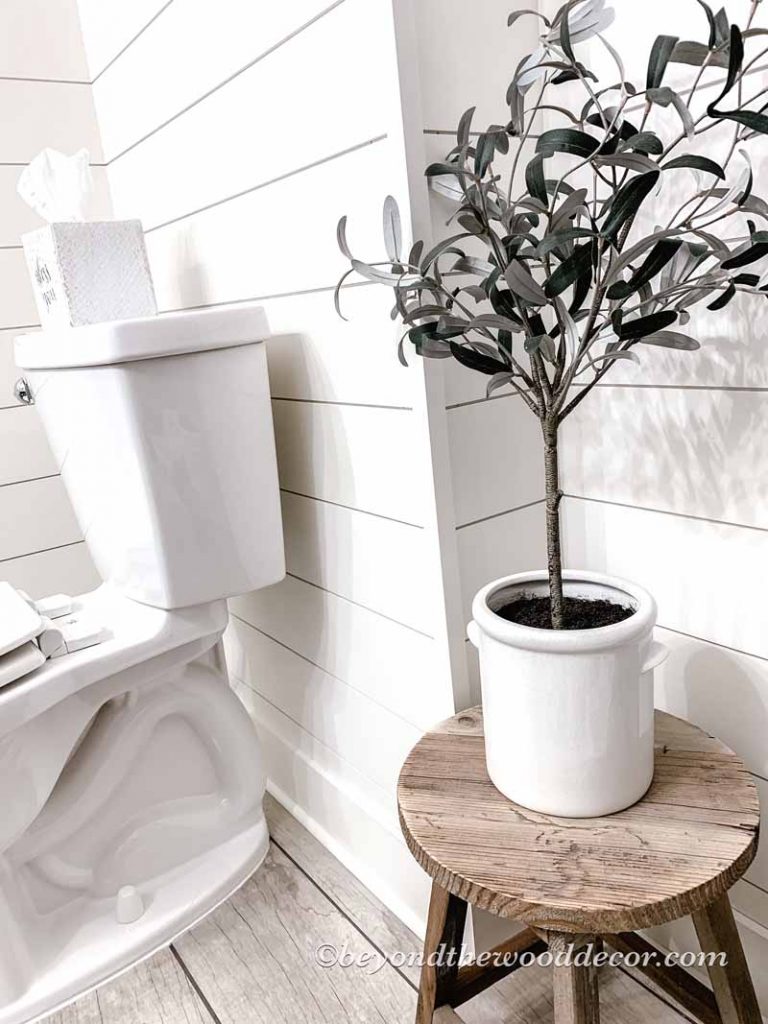
This project is so simple too! I wanted to have a plant in one of the corners of the room next to the TV and window. But I wanted it hanging so it would fill up that corner nicely. Instead of using just a macrame hanger I decided to make a hanging table.
Are you ready….this one is so easy…….all you need is:
~Wood Round (I used the 15″ one for now but may use the 20″ once I get everything in there to see what fits best)
~Stain or paint
~Jute rope
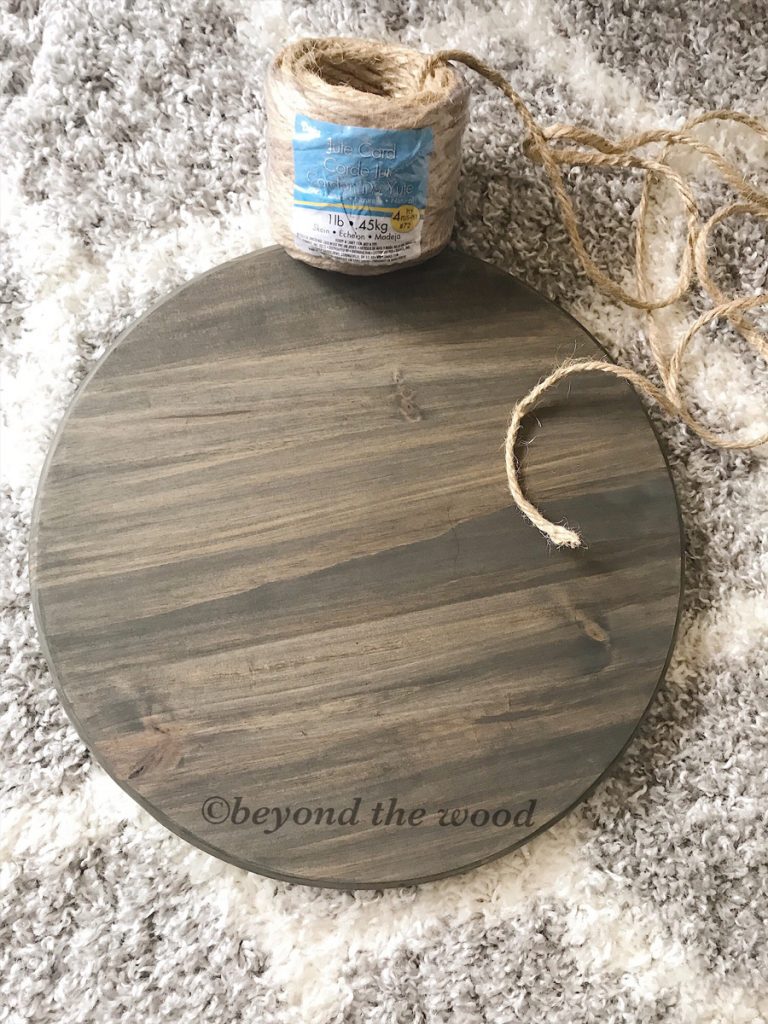
You can buy the unpainted wood rounds already for you to stain or paint from Menards. I believe Home depot or Lowes has them as well. This one I stained already and forgot to get a picture before hand.
All you do is stain or paint your wood round. I did sand mine slightly as the edges are usually a little rough but you don’t have to as I am sure nobody will feel them, lol.
Then once dried measure from the ceiling how low you want your table to hang and add about 22 inches onto that number. That will compensate the diameter of your table, the knot, and the ends.
Cut three strands of the rope the same size according to the number you came up with. Then knot the bottom leaving about 5-6″ extra hanging. Like this:
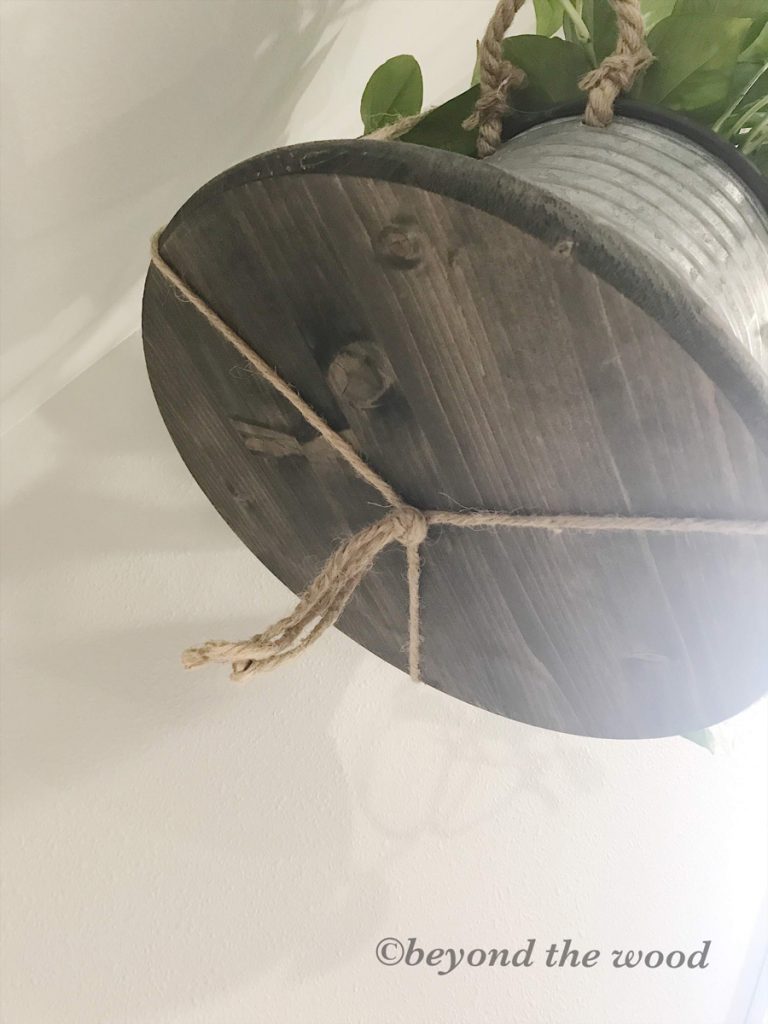
Put your table round in the center of all three strands and hold the whole thing up to the ceiling to confirm the length you would like. Then simply knot the top and again I left about 5-6″ extra on the top just for some added interest. You can cut off any extra you do not want.
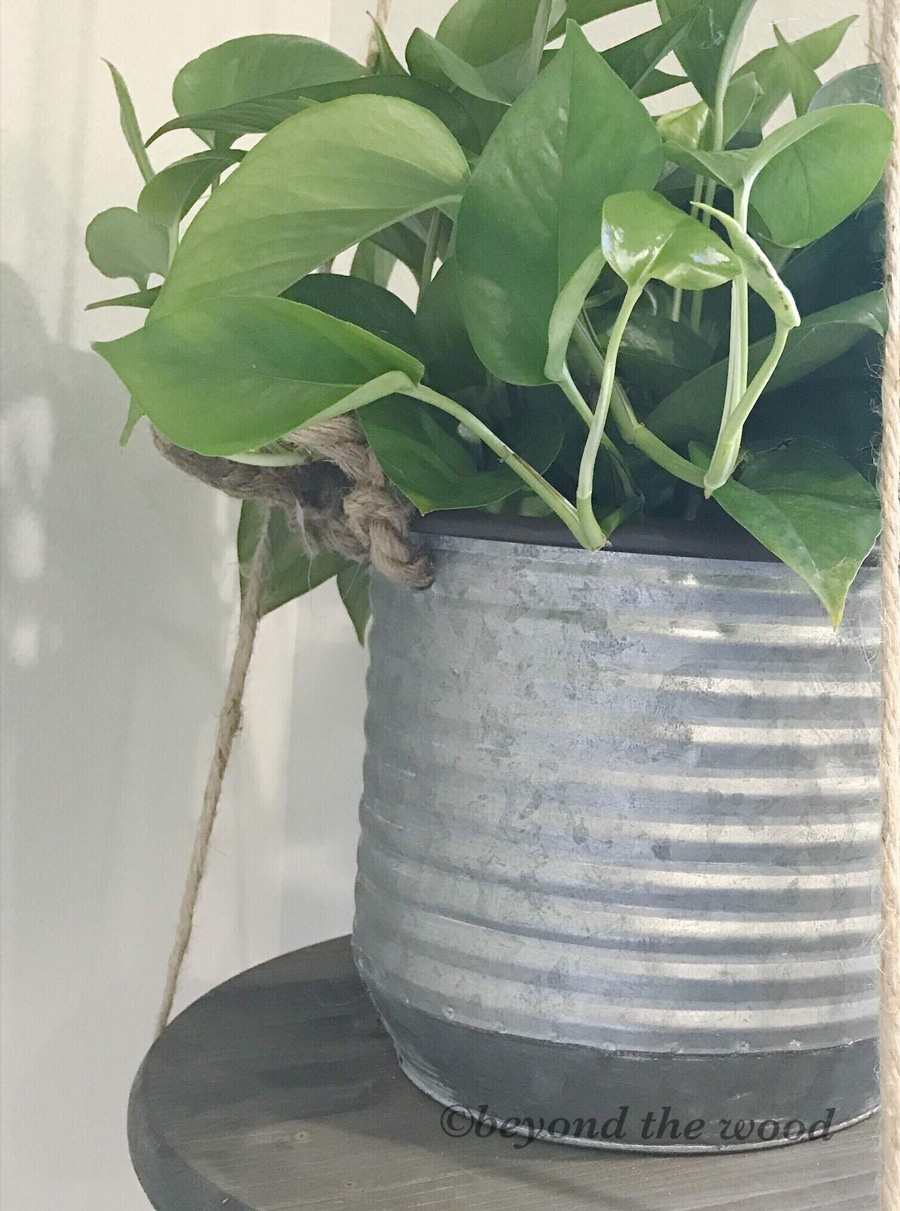
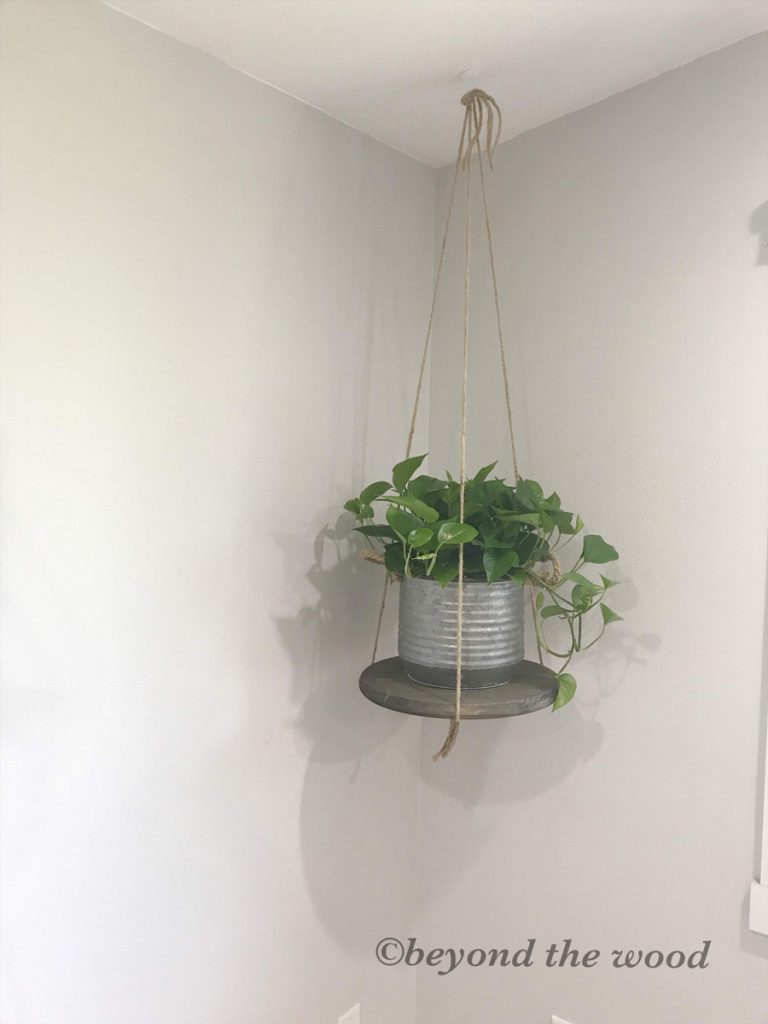
That seriously is all you do and you now have a hanging table. I bought a ceiling hook and hubs hung that baby up and look how cute it looks in the corner! I got the plant from the garden center at Home Depot and the galvanized container I already had. Of course you can put whatever you would like on your hanging table. Ideas are endless.
If you are unable to make one or just do not have the interest on shopping for the supplies I certainly can hook you up with one. 🙂 Just ask and I am happy to quote. 🙂

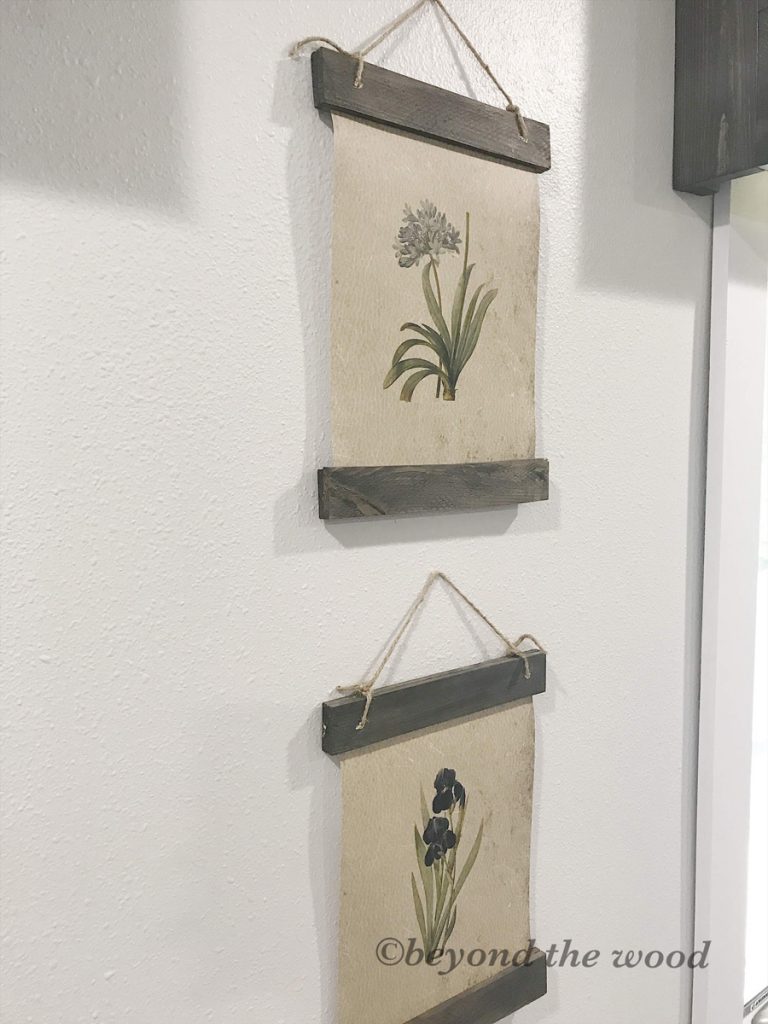
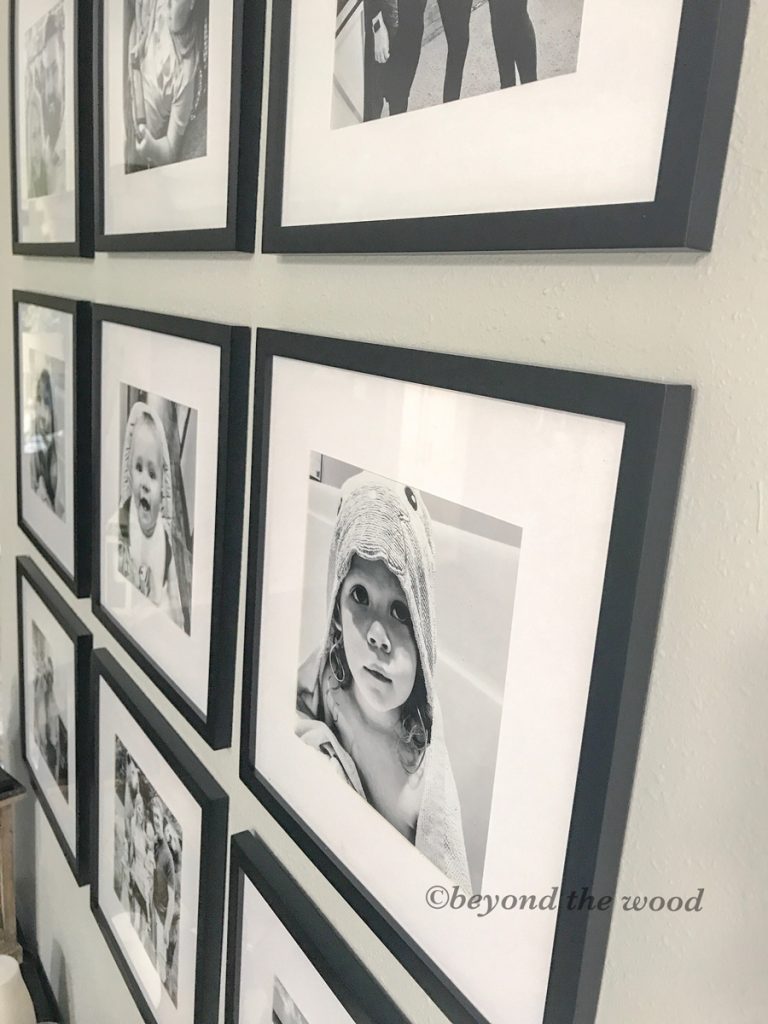
Botanical Art Project
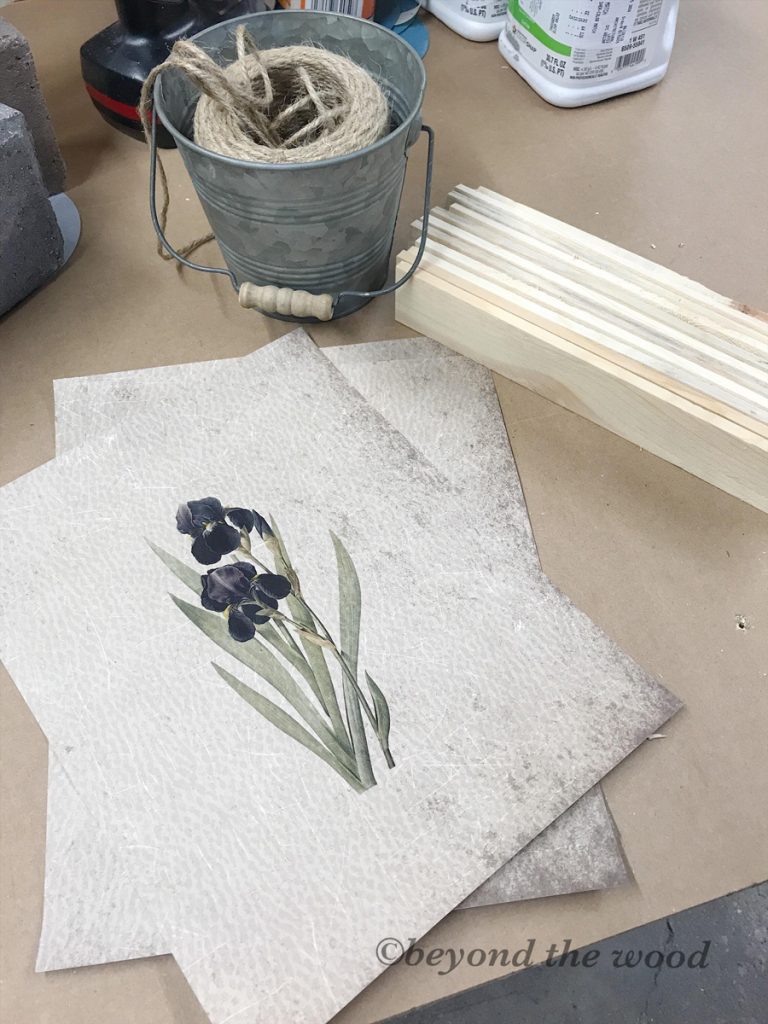
Onto another project I enjoyed doing and it turned out so cute. I love botanical prints on antique looking paper. They look so vintage and dreamy! So I set out to make my own. Here are the supplies I used.
~Prints I designed
~Twine
~Furring strips
~Stain
~Wood Glue
This had a bit more labor involved but in the end it was so worth it. Here are three of them finished!
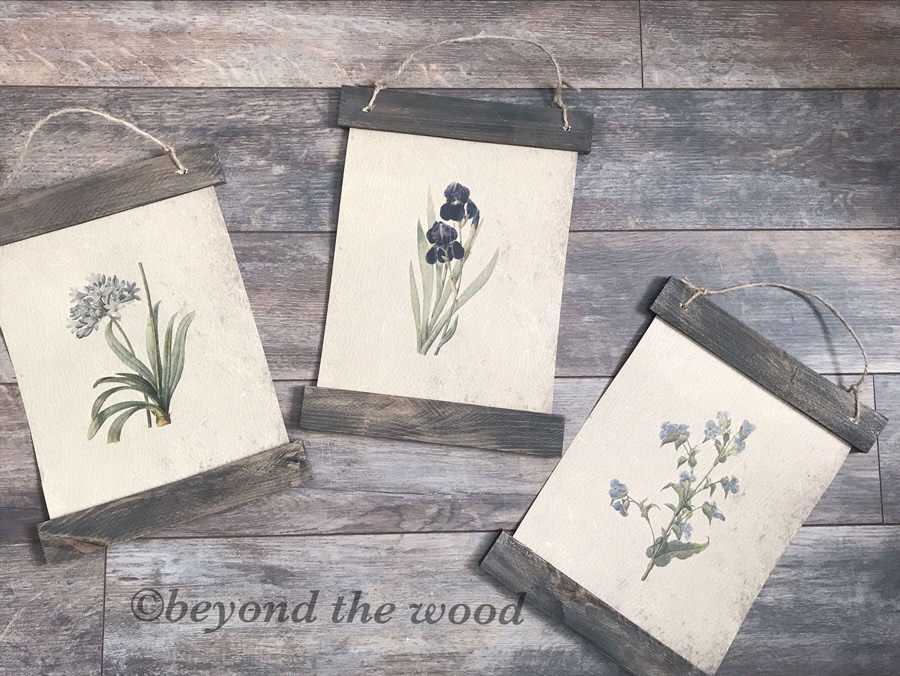
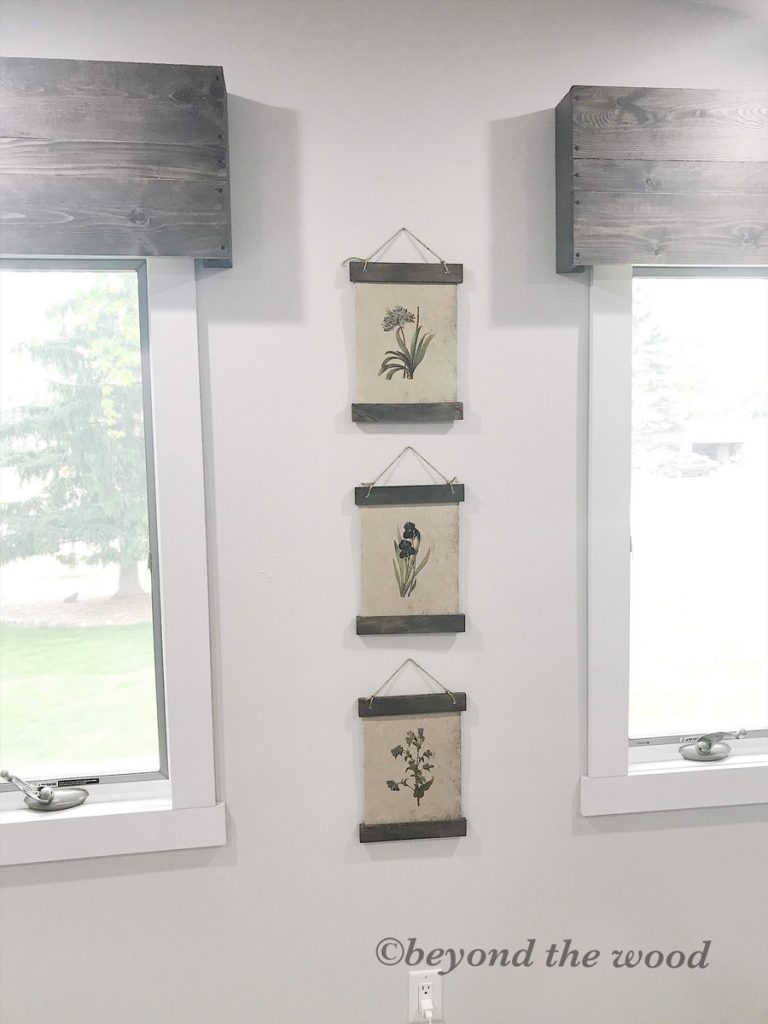
Are they adorable or what?! I hung them before we hung the valances so I now need to move them up higher! But I was thinking ahead and only used sewing pins to hang them which is a tiny little hole to fill. I will be hanging them with more decorative hangers so these were just temporary anyway so that’s good.
Ignore the little extra strings on them as I see I need to cute them off yet. I was just so excited to get them up and see how they will look. lol
In the photo above you can see we also got the wood valances hung. They turned out super cute and add so much design to the windows. I love all the light that can now come in!
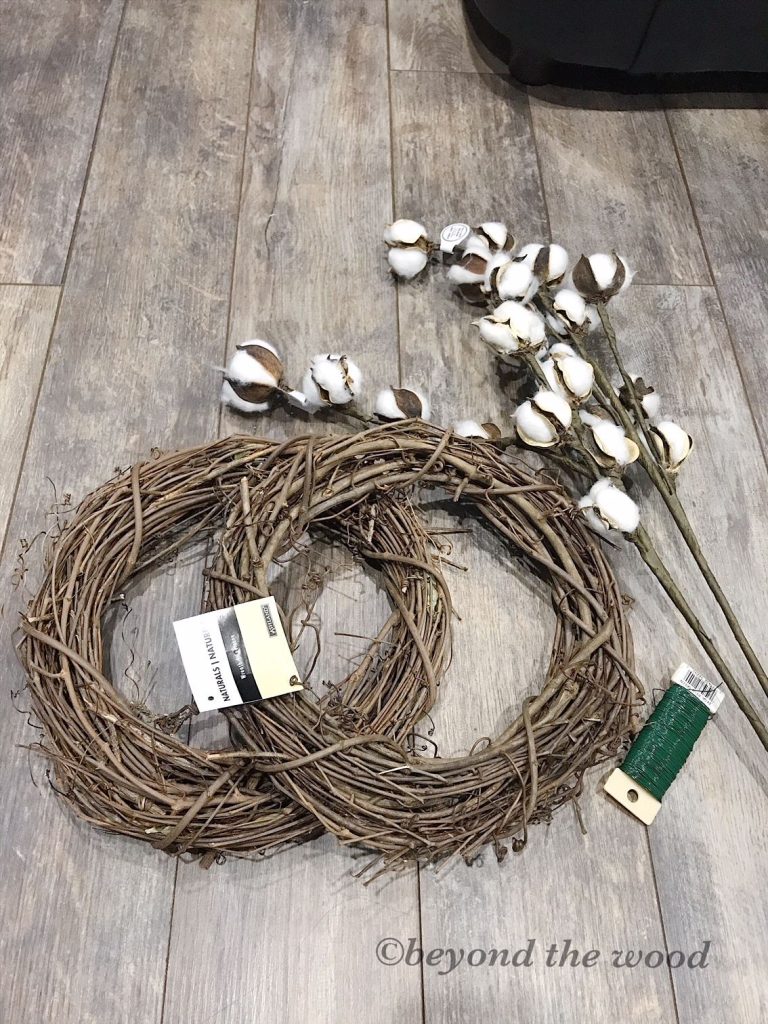
Cotton Stem Wreaths Project
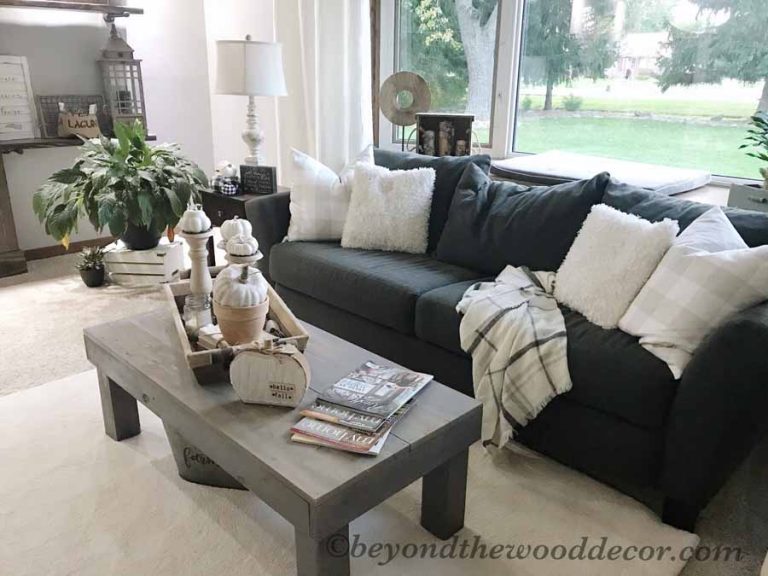
Onto my love for cotton stems. They caught my eye on Fixer Upper years ago when Joanna Gaines always decorated with them. She also has them in her farmhouse. So of course anything that Joanna does I am so attracted to. 🙂 Her and Chip are my favorite, ya know! lol
Here is a bouquet of them I have in my home on the front window seat.

For my wreath project I needed the following
~2 natural grapevine twig wreaths from Michaels craft store
~wire
~greenery
~burlap ribbon to hang up
I initially did not plan on adding greenery but in the end it needed a little. So this bush I had in my stash and I just cut a few stems off of it.
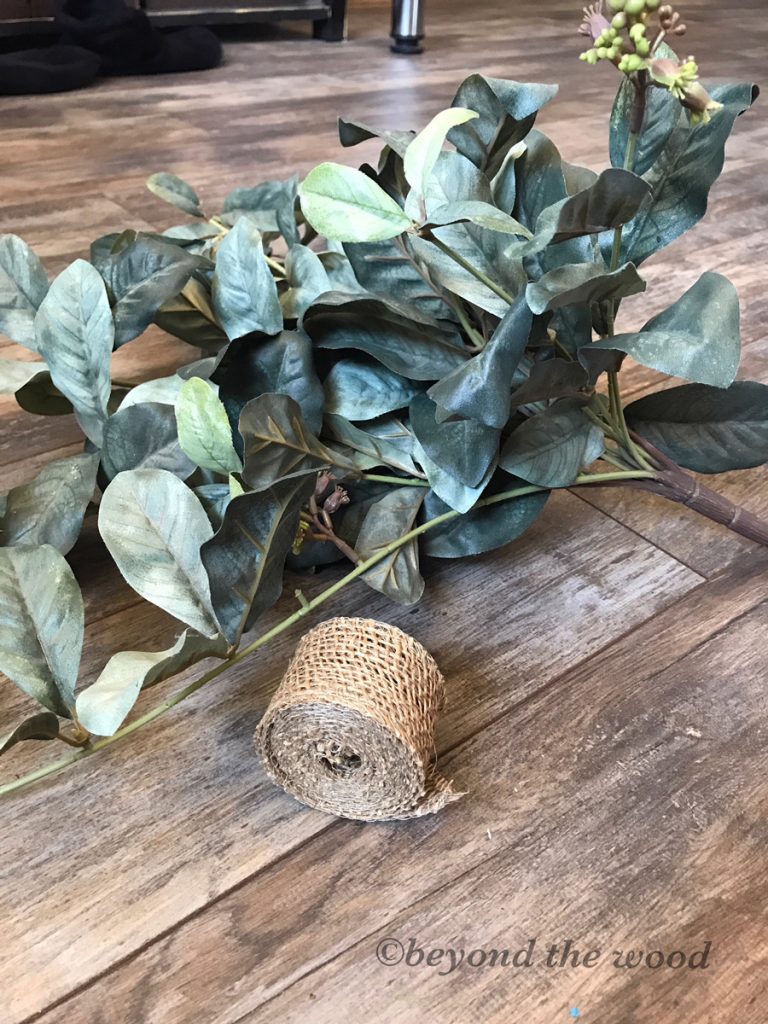
Here is how they turned out. It was so easy to do. With a good wire cutter cut the stems to the desired length and stick them in the wreath. I did cut a little wire and wrap it around to secure it in place doing the same with the greenery. Adding little stalks here and there since it was such a small wreath. You could also use a glue gun so whatever you have available will work.
These two wreaths will go on the bifold doors in the room. They are just so adorable. I think I will use the burlap ribbon to hang them.

Wood Sign
Lastly, I did make a couple signs for the room. Of course I love them both! Unfortunately, I only have a picture of one of them for now but will share the other one very soon.
This one was a must have in hopes I will see it as I go to bed. I am one to carry my thoughts, or worries to bed with me and it makes for a restless night. It will be a reminder to just give it all to God and then go to sleep. I really love this design, finish and reminder! Adding a frame later down the road might happen but for now its perfect!

Well friends that is all for this post. The carpet cleaners are coming today so guess what that means. As soon as the carpet is dry I will be putting everything back in there and so excited to get the bed up and dress it with my new linens. Then decorate the room with everything else I have done these past weeks. So the end is very near. I have a few things I still need to do for the room but will share as they get done.
But for now work is calling and I must go! lol
Thanks for hanging out with me today and stopping by the blog. I hope you enjoyed seeing my progress!

UPDATE: to see previous posts on this makeover click here:


Very nice Tammy
Thank you Janean!