Day 1 Bedroom Makeover
Well here we go onto another project. But this time I am going to take you along so you can see all the steps along the way.
First off, let me start by saying this one will take many weeks and possibly into a month or so. Why? Because I work with many realtors and this time of year is their very busy time. So each week I am given a list of monogram signs they need completed for their closings gifts and I always have (1) week to complete them.
So this week here is my stack of what needs to be done.
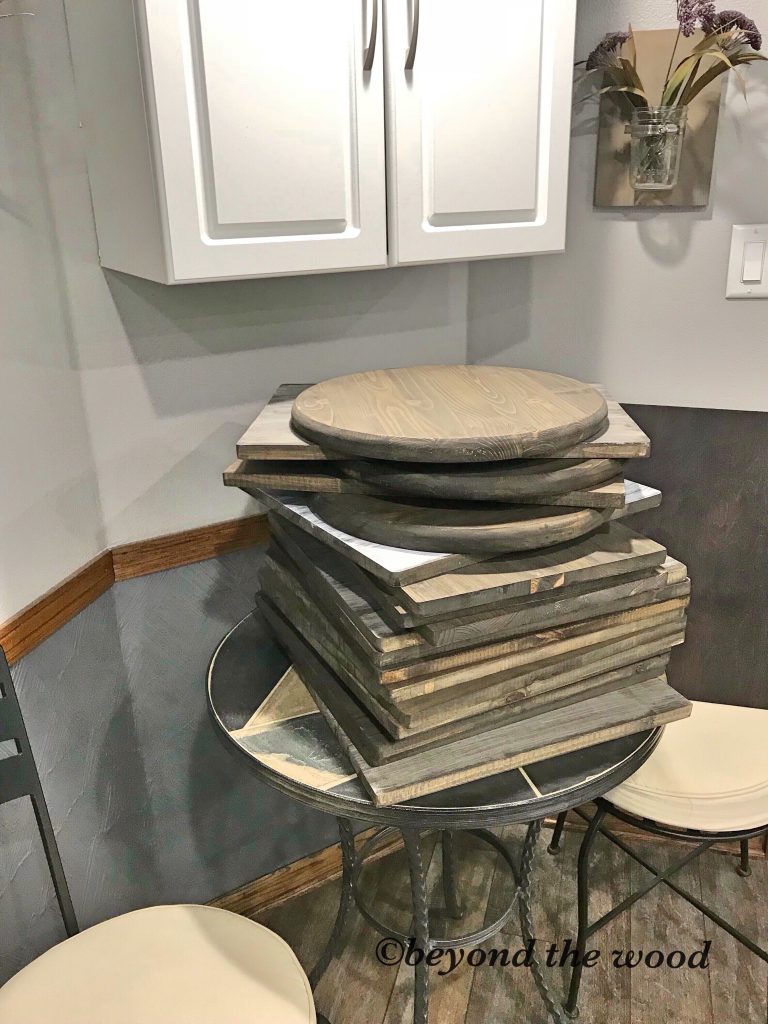
As you can see it is alot! My project will then always be put on hold while I do these orders so that is why it could take awhile to complete.
Picking Paint
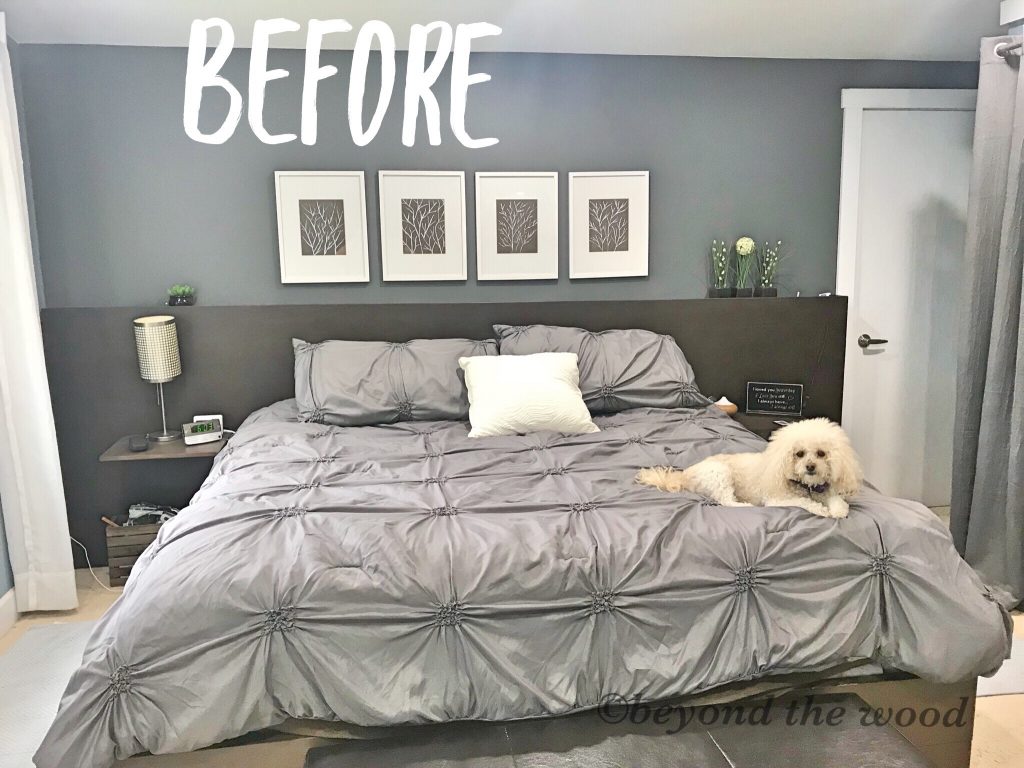
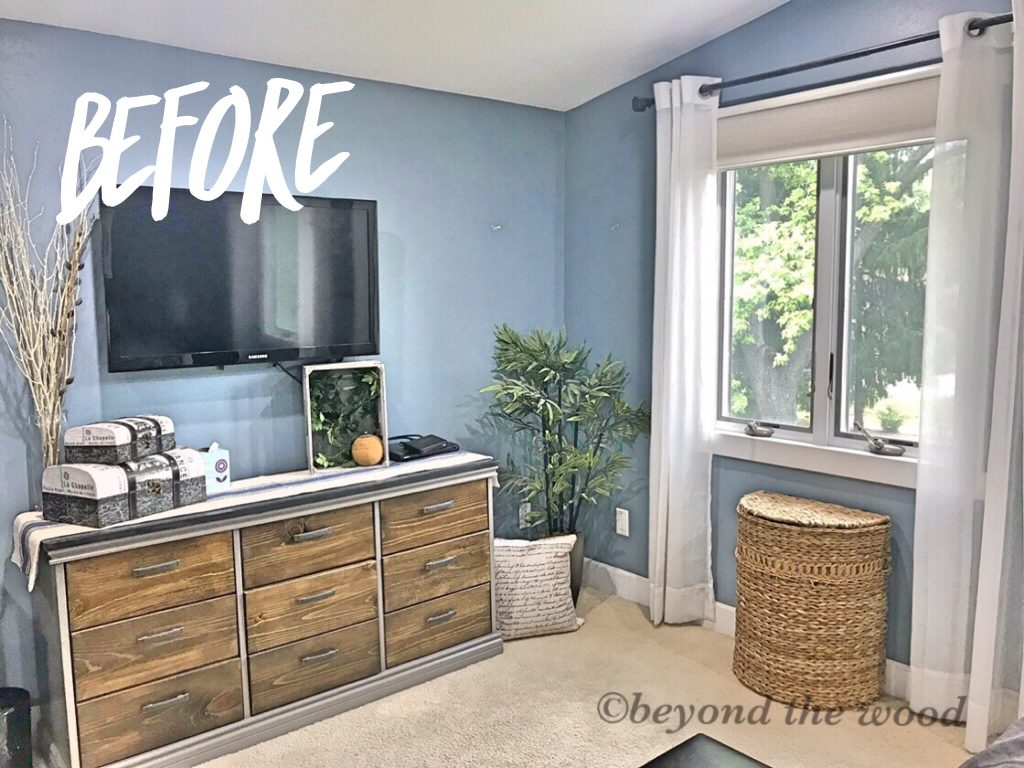
The first step to any room makeover is picking the paint. This sometimes can take me months to do because there are a gazillion colors. Okay, maybe that’s an exaggeration but you get it! lol I got lucky this time and it only took me two weeks. Our room is currently this shade of blue and one wall dark grey.
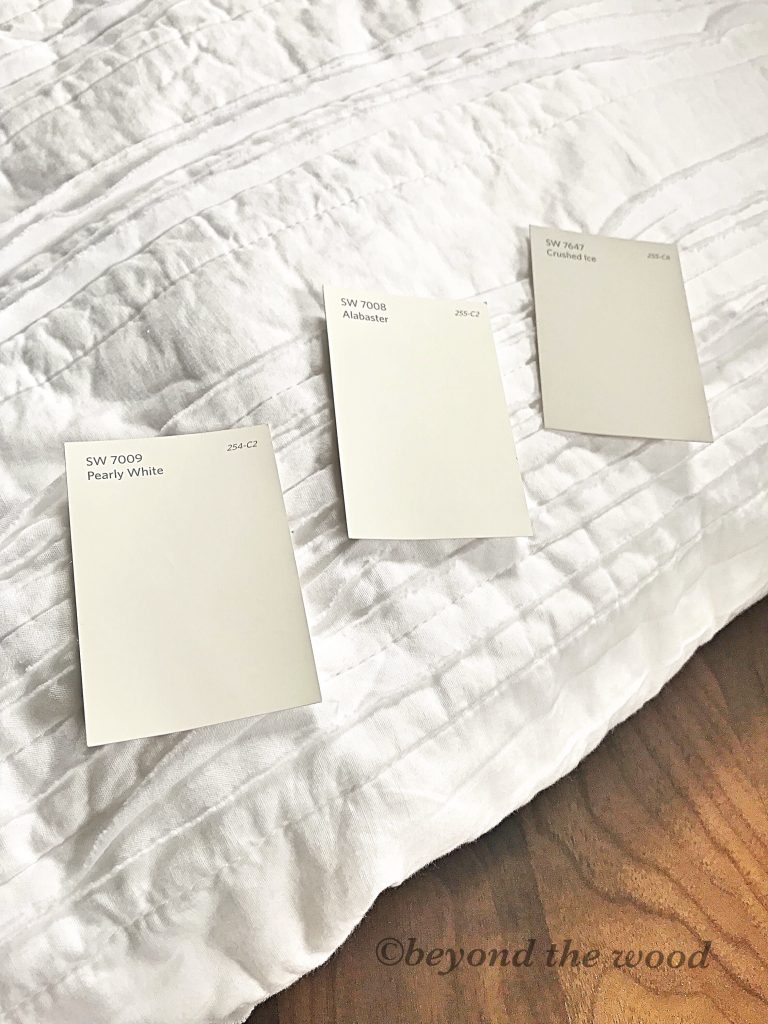
We have had this paint and decor for 10 years now so I knew I wanted a complete change. Going lighter was priority and as much as I wanted white I was still afraid of all white because I had already picked my bedding out and that is also white. Here are the 3 color choices I narrowed it down to up against the blue. Normally I would buy sample sizes to paint on the wall but this time I was bold and just winged it!
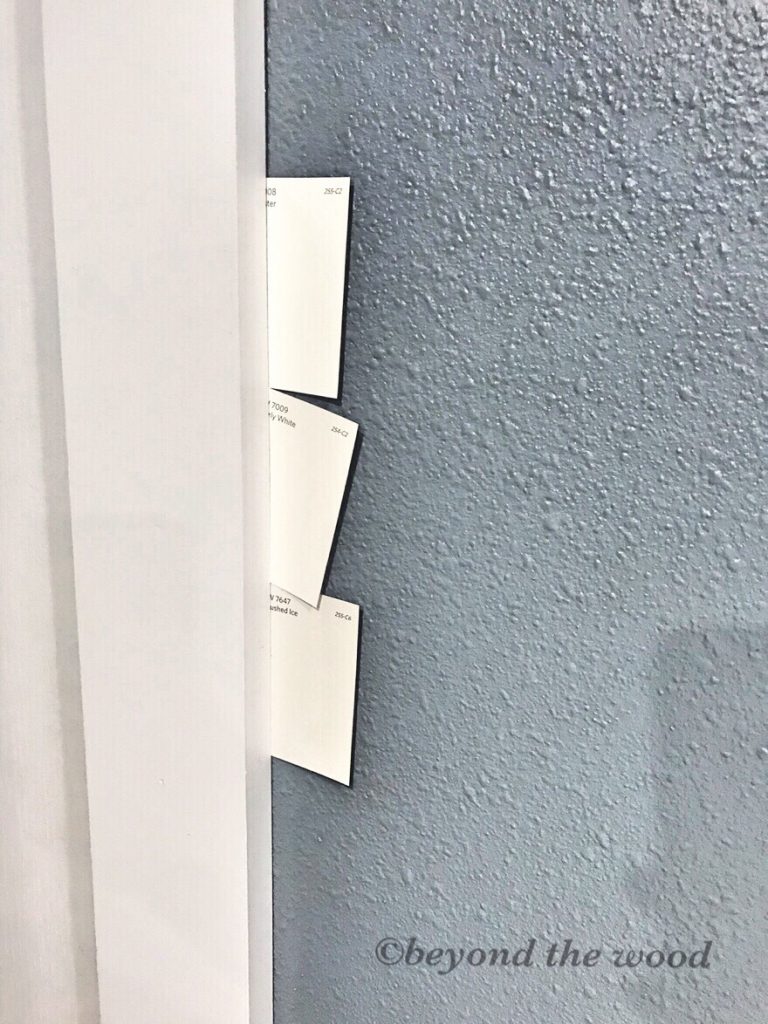
They are all much lighter and similar so it was then a decision up against the bedding I had already bought. Our trim in this room is a soft white so I knew I wanted a hue different from that. As you can see against white they are for sure different which is what I want.
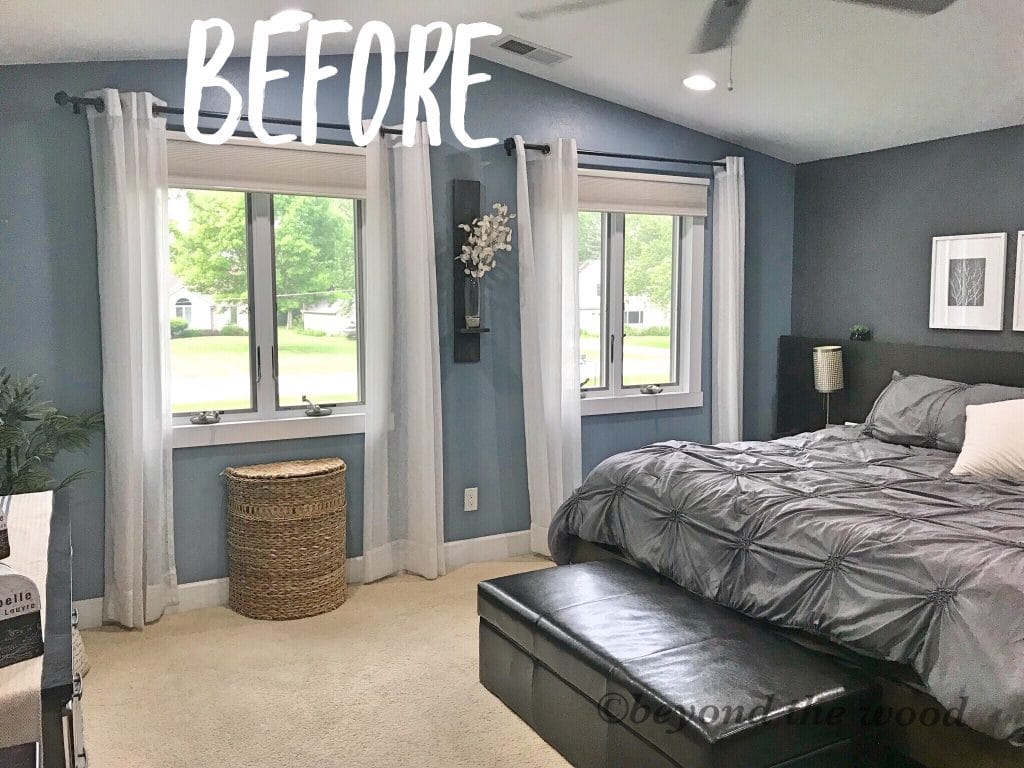
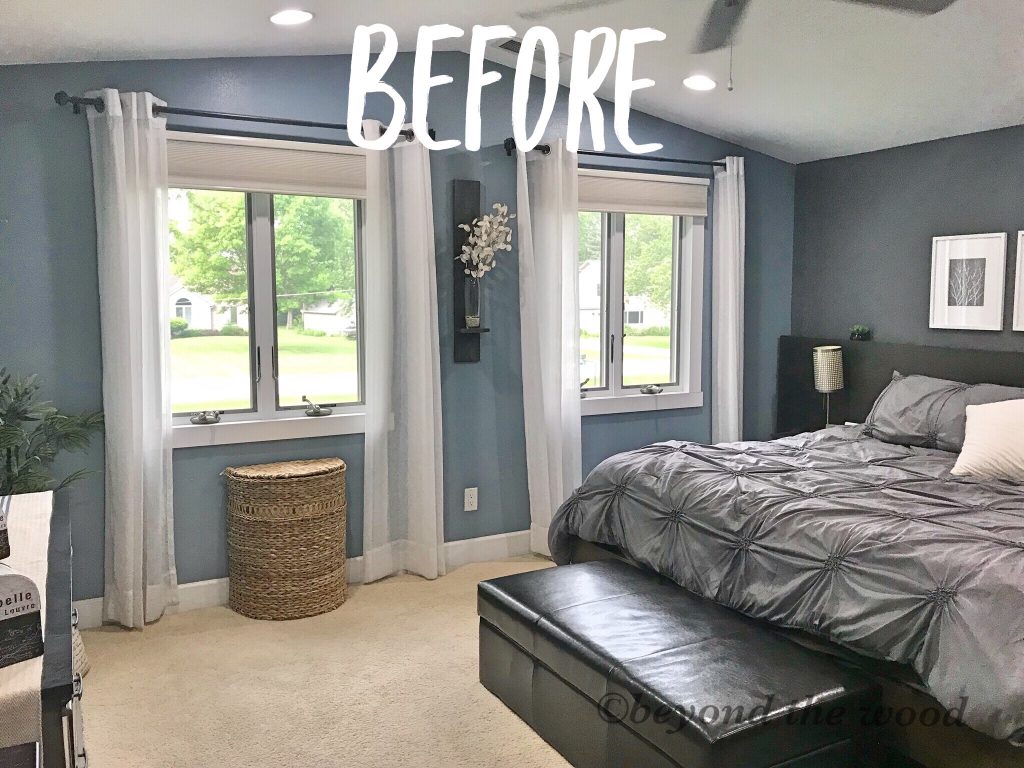
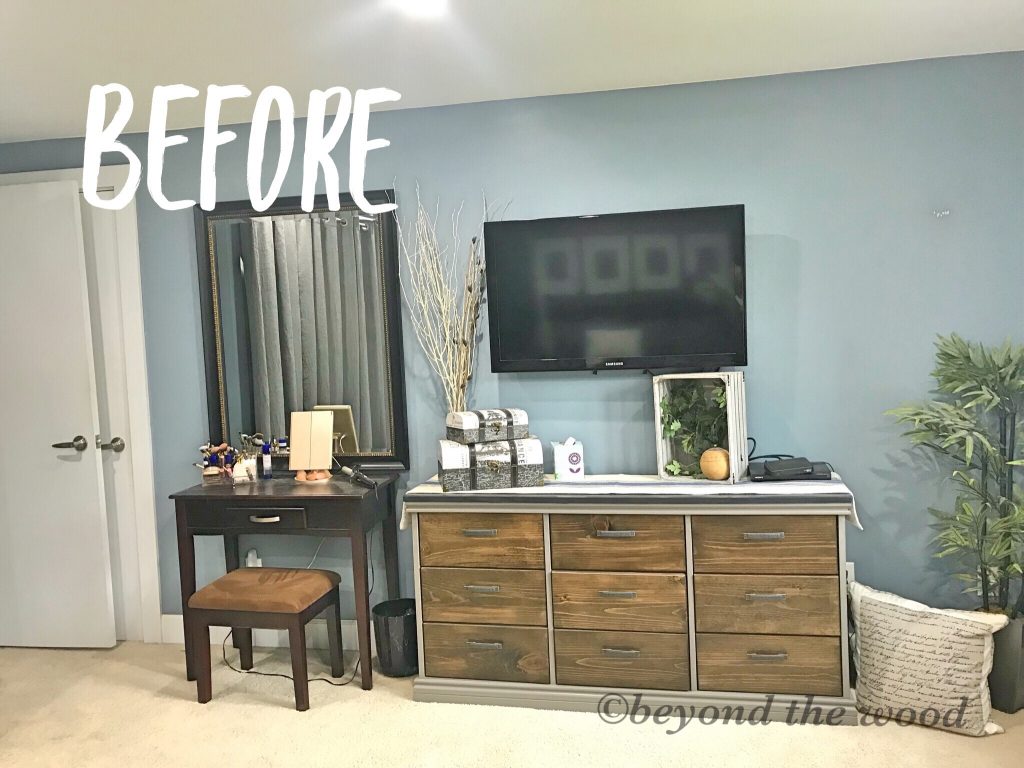
As I starred at the room and these “before” photos I made a list of everything I wanna change.
~New carpet! This is so old and worn so it needs to go. I really wanted laminate wood floors like in my office and kitchen but hubs was not game. This past winter we removed some carpet from our family room and office to lay down new floors. He thought it would be best to put it in that room since it was still in good shape. Economically it was the right decision for now but I still wish for wood floors and a big rug some day. 🙂
~The dresser needs to be lighter so it will be getting some fresh paint.
~A bench at the back of the bed needs to go back there. Many years ago I took it out to use in my living room and I put this storage coffee table there in placement of it. My dog is small and she needs something to jump on to get up in the bed. I miss the cute bench I made many years ago and will be putting that back after I fix it up.
~The headboard needs a full makeover along with the night stands. Hubs made this one 10 years ago and I absolutely have loved it. The top has rope lighting in it which is controlled with a remote. It can be changed to so many colors. Here I have the blue light on. At night it is so soft and pretty.
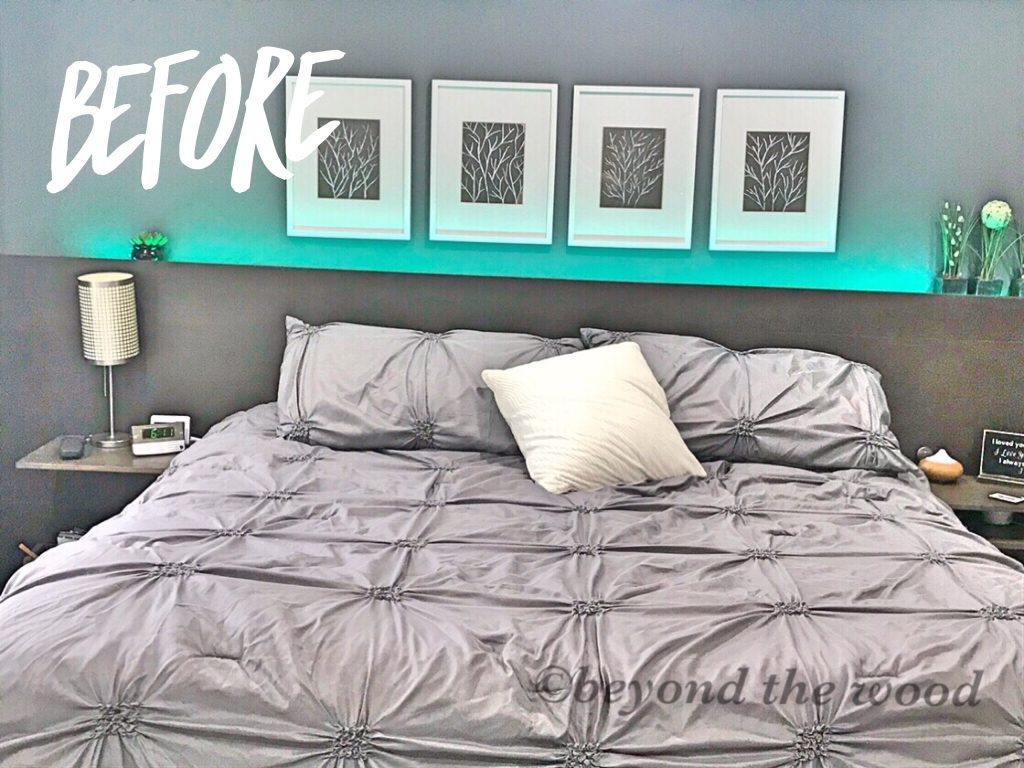
I love that about it because hubs is always in bed many hours before me so I like to read in bed so having a really soft light in there is a must and this was perfect. But I am over the dark brown and need a change. This bad boy is 12 feet long so not an easy thing to get down in the shop to work on, but hubs will get some help to carry it down.
~Another must is hiding the cords from the TV. Right now they are hidden behind the crate but I am sick of that look so I will be changing that up a bit.
~Closet doors. I have always had curtains on this closet because once you slide them all open the full closet is revealed and I love being able to see everything. Plus curtains add some design and texture to that side of the room. But with any room makeover when you have something for 10 years it is nice to shake things up. 🙂 So I am looking into other options for that right now.
~Wood cornice boards above the windows is the look I want this time instead of the curtains. So I will make them. They will be just like the wood ones I shared here weeks ago.
~Makeup vanity also needs an update. This is actually just over a year old but since I am going with all light colors I may spray that as well or move it to another room.
~New decor for above the bed. Ten years ago I had my girls and myself paint stick white trees on brown paper. I knew I wanted the simplicity of them in the room and I thought it would be fun to incorporate each of my girls art in the room. I then framed them and they have been perfect. But now I have another idea for the space which I will make!
Day 1 of the bedroom project
Last weekend I moved as much out of the room as I could except for the bed and dresser.
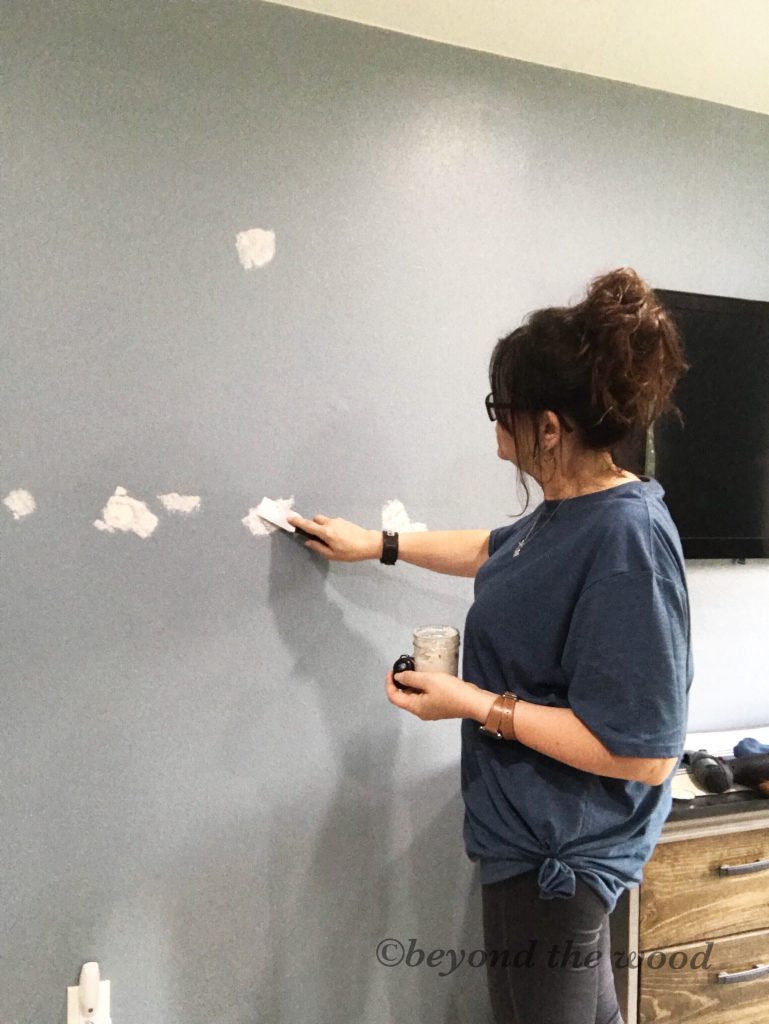
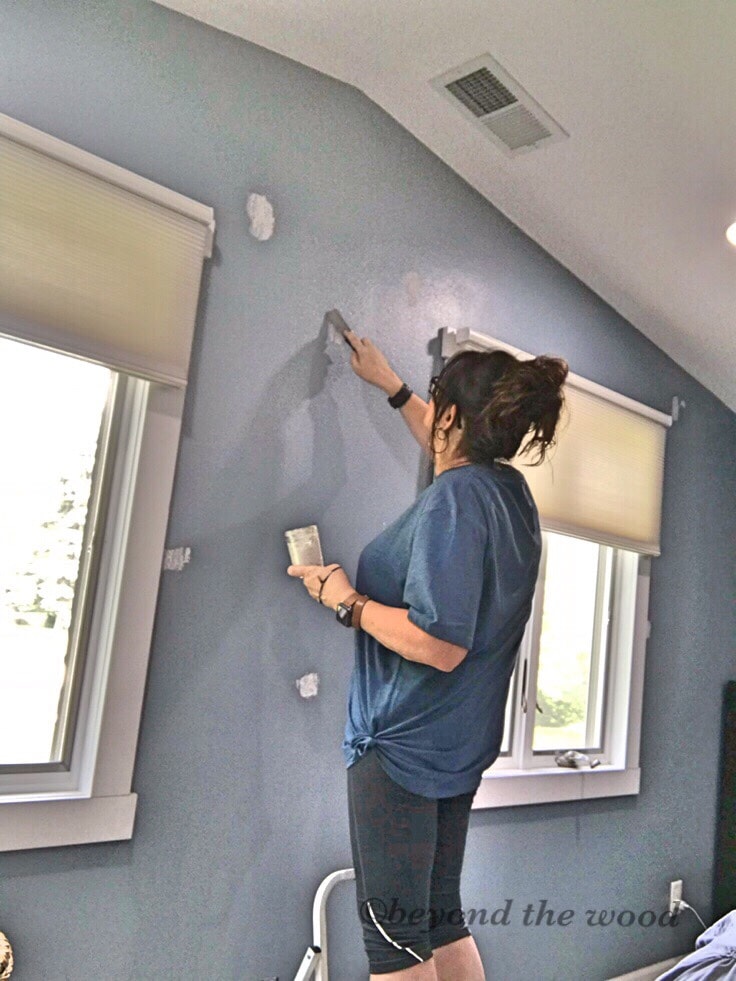
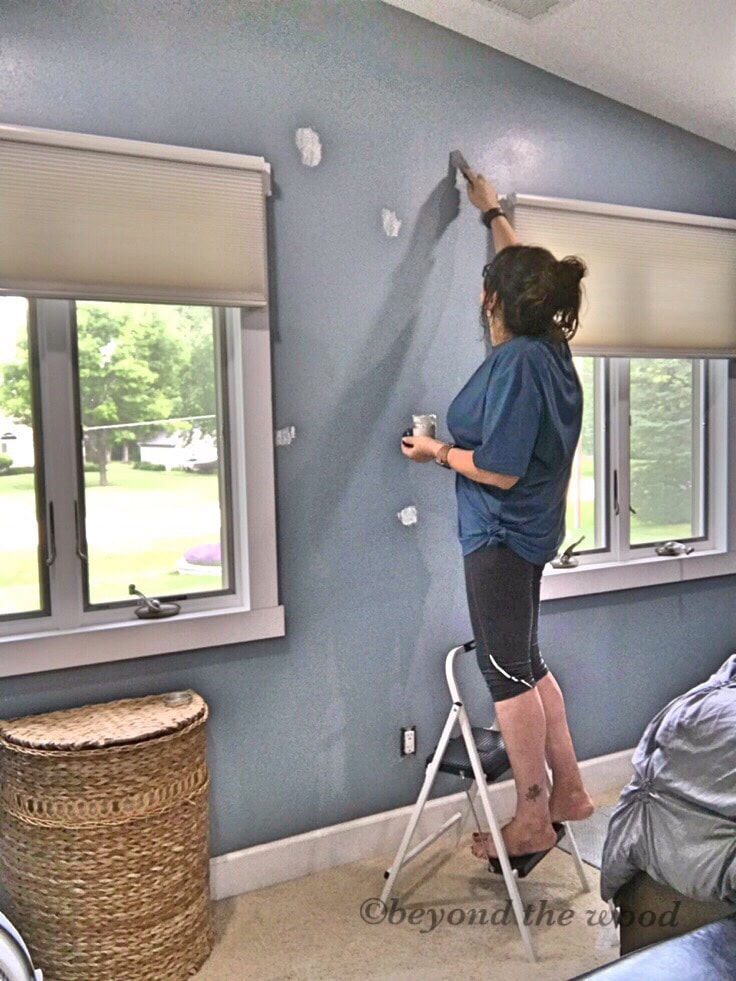
I then took everything off the walls to prep for paint. Filling in the nail holes, chipped paint and any other flaws in the drywall. I used joint compound that we buy in a big container but I put a few scoops in a mason jar for easier handling. This is available at all hardware stores or Amazon as well. I apply it with a putty knife. I also removed the curtains and rods as I don’t think they will be going back up.
Lastly, I removed all the outlet covers and light switch plates. For this room I chose not to tape anything off. I have a really good angled brush that will get me close enough to the trim to cover the blue without getting on the white.
That was as far as I got before I needed to work on the orders. Next up will be paint so stay tuned as I do little by little.
Thanks so much for stopping by the blog today. I hope you will follow along as this bedroom gets a whole new look. It will be so bright and rustic and I am excited for the end result!
Enjoy the rest of your week!

UPDATE: To see days 2, 3 4 and the reveal you can follow here:
Day 4 Bedroom Makeover Project Day


Looking forward to seeing all your updates in your bedroom
Oh good I am happy to hear that. It will be a lot of fun!
Hi Tammy – looking forward to the updates as well. I wish I had half the energy you have 🙂 And thank you for always sharing your redecorating ideas with us. It inspires me to finally make some changes!
Oh Sue that seriously makes me so happy. I am doing this to help others and inspire people so I am so happy you are enjoying it. Thank you for the feedback, it helps me to continue doing it as well!
Looking forward to seeing the finished room!
Thank you Ashley, I am excited to get it completed and share it as well!