Day 3 Bedroom Makeover
Hey friends, just a quick post updating you on the progress of our bedroom makeover.
For those of you that are new you can catch up on earlier posts here:
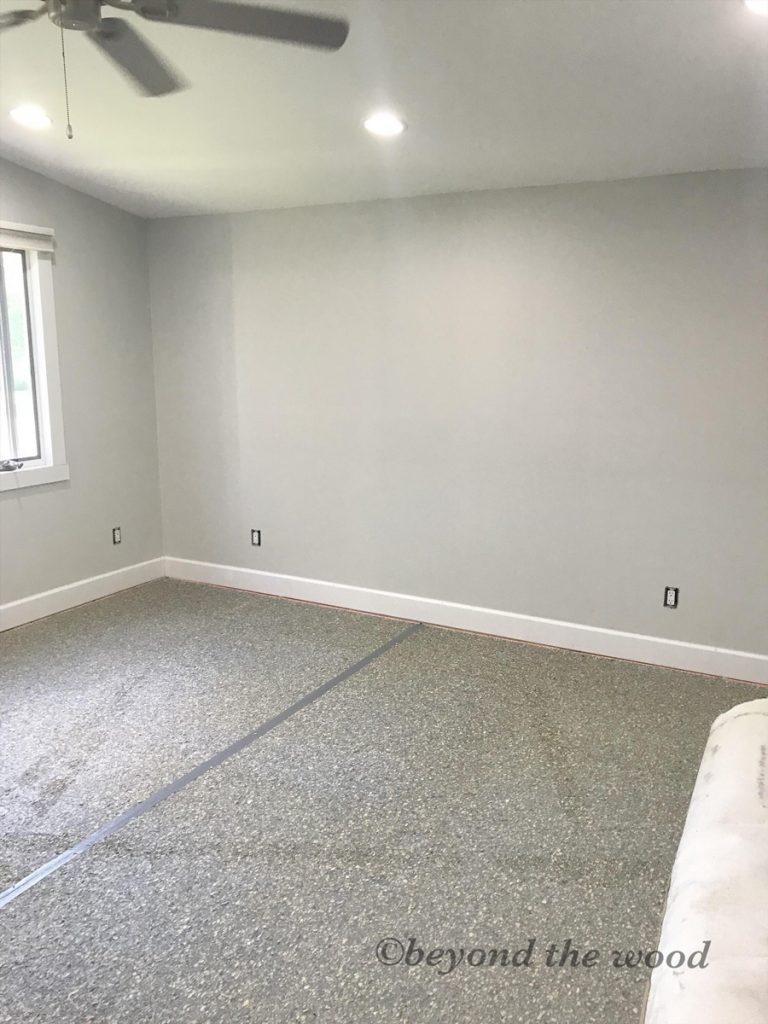
Carpet is installed!
We did have a carpet installer come last week and I highly recommend him. He did a great job installing and was so fast and reasonable. If you need an installer feel free to contact me and I can give you further details on him but his name is Anthony LeTourneau. He is a professional installer for many local companies and is always happy taking side jobs. Here is right before the carpet was installed, so this is the pad only.
Because the carpet came from our family room and office in our home it was not brand new carpet. So it needed to be cleaned. I have a Rug Doctor cleaner and even though it does a good job it does not do as well as I hope a professional can do. So we decided to hire Menomonee Falls Carpet Cleaners. Unfortunately, they are two weeks out and are unable to come until July 10th.
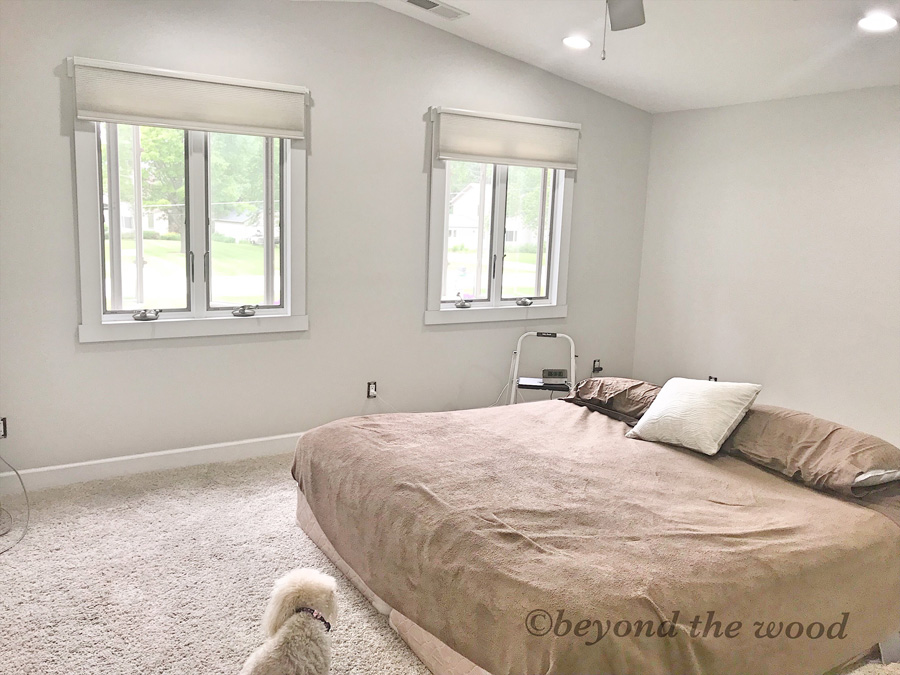
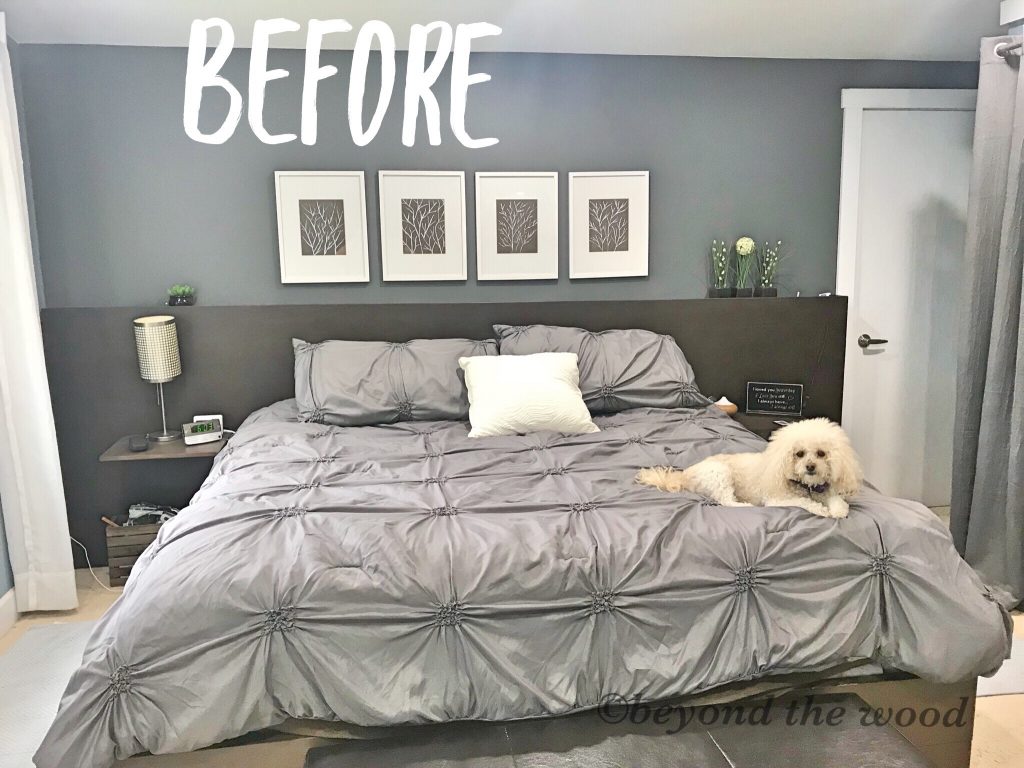
Needless to say we decided to wait it out and just put the mattresses on the floor and sleep like this for the two weeks. lol The dog loves it cuz she can hop right on up but for hubs and I it feels like sleeping on the floor. lol
But let me tell you….it is so easy making the bed. I stand right at the head of the bed and pull the covers right up. So no need to go from side to side and its done in no time since I do not have it all dressed up yet.
Always a positive to every situation and no head board makes it super easy!
Advantage is I have many projects going on in the room anyway so I continue to work on them when I can.
Headboard is done!
Remember the before of the headboard? Just plain solid brown board.
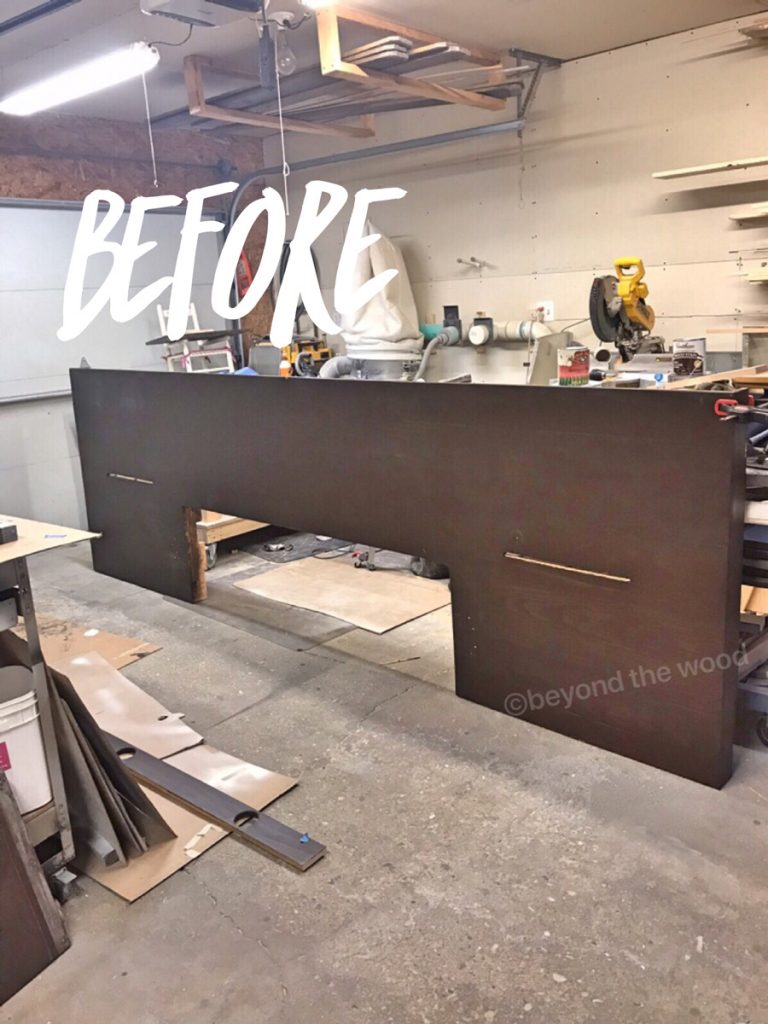
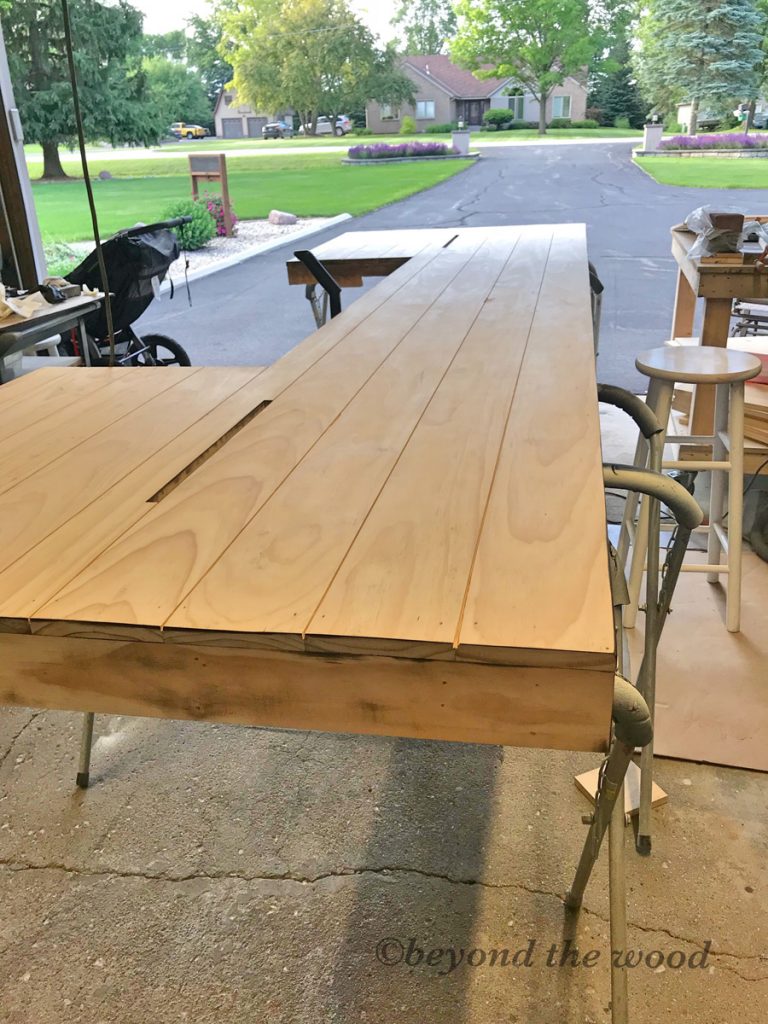
Well this time around I decided I wanted the ship lap boards in my favorite rustic stain. So hubs and I went at it sanding this one down to the bare bones. He then put all the cuts in it for the shiplap look and oh my goodness I love it so much more already.
Thank goodness it was beautiful outside that day so we could have the door open.
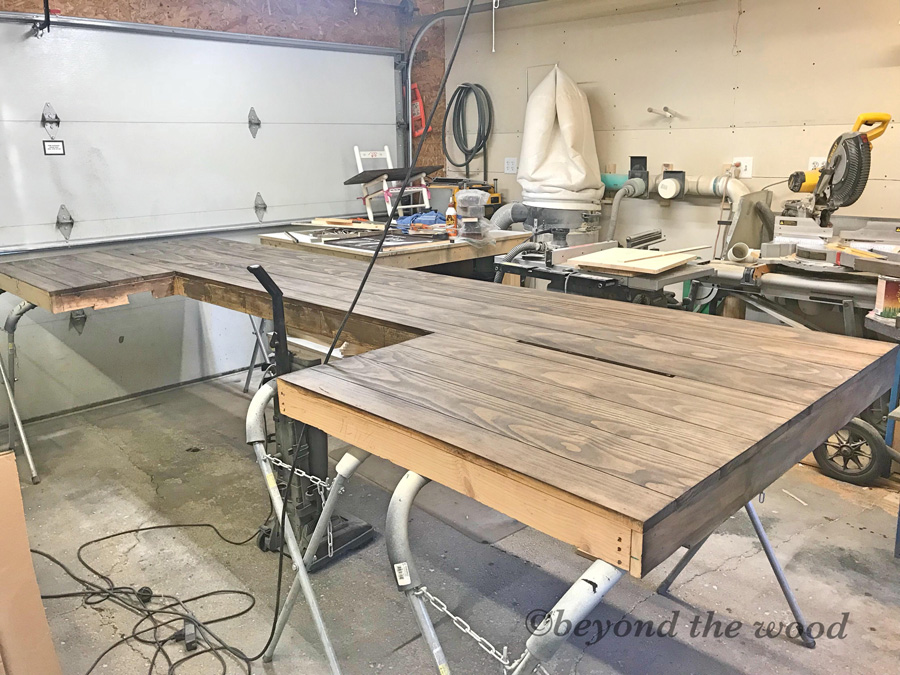
Now onto stain and it was done in no time. I love how it turned out! That color will be perfect for what I envision in the room and I am so excited to get it done. Now to get this 12 foot bad boy back up into our room! My son-in-law will be coming over to help with that because this girl’s guns are just not big enough! 🙂
The holes in there from the old night stands will be covered up with the new ones. I decided to stick with floating shelves because it is so easy to vacuum under. So here they are all cut sanded and glued. I stuck with the simple box look. They will be perfect for a couple books or magazines on the bottom and some decor on the top.
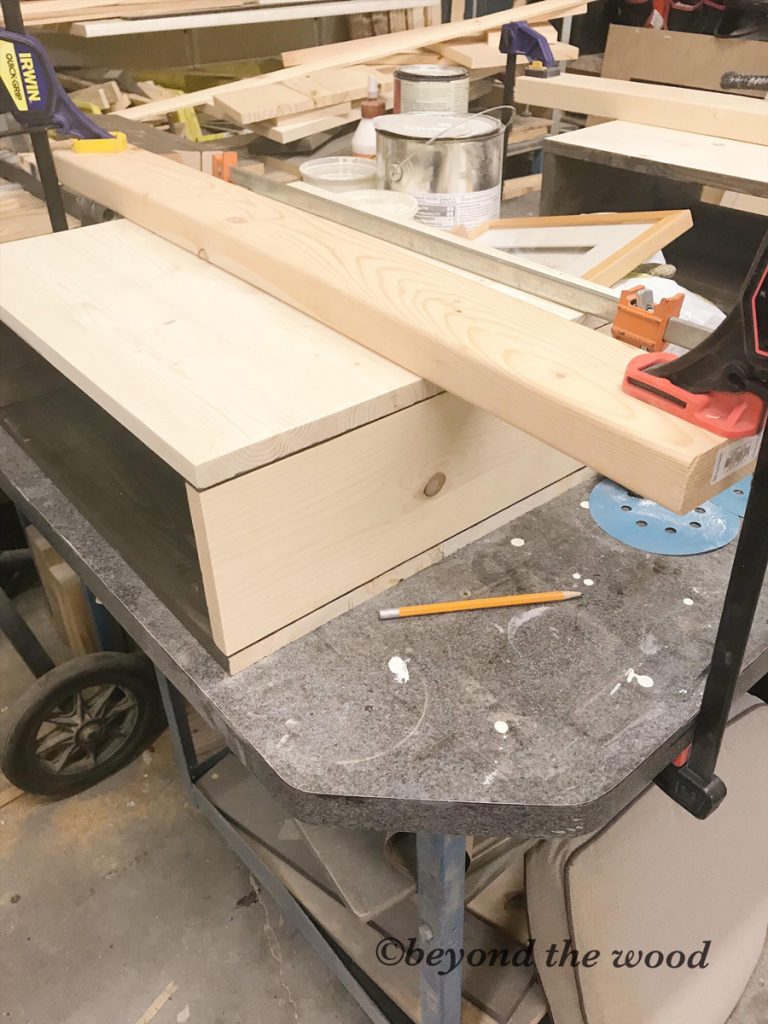
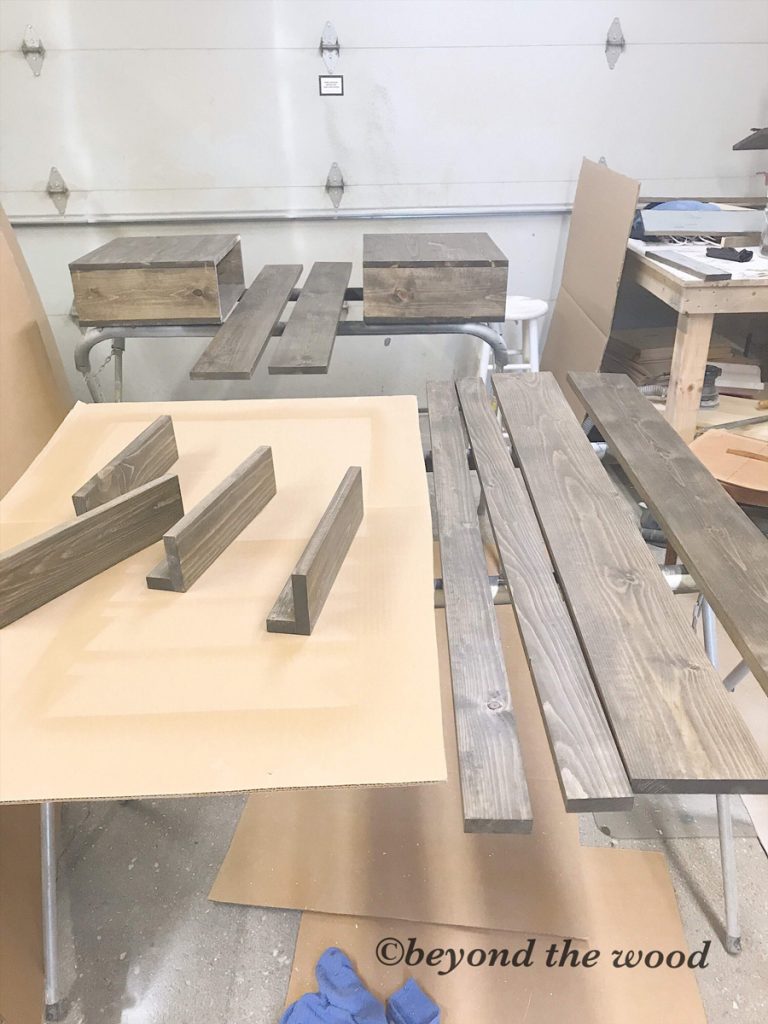
I am also doing wood valances on the windows instead of drapes. So I also cut, assembled and stained them. Here are the floating night stands and valances all stained and ready to be hung.
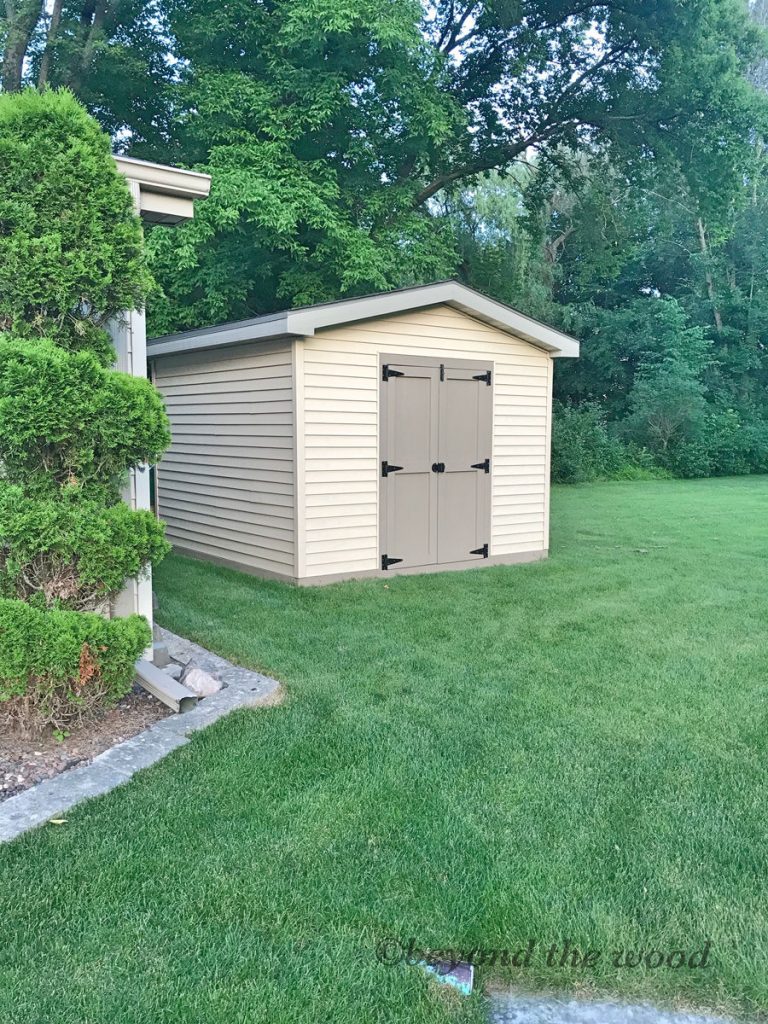
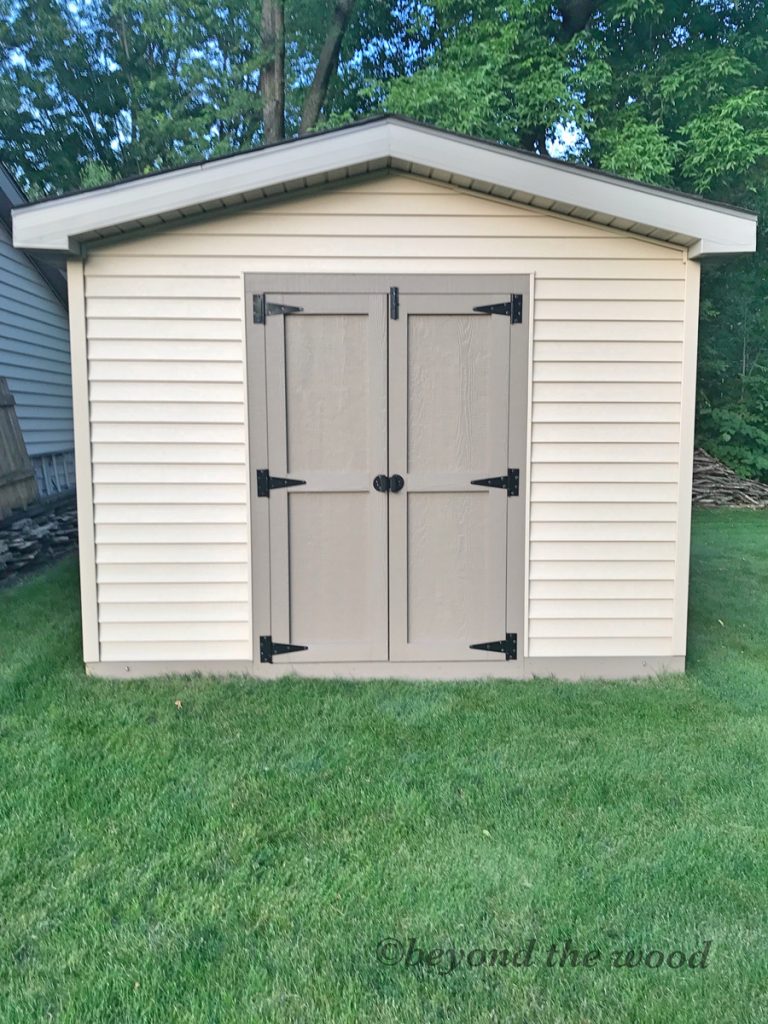
She Shed Finds!
Okay, another secret about me. I have my very own she shed, lol. Years ago my shop was busting at the seams so this little gem stores all my secret treasures I find and hope to use one day. Do any of you do that, buy something because you know one day you will use it somewhere? Me, Me, Me!
Hubs just rolls his eyes when I find a chippy old worn out piece and questions what the heck will I be doing with that. Oh “don’t worry someday it will find its place somewhere.” Can be years but at least I will have it when I need it, right? lol
Over the years I have collected a lot of treasures and last week when I went inside it was fun shopping around.

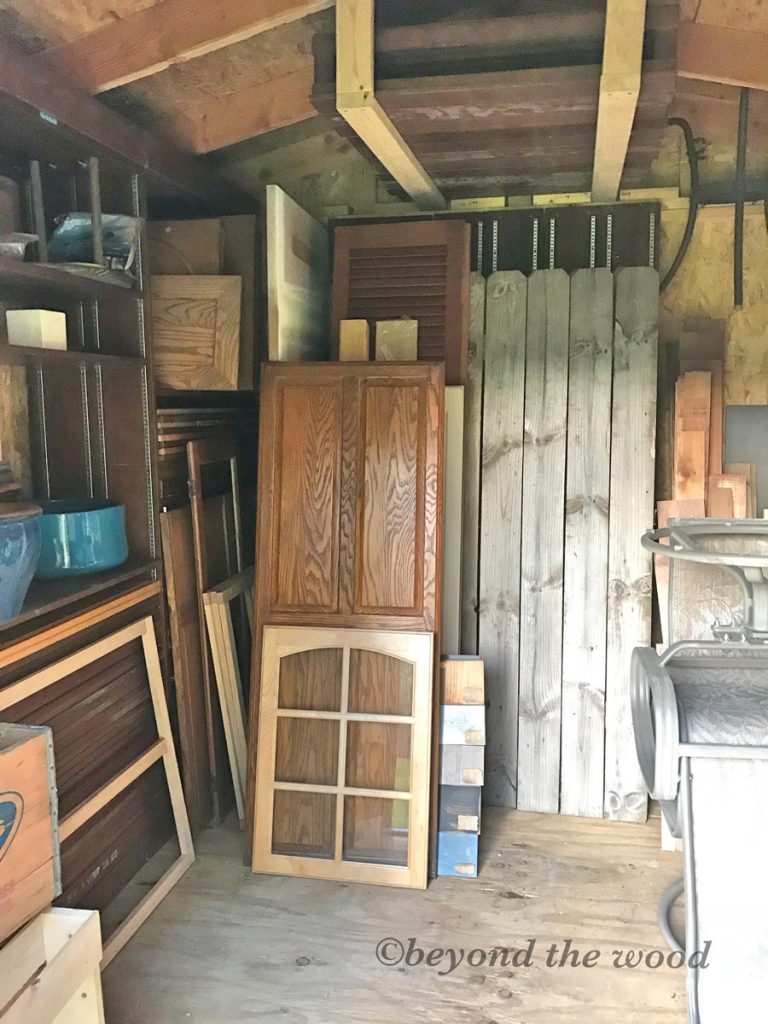
I mean seriously look at all the treasures! Behind all the stacks of goodies I found exactly what I wanted for my bedroom. Two bi-fold doors and an old window. So out they came and I scrubbed them all up.

They were really in good shape but the paint on the doors was literally flaking off. Which I love the chippy look but you could not even touch them without paint shedding everywhere so I did sand them down.
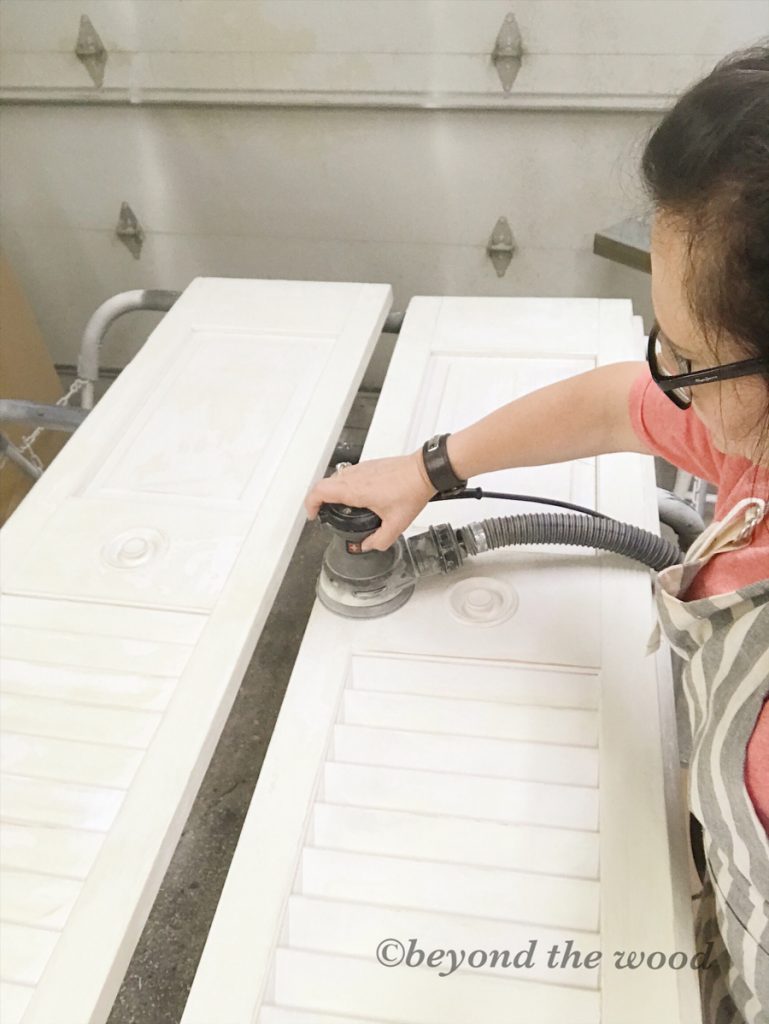
The window was all chippy and just needed a good cleaning. Other than that I kept it how it was and just removed the back latch so it would mount flat on the wall. It will be going above the bed and I will be making some shutters for the sides of it.
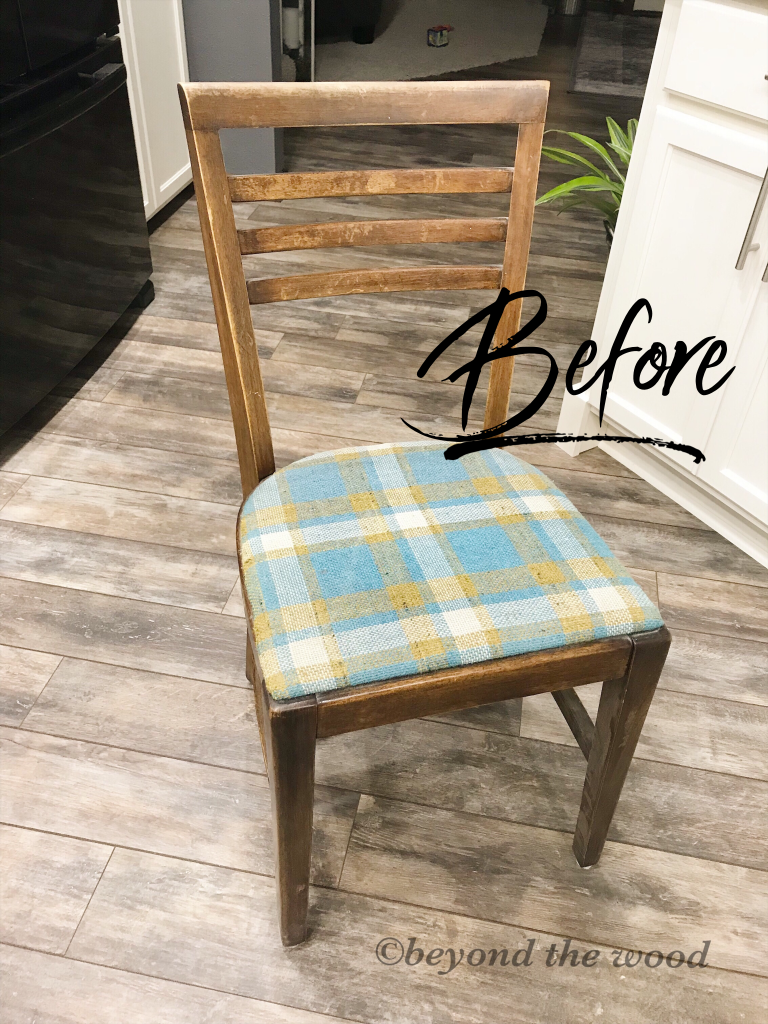
Treasured Chair!
Lastly, I had this chair in the she shed waiting for a face lift. After my in-laws passed a way I kept a few of their little treasures and this chair was one of them. Now I am excited to use it in my room but it is also getting redone.
Here is the before which will get painted this week. I will also give the seat a new fabric and I am excited for the new look.
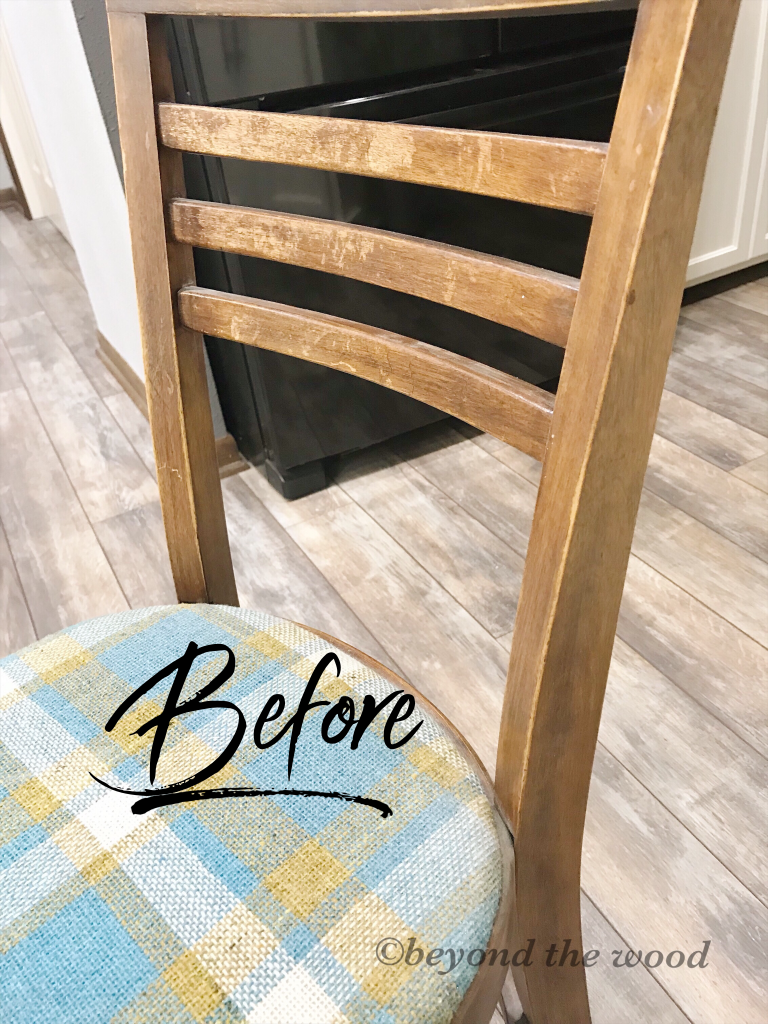
This is an oldie for sure and once I took it apart I found a tag on the bottom of the seat. It shows it was made at the Sheboygan Chair Company but I really am not seeing a date.
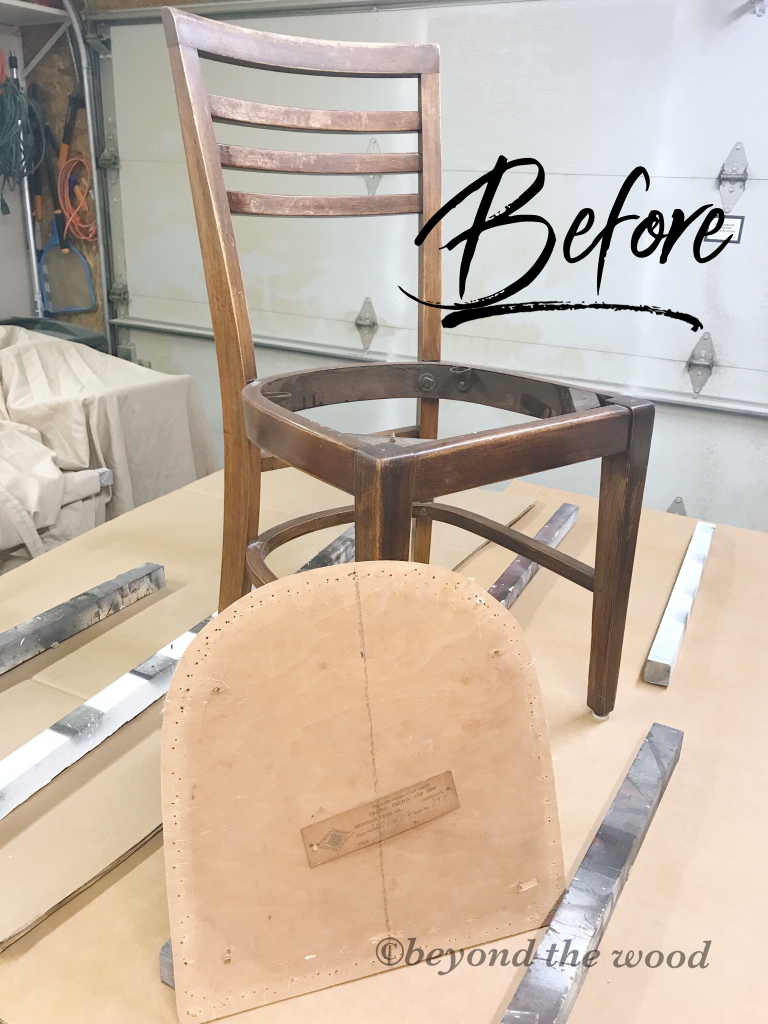

I really would love to call them and see if they have any records of that chair yet just to see how old it is. I mean I don’t think more than 60 or 70 years but still would be interesting to know.
Of course my new room will have to have a sign or two and I am also working on that as time permits.
Away with the dresser!
Last week I also decided I needed to sell that big dresser since it was not being used to its full potential. Hubs used 3 drawers and the other 6 were empty because I keep all my stuff in the closet. He was not very happy because we just bought it two years ago but he just rolls with it! lol
I just like all my stuff in one location. So I put it up on the rummage sites and it sold immediately. Yay! Now in search of a smaller piece which I have come across many so its decision time!
But that is all for this week, friends. I hope you are getting excited as I am to get this room done and see the end result. As soon as the carpet cleaners leave next Tuesday and it is dry it will get put back together. Although, the closet doors are still a dilemma!
I will be sharing another post very soon with other projects I get completed for the room. One of them is so simple any of you can do it. It is a small hanging table which I will use in one of the corners of the room for a plant. So stay tuned!
Enjoy your weekend!

UPDATE: to see days 1, 2, 4 and the reveal you can see here:
Day 4 Bedroom Makeover Project Day


Great ideas & great progress!
Thank you my dear! It is coming along. Just wish I could work on it full time lol.