
How to bleach drop cloth curtains white!
I am so excited that bleaching drop cloth’s turned out so good I can finally share with you how I did it. Since we just finished our bedroom makeover that can be seen here I am so happy it is all finally done!
First off as a reminder I did share the drop cloth curtains I had already done in my office a few months back. Those I did keep natural as that color was best for my office. They can be seen here and how I made them.
In my bedroom instead of closet doors I always had curtains over the closet. I never liked doors because only one section of the closet could be open at one time because they would over lap each other. The only thing I was okay with was bifold doors where they could all open all the way so you could see everything in the closet. But our closet is over 8ft long and I did not want a bar in the center of it to support bifold doors.
In an ideal world I would love a walk in closet like my daughters have but oh well we don’t get everything we want, right?!
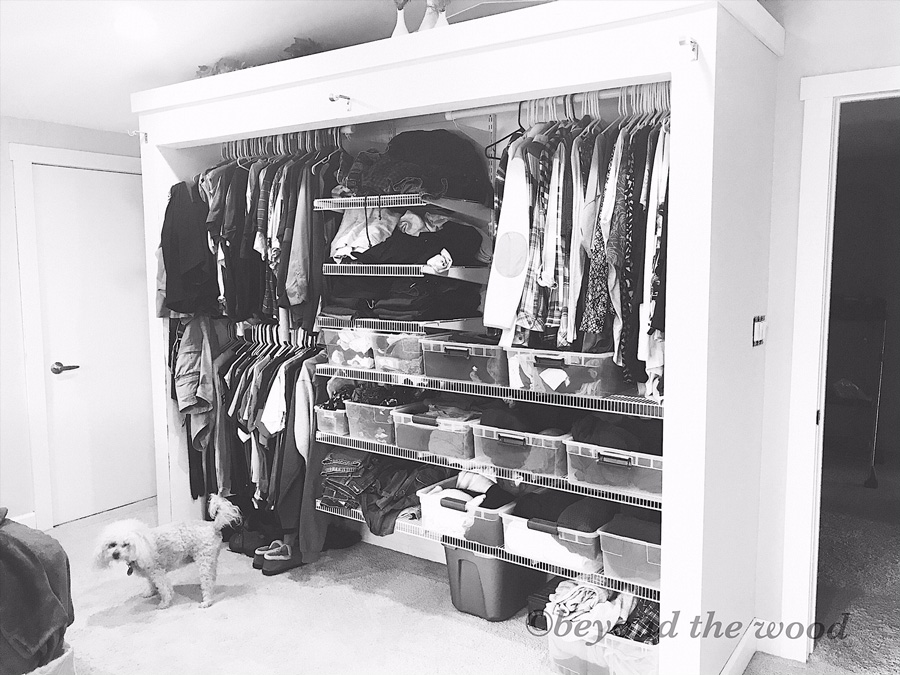
Messy closet!
Okay, being real and open here! lol This is a photo I took when I was redoing our room and you can see I have everything organized in bins so I like opening something and seeing everything all at once. Pulling out the bins to get at what I need was a must so typical closet doors would not allow that.
When this photo was taken the closet was a mess so ignore that, but it is clean now! I thought black and white would help disguise the mess, did it work? 🙂 lol.
So I went back and forth on what I wanted to do with the closet this time. We even weighed making and putting barn doors on for a change. But I kept going back to the fact how easy it is and how nice it is to just sweep open some curtains. So drop cloth curtains won again! Just so budget friendly, easy and really love the style.
This time I knew they had to be white to follow the design of the room. So I did much research on bleaching drop cloth’s. To be honest my first attempt failed, lol. But live and learn right! That’s why I wanted to do this blog post so you don’t make the same mistakes I did.
After the second attempt of changing things up and NOT following the video I watched it worked FABULOUS.
So I will share here how I did it.
Tips and Tricks learned on bleaching drop cloth’s to be white!
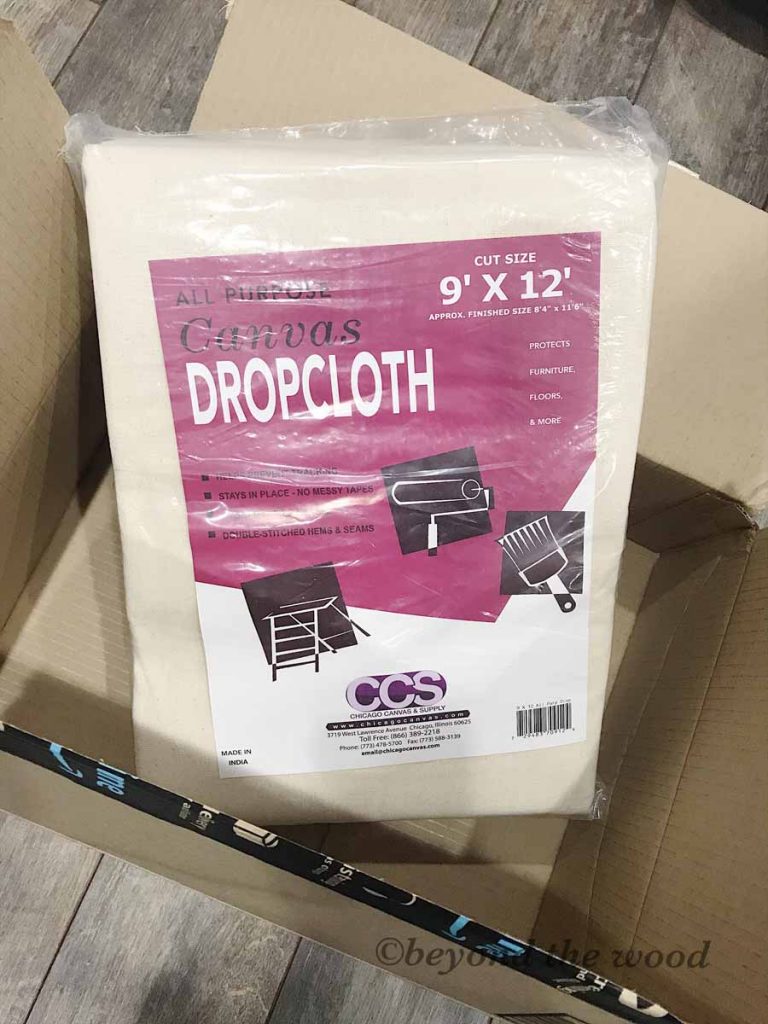
First off you MUST use 100% cotton drop cloths. So not all drop cloths will bleach white if they are not full cotton. Here on Amazon are the ones I found and used that worked perfectly. I highly recommend using them. They can also be used for making so many projects like pillows and canvas art etc.
Here is what it looked like in the package I received from Amazon.
Second step….
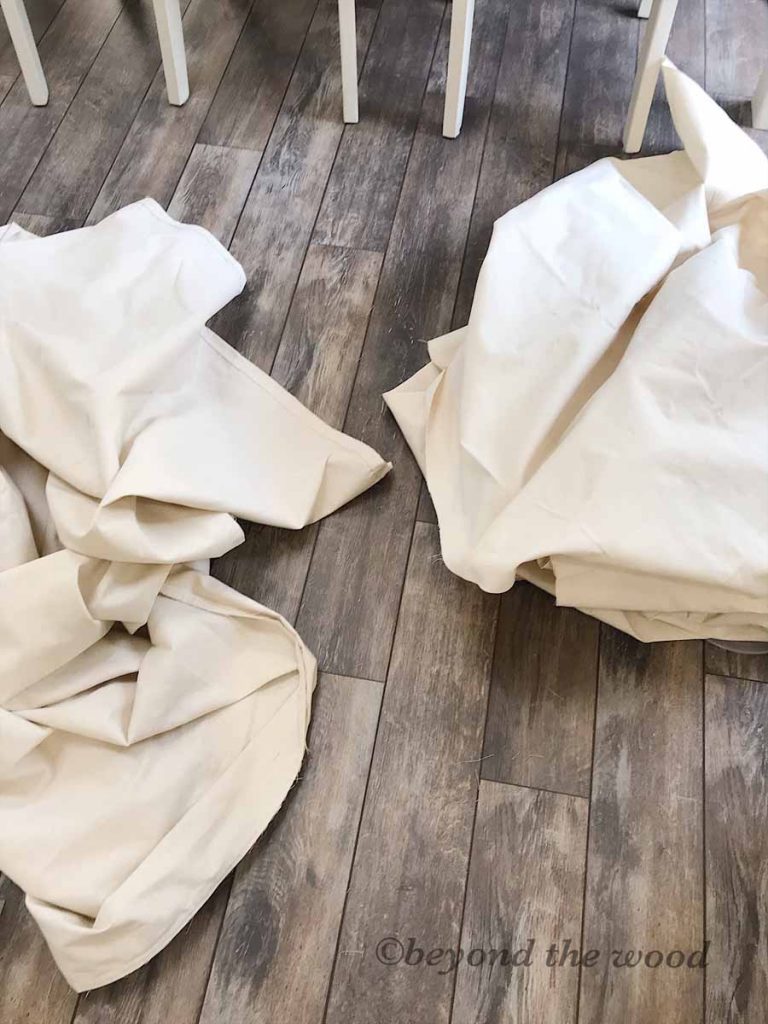
Because this is a large drop cloth 9 x 12 I decided to cut it in half right along the seam. From what I read you need plenty of moving space in your washing machine so you don’t want the piece to large.
I also learned you must use a top loading washing machine to do this technique. In a front loading machine you are unable to soak in them. They use less water so your fabric would not be fully covered and to do this you need to have it fully covered. I have a top loading machine so it worked great for me.
Ideas if you do not have a top loading machine
If you do not have a top loading you can use a big metal or plastic tub outside. Some people that have tried it said it worked great but was more difficult stirring them up since you cannot agitate like a washing machine.
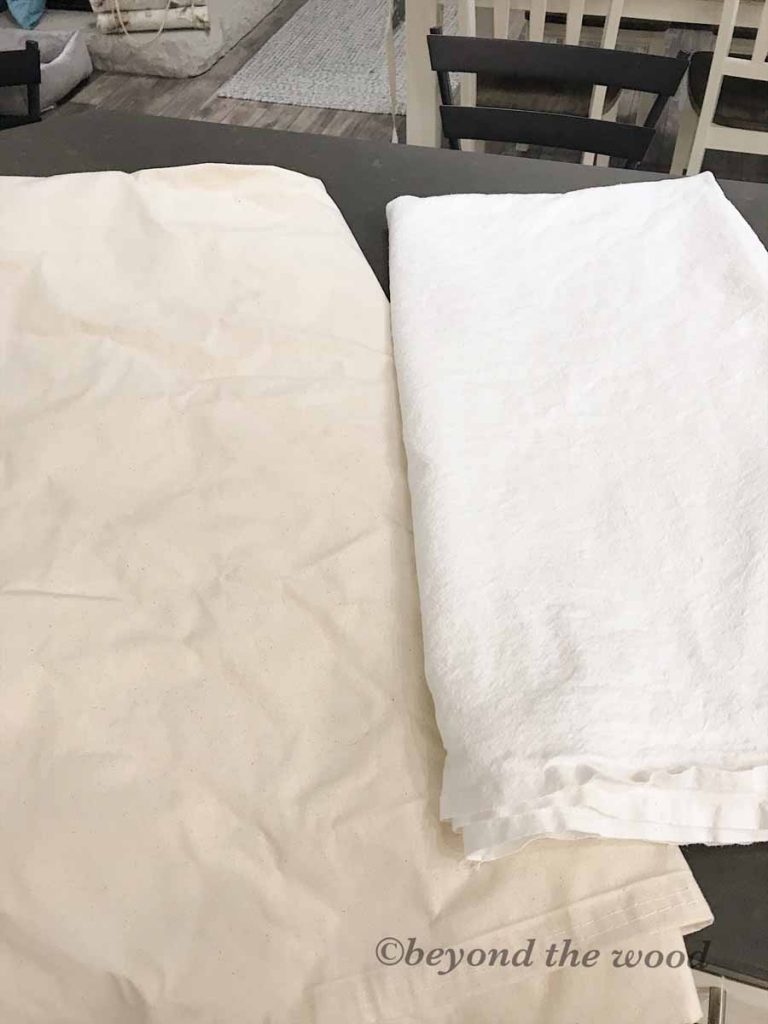
Notice the color of the canvas drop cloth prior to the bleaching. It is a beautiful natural color but for my bedroom I did need white.
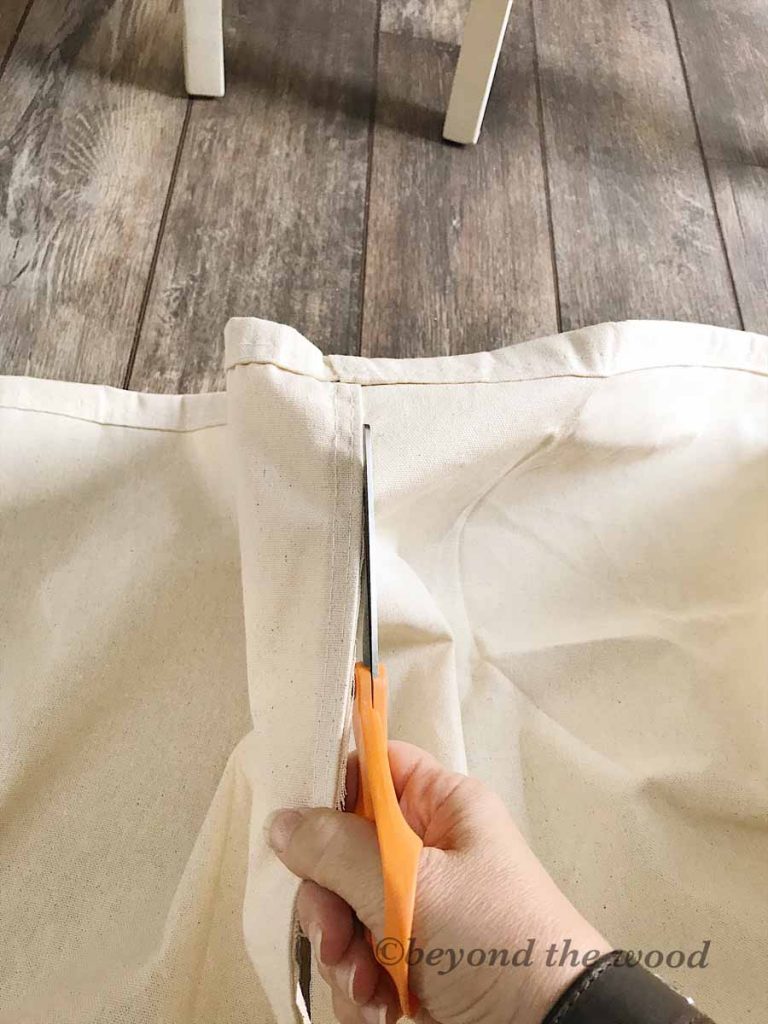
When cutting down the seam the one end will fray. So if you cannot sew you will need to cut off all the fraying which is minimal. I can sew a straight line so I did fold that cut seam over and hemmed it to avoid fraying on the second one I did.
Third step to bleaching your drop cloth!
Open any windows in your utility room and run a fan if available. I knew how strong bleach can be and I did not want that smell in my house. Nor would it be safe for me or my fur baby.
So in my utility room I do have a window that I opened and I have a portable fan that I setup on my dryer right next to the washing machine to pull any odor and send outside. I also closed the door to my utility room. Surprisingly I had no odor. Seriously, my hubby came home later that day and had no idea I had bleach water sitting in the washing machine.
HOT water at medium setting!
Next, set your washing machine to HOT water and MEDIUM fill setting. The first attempt when I did this I followed directions from another youtube video where they said fill it to the top. That DID not work for me at all. On my first attempt I had my drop cloth sitting in it for 10 hours and there was very little change in the color. So DO NOT make that mistake. It would have maybe worked if I used a ton more bleach but I really wanted to stick with just one jug of bleach.

After filling your machine stop it and add half of the bottle of bleach to the water and agitate for about a minute just to stir it all up. Yes, I said half of this bottle so that means the whole 9 x 12 took the entire bottle. Thank goodness it was just $3 a bottle. lol
Stop the machine again and add one half of your drop cloth to the tub.
Once added agitate again for another minute or until the drop cloth is completely covered. Stop the machine and let soak for 8 hours!
Important step while soaking
Throughout the 8 hours of soaking I did go into the laundry room and agitate the machine about every 1-2 hours for about a minute. Every other time I went in there I did pick the drop cloth up out of the water and untwist it since agitating it will twist it all up. So I did untwist it and then took a wooden stir stick from painting and pushed it back down into the water getting out any air bubbles. Agitating and untwisting keeps for an even bleaching and will not come out blotchy so that step is very critical.
Final step….
After about 4-5 hours you will see your drop cloth is already turning white but it will be blotchy. That’s why you want to keep it in there for a good 8 hours. Once that time is up pull it slightly out of the water to confirm you are happy with the color. If so, you can then start the cycle back to the beginning and run the normal cycle all the way through. (see my note below the photo what I did to assure safety to the environment)
I was prepared to then wash it again but with soap and water this time to get the bleach smell out of it but honestly mine had none. So you can play that by ear if yours has a bleach scent after the full cycle is done you can wash it in soap and water before drying.
Since mine was good I threw it in the dryer and WOW I had a beautiful soft drop cloth. I mean seriously look at the difference.

Safety for the environment
Now to be honest I was a bit concerned with that strong of bleach water going into our lakes or streams or environment in general. Just not knowing where it really goes once it drains out of my house and hoping it would not affect any fish or anything. So I did add a ton more of water to the washing machine in the final cycle before it drained out. I also ran water in the utility tub that uses the same drain while it was draining to confirm it would dilute the bleach completely.
Some might ask why I just did not use already white drop cloths and to be honest they were much more expensive and did not come in the size I needed. I also read there is no perfectly white fabrics anywhere so manufactures will bleach them white with even harder chemicals than bleach. So I think I am okay with taking the precautions I did to not affect the environment. (I hope so)
Yes, there are other white curtains on the market I could have bought but again I work on a budget and I really love the look and texture of drop cloths. Plus they are so farmhouse style I really had to have them, lol. 🙂
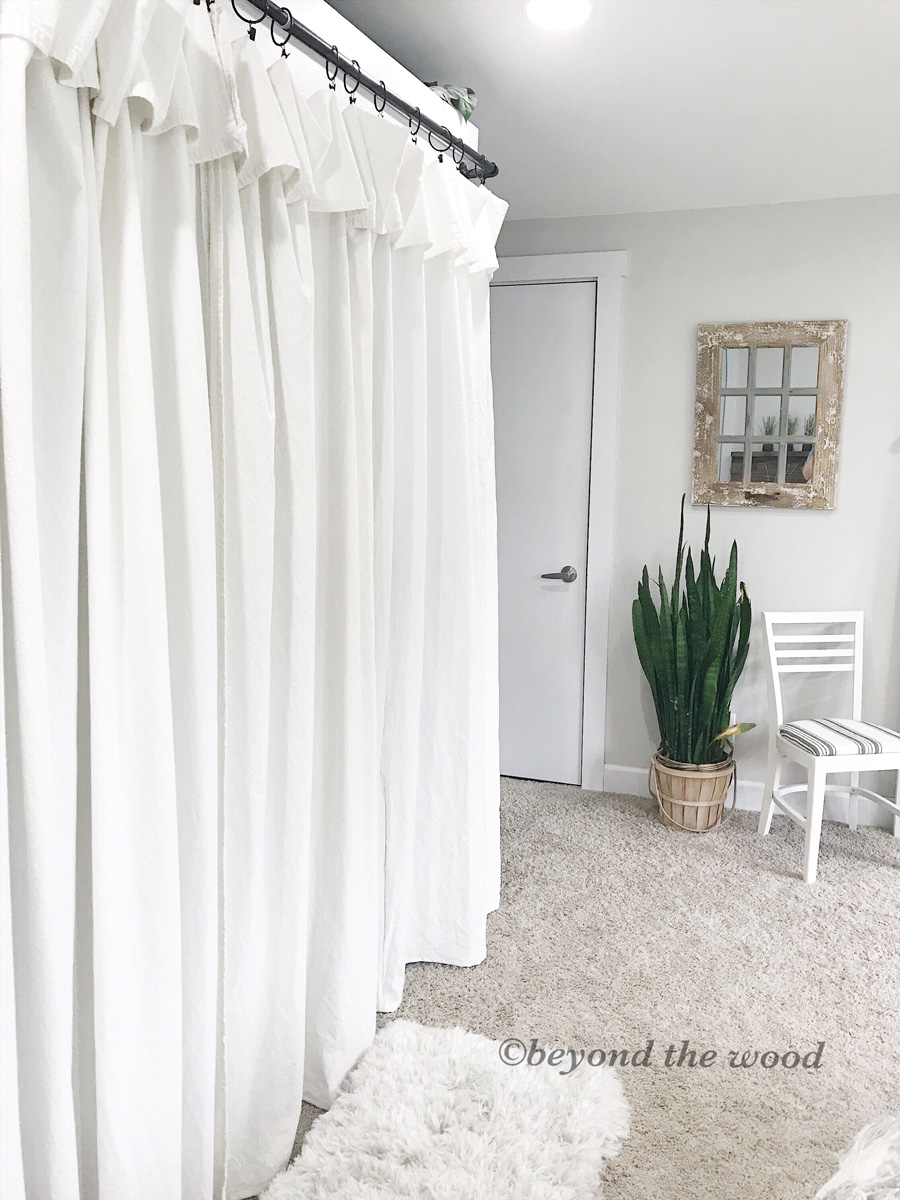
End result!
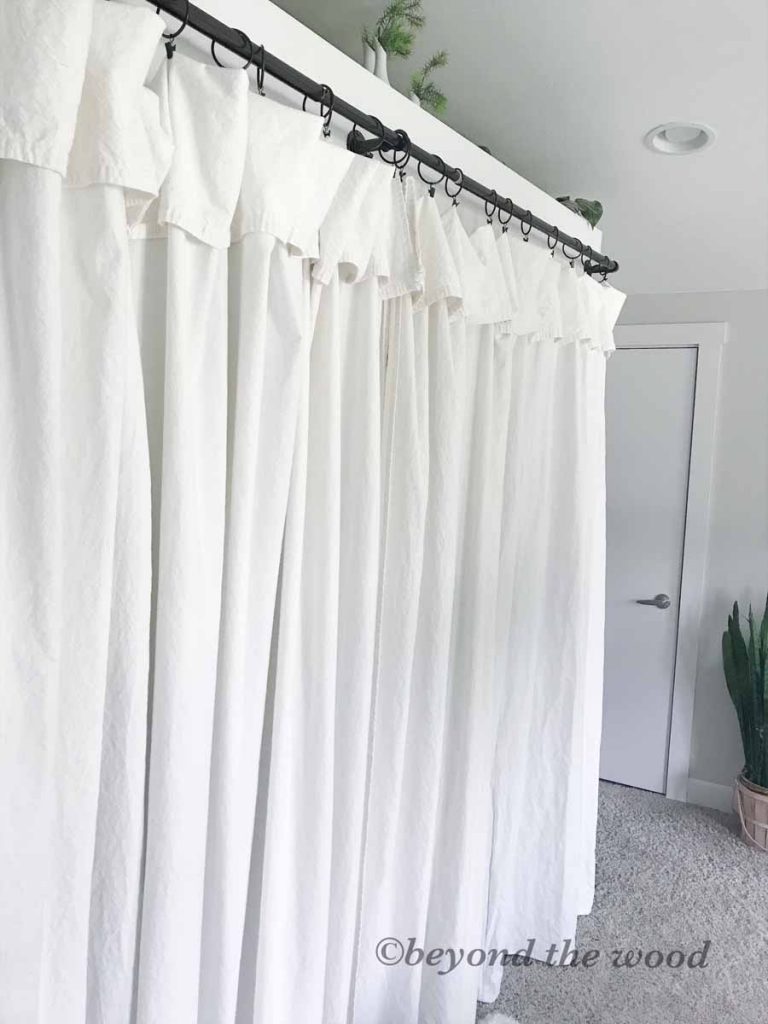
So here they are all installed in our bedroom. I Just hooked them on the hooks folding over the top a bit and bam, gorgeousness all over! I think they turned out perfect and in person they are such a beautiful white and so soft unlike the course feeling they had prior to bleaching.
Using these hooks makes it so easy to open and close. I did order and use these hooks from Amazon. I mean look at the price…..so in expensive! SCORE!

The rod is also new and hubs was 2 minutes away from buying industrial pipe to make our own rod. But I decided to pop on Target and look at their rods and they had a nice pipe rod which was less work and maybe a bit more expensive but saved so much time. The rod I bought is here. (also on sale as of this posting)
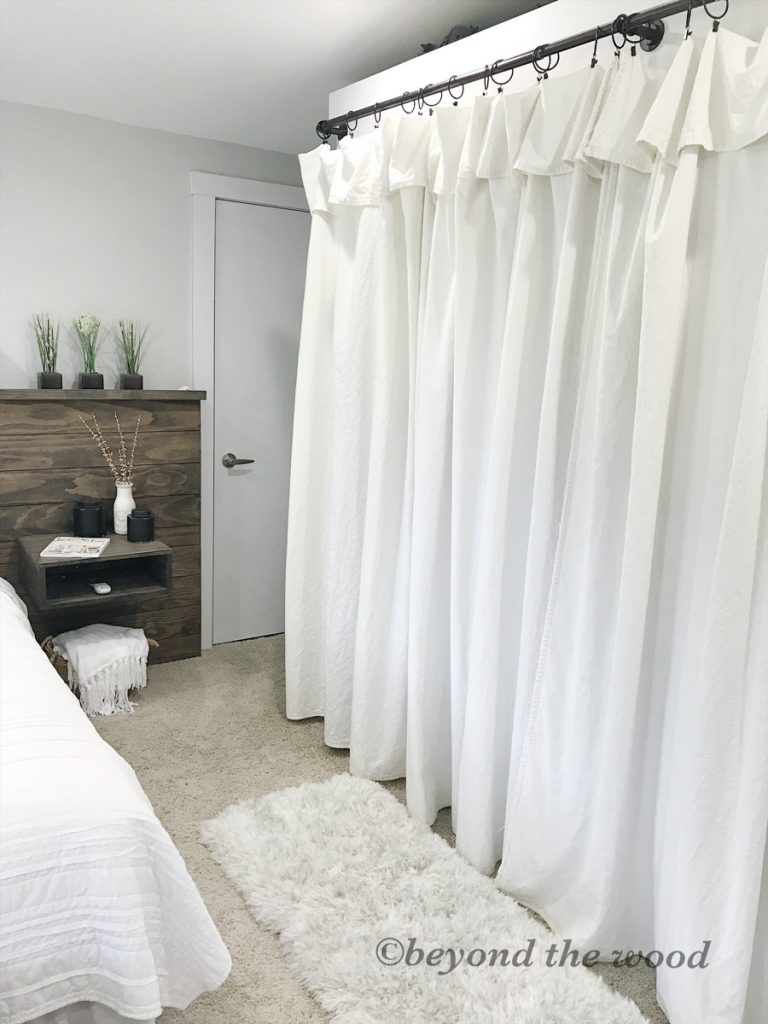
I tossed back and forth about the small valance at the top and for now I decided to have it. If I change my mind later I will just fold it to the back and have a new look.

Thank you so much for hanging out with me on the blog today. I hope you learned something new today and if you have any questions feel free to always ask!


Oh I am happy you shared this. I have been wanting to try it but was unsure how to do it. Yours turned out beautiful and I hope mine look that good.
You are very welcome Amanda. Good luck with yours, I am sure they will turn out perfect!
Did you have a problem with some of your threads not bleaching? I bought this drop cloth and gave bleaching it a shot but there are black, red, and blue tiny threads that aren’t bleaching out…
Gabby, I did not have any problems at all. Now that you mention it I did not look to see what the thread color was before starting. But now years later I am looking at them and they are all white. Good luck with yours.