
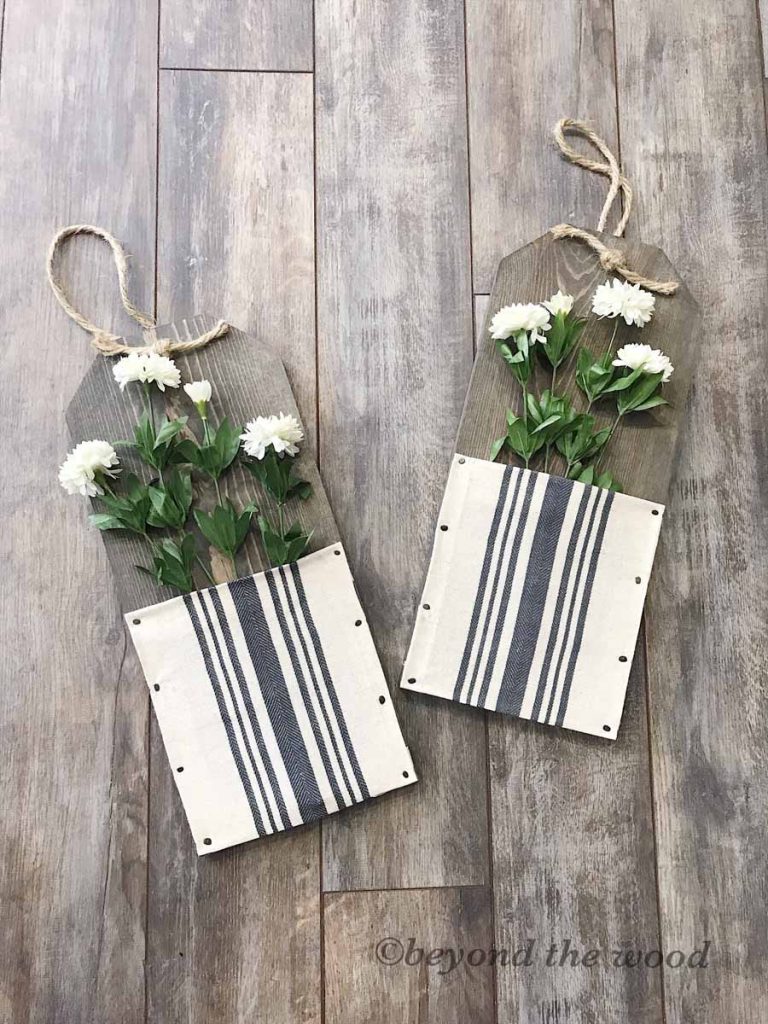
DIY Wood Wall Pocket!
TGIF, right! I mean wow, this past week has been so crazy busy. I had a ton of realtor orders along with custom orders and still have a few more to finish up.
But I did do a little project for myself after dinner in the evenings that I will share with all of you, my friends!
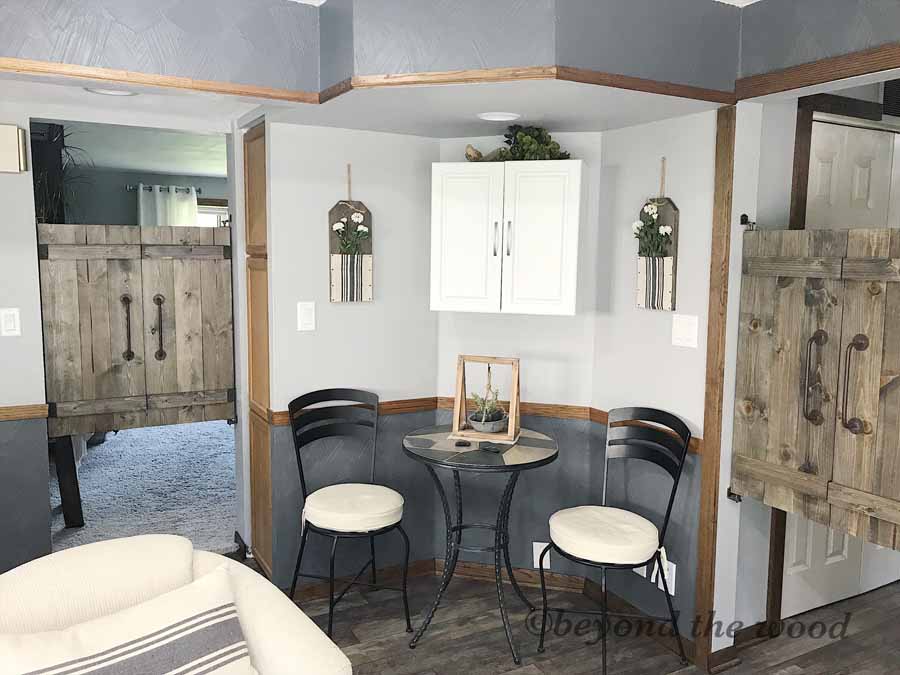
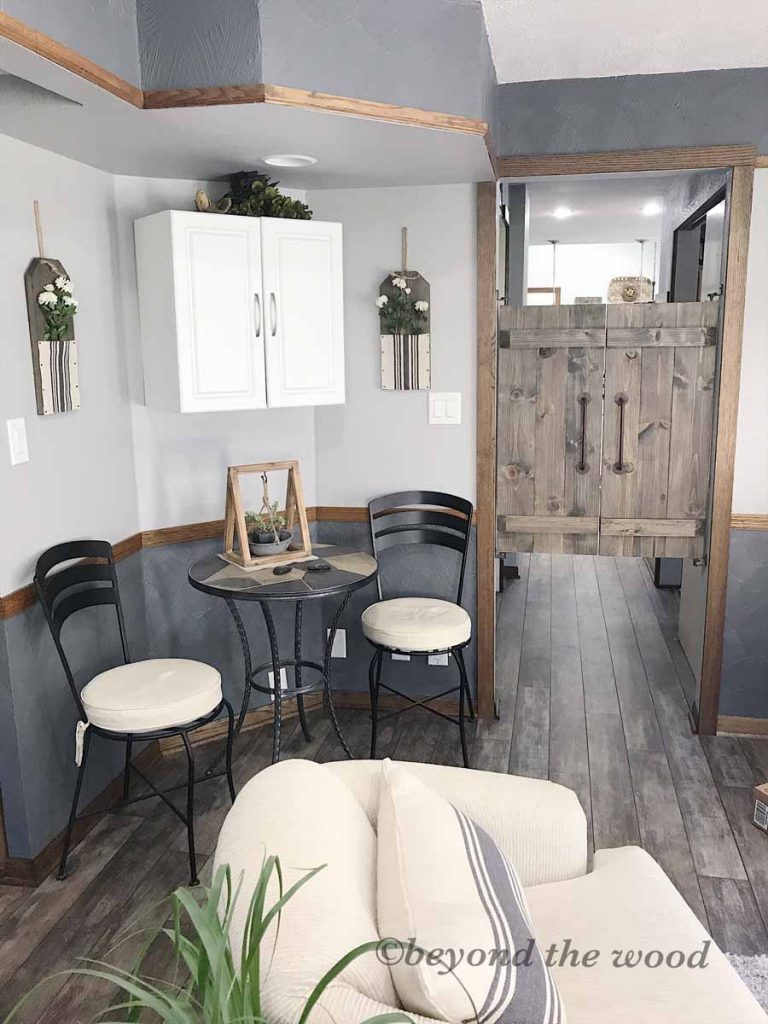
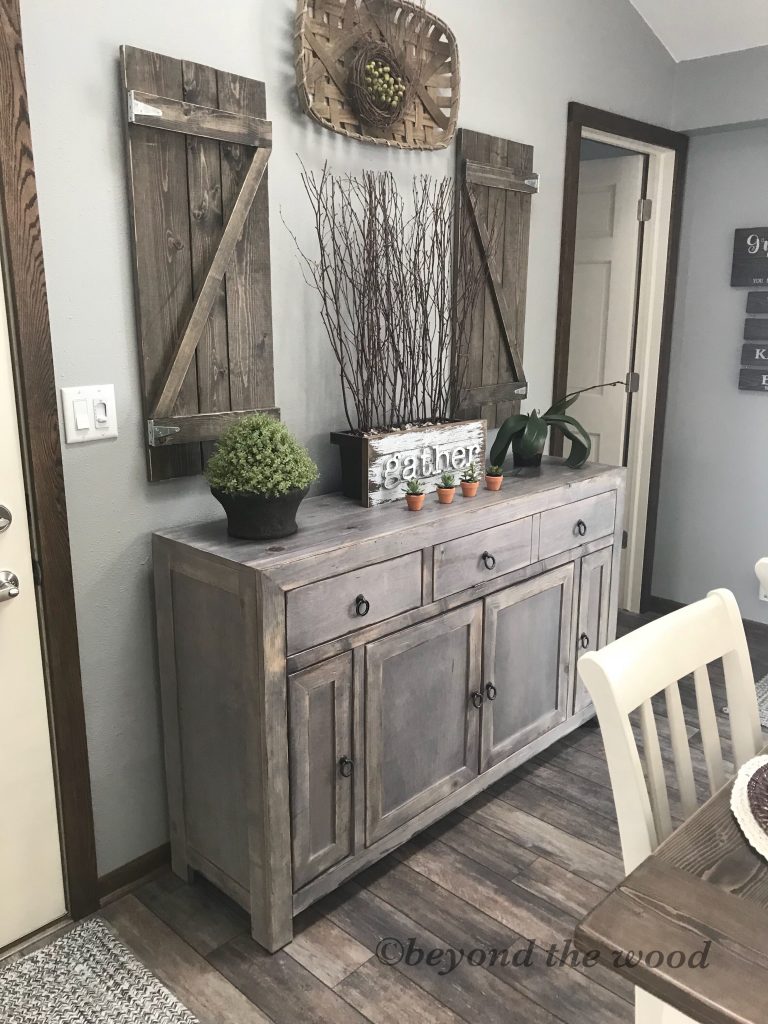
In my office I have a little corner kinda odd shaped with one cabinet and a cute little table. Here is a photo.

Those two mason jars on the wall have been there for 5 years now and, well, you know me always need change.
This room also has a few “farmhouse” style pieces along with the swinging barn doors and my love of the grain sack fabric is CRAZY. So, I decided to make some wall pockets out of grain sack fabric and wood to replace those mason jars.
Supplies needed
* 1 x 8 wood cut to desired size, mine are 16.5″
* Fabric anything you like for your pocket
* upholstery tacks
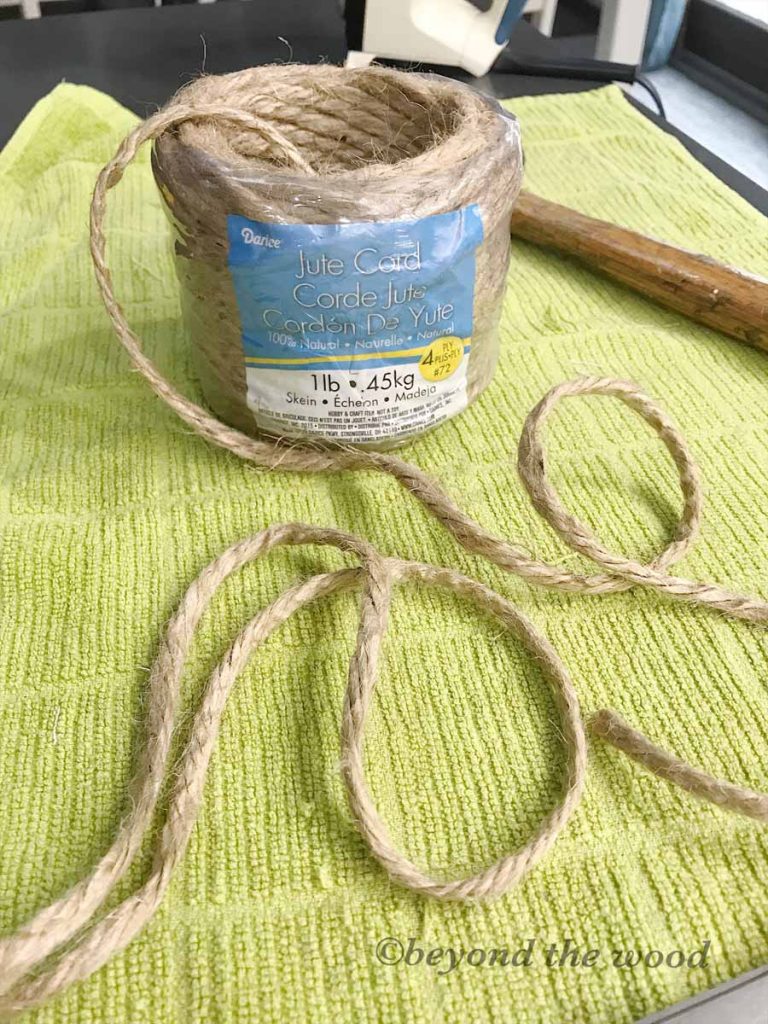
* jute rope
*florals, greenery or dried flowers
Steps to create a wood wall pocket
These can be made to any side you would like for your space but I will share the size I did for mine.
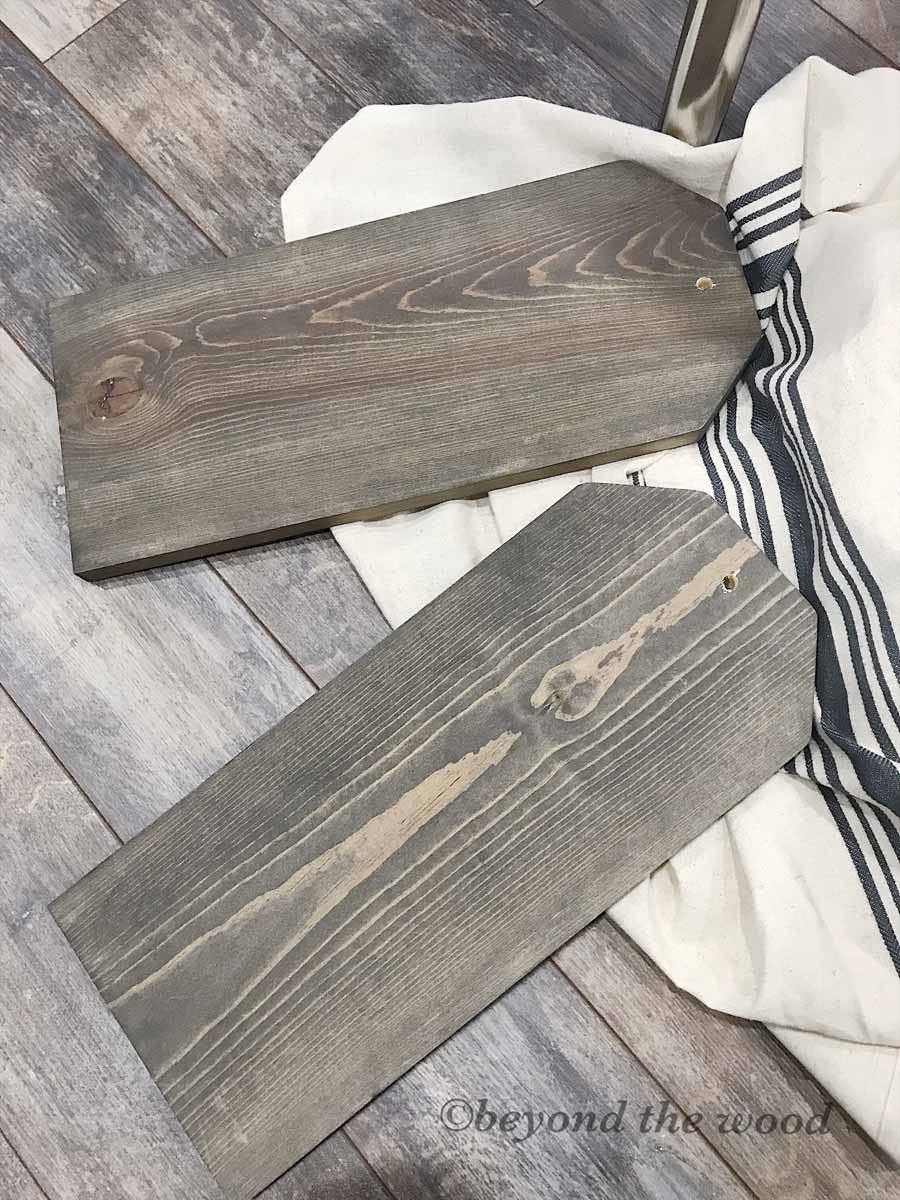
1. Cut your 1 x 8 to 16-1/2 inches long. I cut two to this size.
2. I did also want a tag look to mine so I cut the corners of the top off at a 45° angle.
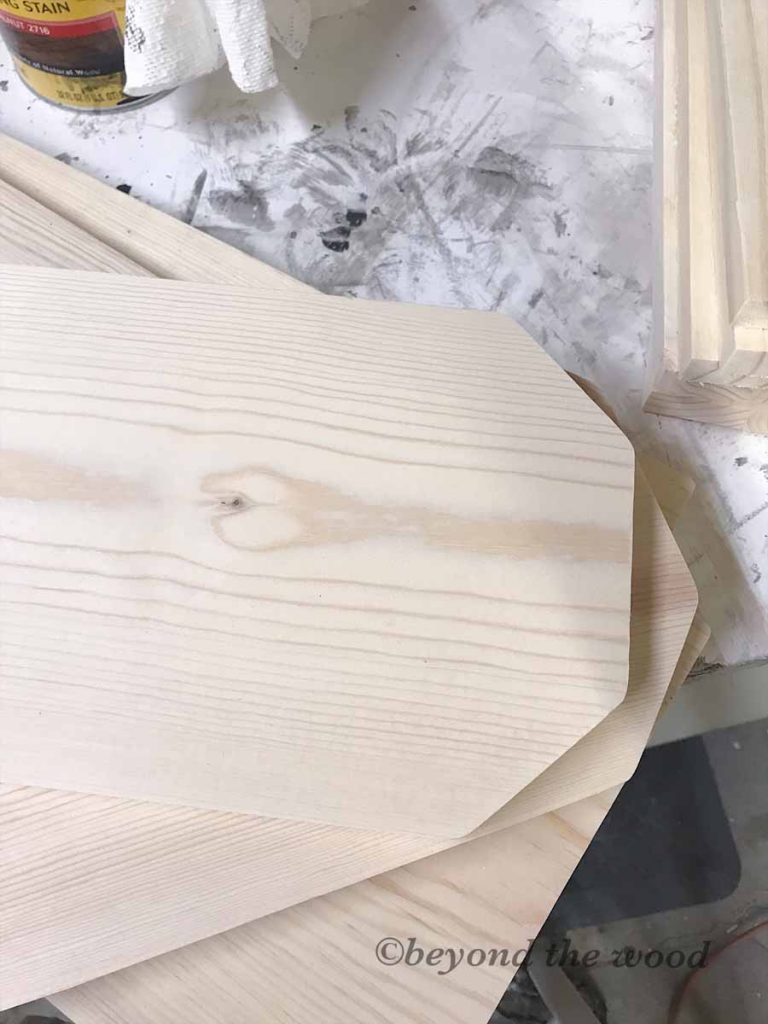
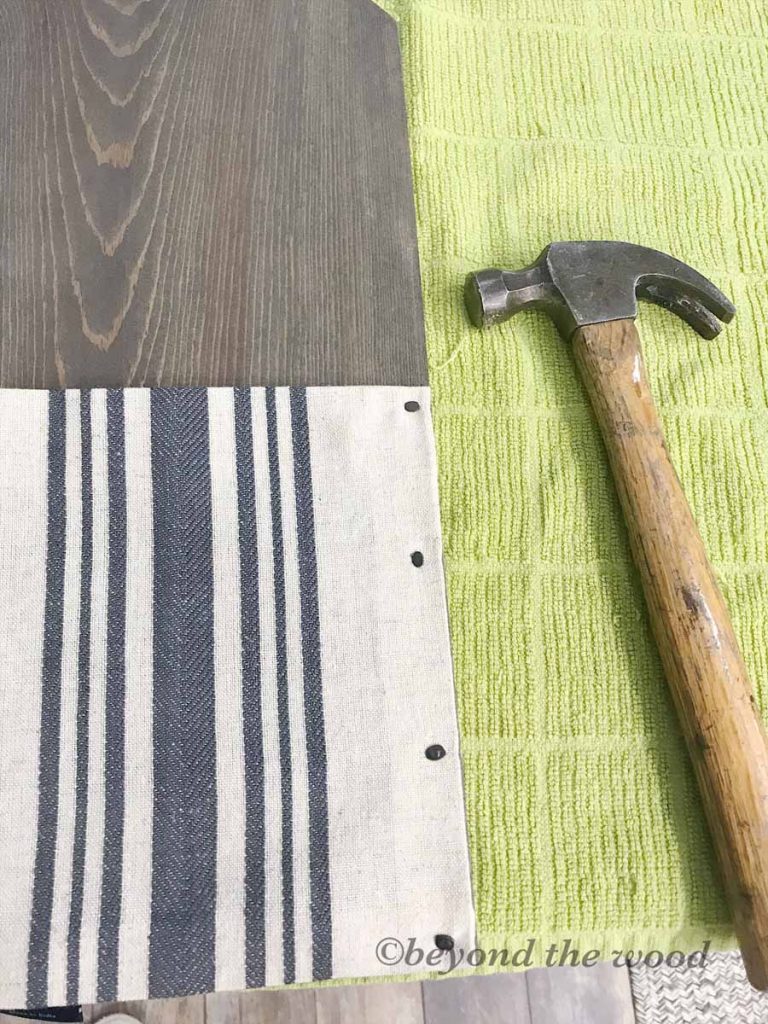
3. Next I drilled a hole in the top with a 21/64 drill bit for the rope hanger.
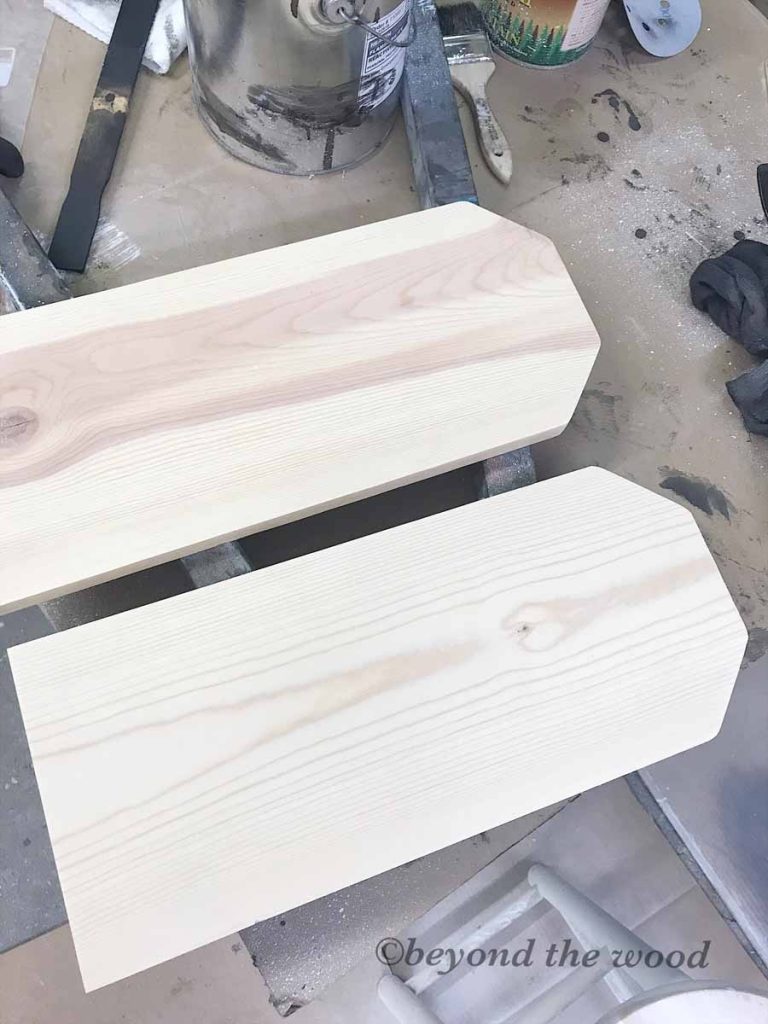
4. I then stained both boards. You can stain or paint what ever you like better.
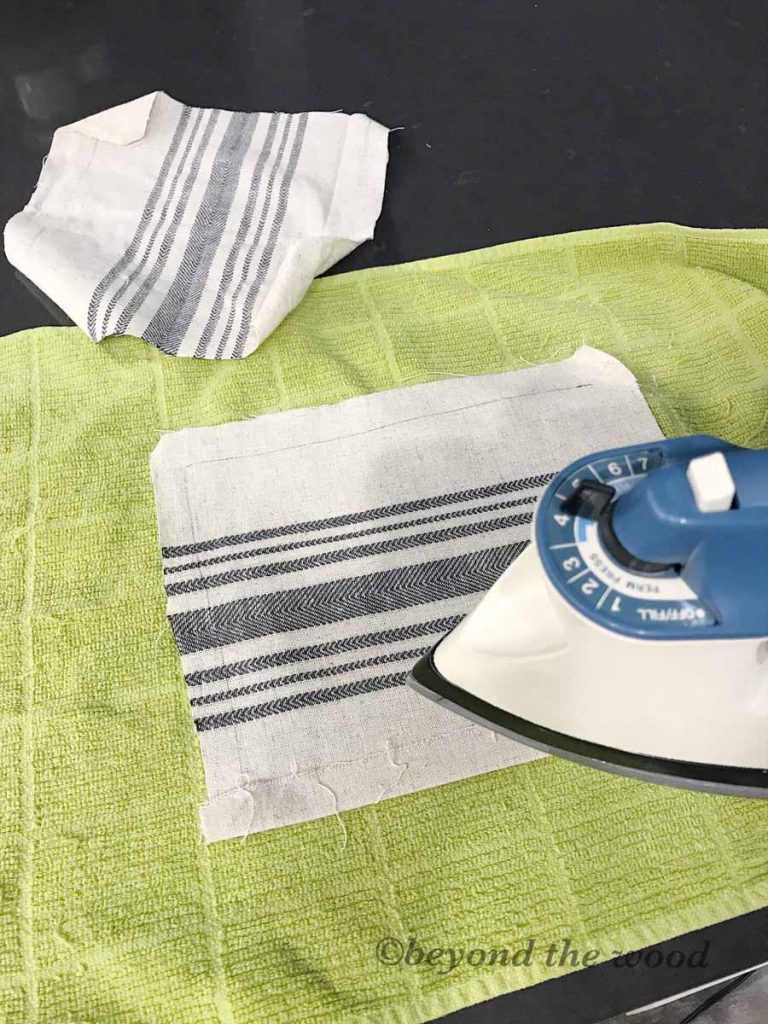
5. Once dried I laid my fabric out with the back facing upward and laid my board on it tracing around the board where I will want the pocket to go.

6. I then cut about a half inch bigger than my line I drew all the way around leaving a bit more at the top so I could play with how big I will want it on my board.
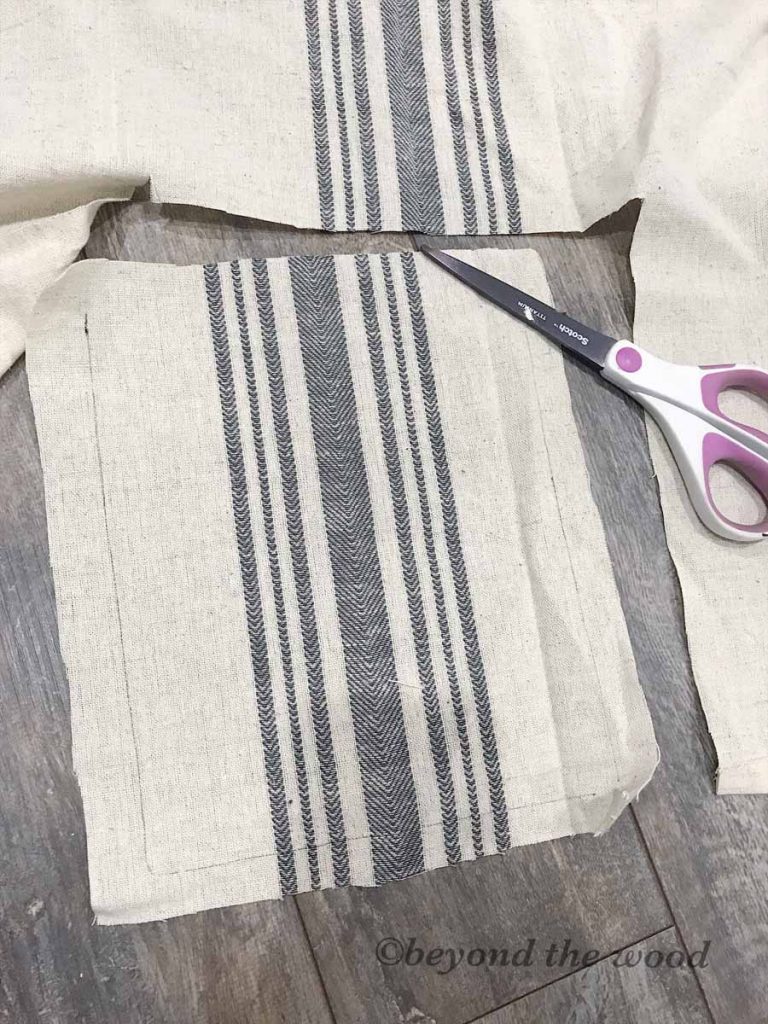
7. You will then fold over on the line and iron it all the way around. Because I was to lazy to get out my ironing board I just laid that green towel on my counter and away I went.
8. Next make sure you have the front of your board and your fabric right side up and lay it on the board. Take your upholstery tacks and pound them in on both sides and the bottom leaving the top open for your pocket.
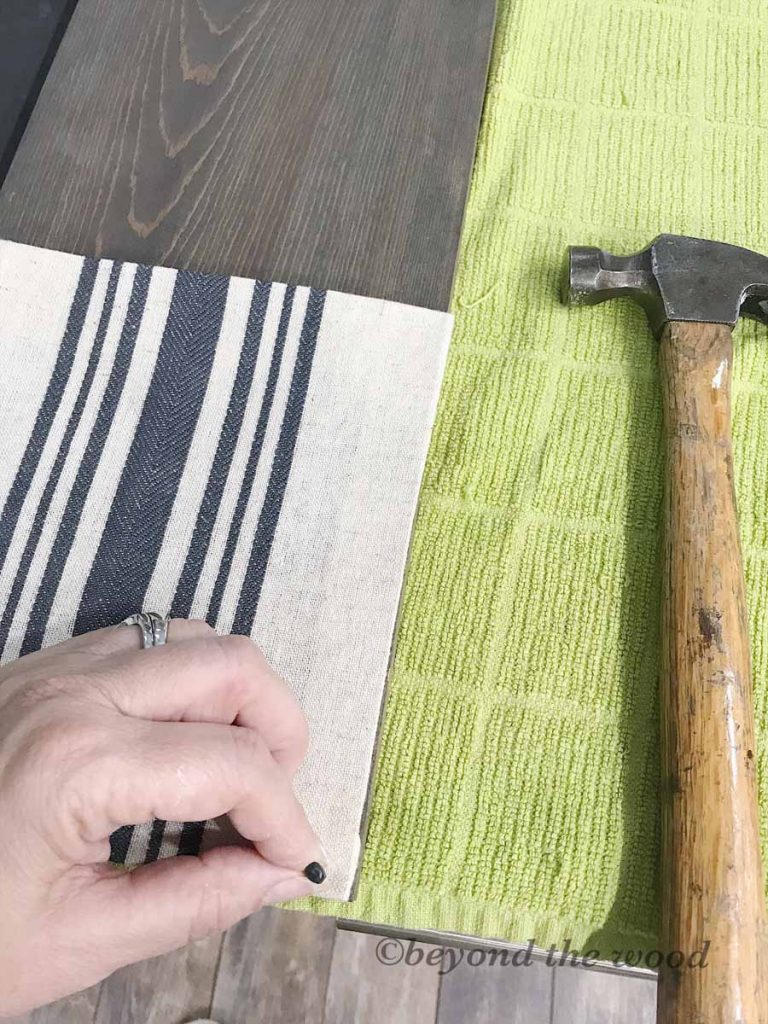
The packs of tacks are all different shapes and sizes so don’t be alarmed that each one you pick up will be a little different from the last one. Also, they do make smaller hammers for upholstery nails and tacks but since that is nothing I do often I just used a small regular hammer.
Almost done…are you getting excited?!
9. Cut your rope to about 24″ and stick the two ends into the hole from the back. This will create a loop and you can adjust how tall you want it. You will then tie a knot in the front for some added interest.
10. Add your floral’s or any greenery you would like into your pocket and you my friend have created an adorable wood wall pocket!
Finished wood pocket!
All done! Hang that baby up and enjoy! Wasn’t that simple. I love how they turned out.
All finished and hung!

As I was making them I came up with a few more ideas or options you could do. Such as having the pocket wrap around to the back which would eliminate the nails on the front. I just wanted them because they added that extra layer of design and texture. Or another idea I had if you have a narrow space to do a tall vertical board. Putting 3 pockets on that one board, oh that would be so cute too! So ideas are endless.
I do plan on putting some dried flowers in the pocket once I get out shopping. But these white flowers are what I had laying around so they will work for now. But changing them out for the seasons will be so cute!
I hope you enjoyed this easy peasy DIY today and I would love if you make one to share a photo with me! If you are not interested in making one at all but would like one just message me and I am happy to quote you!
Have a great weekend friends!


I like it! Wasn’t your printer in that spot? Where did that go? LOL
Thank you. Yes you are very observant. I moved it to the other side of the room closer to my pc.